Saturday, December 22, 2012

Last Minute Projects & a ChristmasTour

It's been busy, busy here and no matter how often I have wanted to post I've always run out of time.  But I am finally here with a few last minute touches and projects.

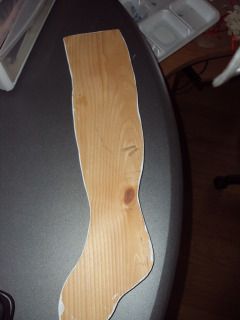
I started my first project with a wooden stocking shape my hubby had cut out.
Photobucket
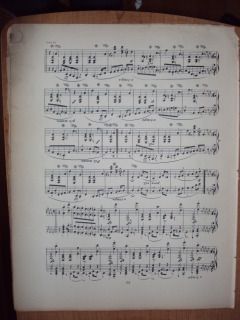
I have a book of vintage sheet music that is falling apart.
Photobucket
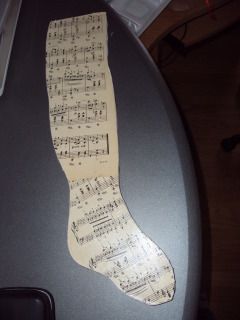
So I removed some pages and Mod Podged them onto the stocking.
Photobucket

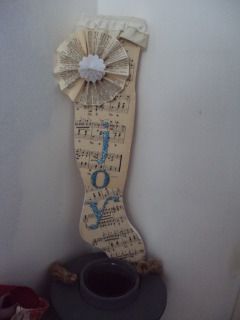
Then I embellished it with some lace, chip board letters, and a book page rosette.
Photobucket
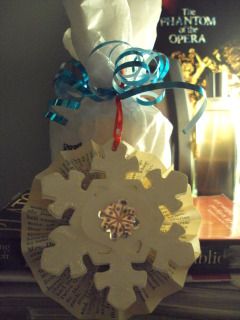
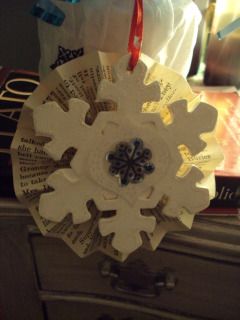
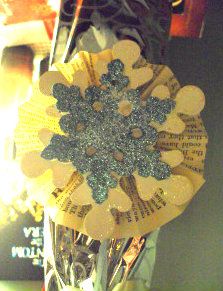
I also embellished some wooden snowflakes to add to packages for hubby's coworkers.
Photobucket

Photobucket

DSC00562
Now for the Christmas house tour.

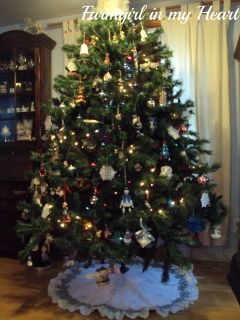
Our tree

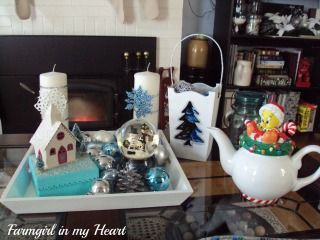
On the coffee table
Photobucket


A swag I embellished
Photobucket


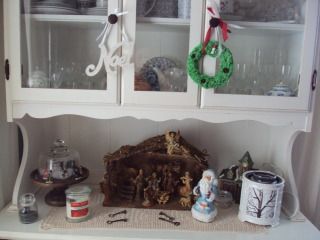
Our hutch
Photobucket
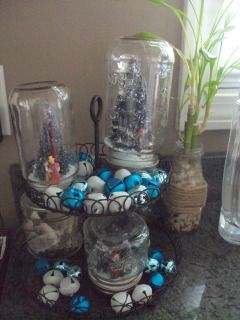
A little Christmas cheer in the kitchen
Photobucket
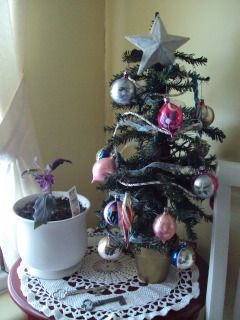
My mini tree with vintage ornaments in our little sitting area at the top of our stairs.
Photobucket


I hope you enjoyed the tour.  Wishing all of you and your families a very Merry Christmas filled with peace, love and joy!!


Thursday, December 13, 2012

Better Than New Stockings


For the last couple of years I have wanted new stockings.  Our old ones were almost twenty years old, grungy, and I was tired of looking at them.  I have looked for stockings before and after Christmas while they were on sale but there weren't many I liked, or we just didn't agree on what we wanted.  So we kept using what we had.  I had thought of sewing burlap stockings but then I wasn't sure of sewing burlap.  I was afraid the fuzz would clog by machine.  I did contemplate glue but our wood stove is always running and i was afraid they would come apart with the weight of the goodies that would fill them.  Besides, hubby is not a big fan of burlap.  So I kept thinking and waiting and wondering what I should do.  I found some stockings I liked but they were almost $30 each and I knew I would never spend that.
Well, while looking through Pinterest I found these, from this great blog.  They are burlap but I thought I could use a different fabric I already had in my stash.  They only trouble was there wasn't a pattern or tutorial for them.  I would have to try this all on my own.
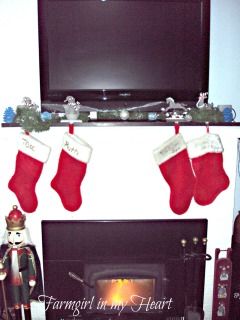
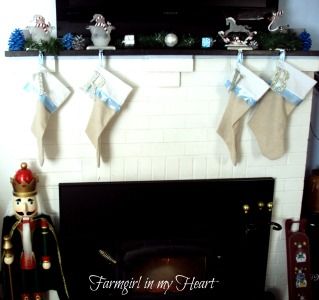
Here is the mantel before with the old stockings. Once again, instead of artwork or a lovely mirror a giant tv sits a top my mantel.  But I try to make the best of it.
Photobucket
Using the old stockings as templates I cut out shapes from osnaburg fabric which I purchased on clearance when Walmart was clearing out all of their fabric (which I can't understand because they brought it all back). I also cut some muslin for the top of the stockings.  Then I went to the sewing machine and sewed them together.  They are far from perfect and there are a few changes I would make if I tried it again but I am happy with them.
Photobucket
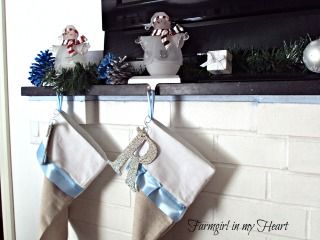
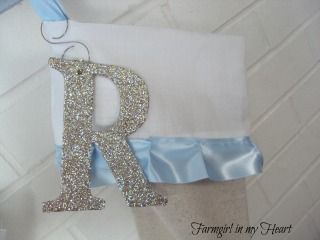
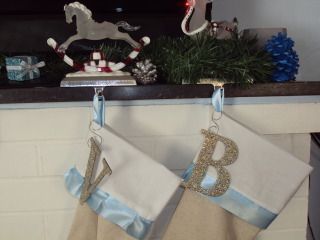
To me this small change has made a dramatic difference in the look of the fireplace.  It makes me happy each time I walk by. For the boys' stockings I sewed a straight ribbon around the bottom of the muslin and for the girls I ruffled it just a little.
Photobucket
Then dear hubby found these initials at Walmart.  I was thrilled that they had them all.  We almost couldn't find a V, but he finally found one.  I simply attached them to the loops of the stocking with the hooks in their packages.
Photobucket
Not bad for someone who has never sewn anything without a pattern.  Now just don't peek inside my raw edges are a bit scary and the seams may not even be straight but they look pretty.  I don't think my family will care what my raw edges look like once I fill them with goodies.
Photobucket

So glad I finally just did it.  The difference is amazing.  In keeping with my stash busting, the only thing I purchased were the initials.  Everything else I already had here.  I am quite thrilled to create something so beautiful without spending much.  Thrilled to have found that fabric on clearance and swooping it up for less then 50% of the original price.

Linking to these great parties.

Thursday, December 6, 2012

Winter Tulle Wreath & a Gift

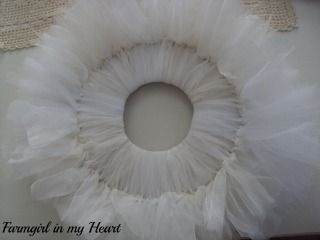
My craft stash is quite large and currently I am trying to clean out, organize, and use of as many supplies as I can before buying more.  This is never easy.  There are so many great supplies calling my name.  To help with this, I have not been to Joann's, Michaels, or Hobby Lobby in weeks.  But I did want a new wreath for our door.  I wanted one that could stay up through the winter.  Searching through my stash I found tons of white, sheer ribbon and tulle.  I did not have a wreath form so I improvised with cardboard.  Using a plate and bowl I cut out two circles of cardboard and the inside circles.  Then I glued them together for stability.  Then I cut all the tulle and ribbon to fairly even lengths.  Then I began wrapping them around the form and tying them all around.  I wanted the wreath to be very full and fluffy so I pushed each piece tightly together.
Here is the form filled with the tulle and ribbon.  Now the embellishment possibilities are endless. 
Photobucket
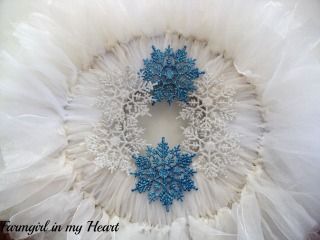
Because I was working with what I already had, I was limited in my embellishments.  These snowflakes were already in my stash so I hot glued them around the center of the wreath.  I really wish I had more blue to add to the wreath.  For now they are glued lightly and I can alter it whenever I find something I like more.
Photobucket
Here is the wreath on our door.  I am quite pleased with it. The best part was that everything was on hand.  The ribbon and tulle had been in my stash for a veeerrrryyy lllooonnnggg time and it makes me happy to see it put to good use.
Photobucket
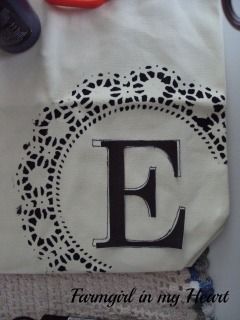
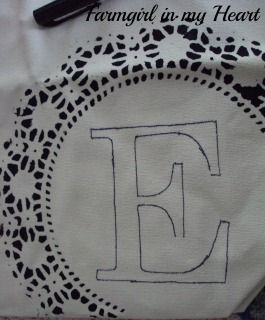
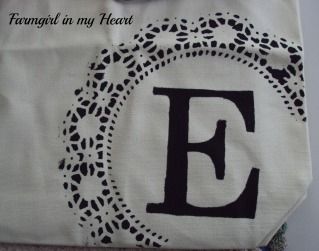
My next project was another Pinterest favorite.  It is originally found here.  When I tried this, I could not find the original pin and I was in a bit of a hurry so I winged it.  I had the basic idea in my head from seeing it previously.  First, I started with the paper doily and followed her directions for that part.  The next part is what I tried on my own. I printed up a large E and cut it out.
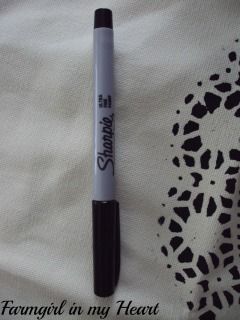
Then using a fine point Sharpie marker
Photobucket
I traced the letter
Photobucket
Here it is missing a few lines but that's ok.
Photobucket

Then I filled it in with paint and ironed the bag to make it washer safe (at least I hope so).  I sent this off as a gift to a friend and I hope she loves it.  She loves monograms and I do believe I saw this her on to do list one day. I hope I beat her to it.  
Photobucket

There are so many projects started and others still swirling around my head.  Hopefully, I can finish them and post them soon.

I will be linking up to the fabulous parties here.

Thursday, November 29, 2012

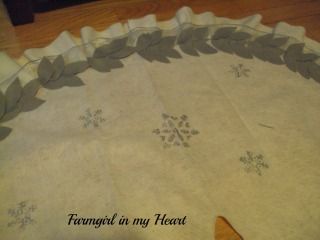
Simple Felt Ruffle Tree Skirt


It is hard to believe that Thanksgiving has already past and we are now well into this Christmas season.  We had a wonderful Thanksgiving with family and a lot of great food.  I was so busy that I did not even take one picture.  What kind of blogger am I??  My son did snap a quick picture right before we sat down to eat.  I loved how pretty everything looked and really wished I had remembered to snap one.  I hope everyone had as wonderful a day as we did.
Right before Thanksgiving I began working on a tree skirt.  Ours had seen better days. I saw many I liked but the prices were high.  So I decided to give it a try.  I had all the supplies here at home.
I started with a yard of felt.  Folded it in fourths and then following Martha Stewart's tutorial I cut the skirt out.
Photobucket

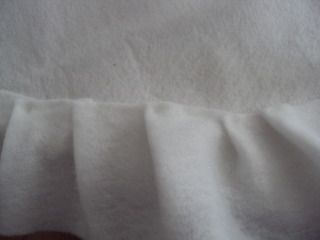
Once the skirt was cut out I cut 4 inch strips from the felt to add as a ruffle around the cut edge.
Photobucket

I gathered and hot glue all the way around.
Photobucket

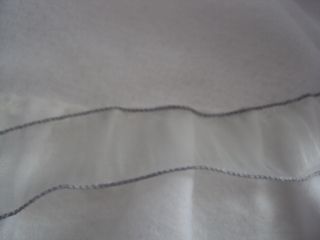
For a little added something I hot glued a silver ribbon over the ruffle.
Photobucket
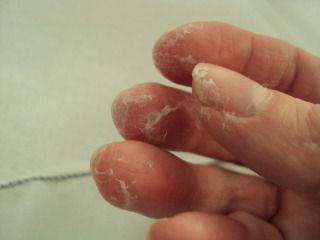
Be warned~when working with hot glue and felt this is what your fingers will look like, making it very difficult to take pictures.
Photobucket

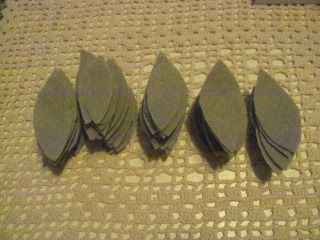
Once that was completed I cut out multiple leaf pattern from gray felt, then glued them at the inside edge of the silver ribbon and ruffle.
Photobucket

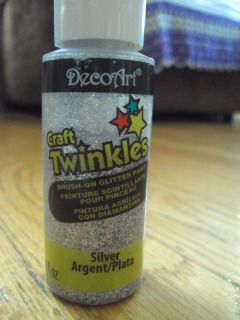
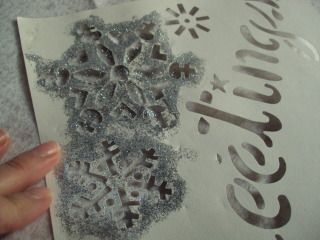
Then I chose some silver glitter paint and 
Photobucket

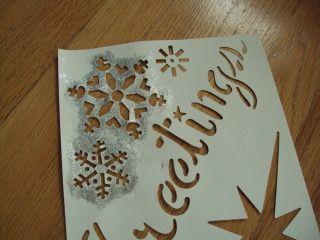
a snowflake stencil
Photobucket

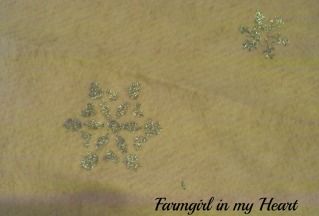
and added some sparkly snowflakes to the tree skirt.
Photobucket
I am so happy with how it turned out. 
Photobucket


Although a bit time consuming it is quite an easy tree skirt.  I love the felt, so easy to work with and it created a soft backdrop for the glittery snowflakes.
Photobucket
The completed skirt

and under the tree.
Photobucket
There are so many projects I want to do before Christmas.  I think I may not sleep from now until then.

Linking to these great parties.


Friday, November 16, 2012

Inspired Organization


Inspired by Edie's 31 Days to a Heart of Hospitality, I decided it was time to make the best use of my kitchen space.  We have a small, galley style kitchen and space is limited.  Once I saw these posts from Edie here, here, and here.  Our kitchen has no where near the space of Edie's but I knew I needed to make better use of the space we have.
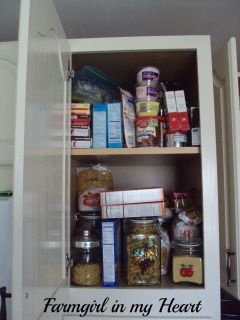
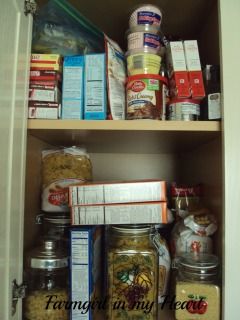
This is the top part of our slide out pantry.  These two shelves are very deep and do not pull out.  Because they are up so high they tend to become very messy.  I have wanted to reorganize them for a long time and finally was inspired to.
Photobucket
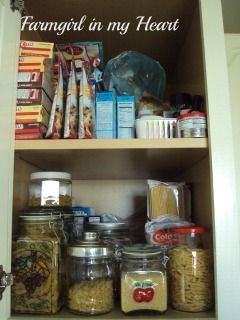
From big mess to:
Photobucket
order.  I used some small baskets and glass jars to hold pasta, cupcake liners, decorative sugars, and extracts.  Unfortunately, you can't see all the way into the cabinet but it is all contained and organized. Now I just need a few more glass jars to put things in, then there won't be that awful bag of brown sugar sticking up in the back.  I did use a lot of glass jars I already had.  They mostly hold all the varieties of pasta.
Photobucket
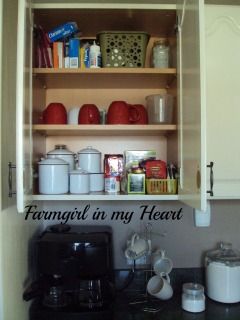
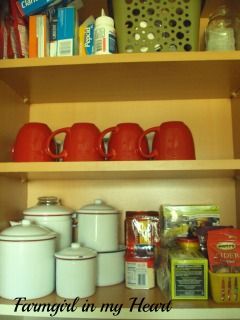
This cabinet is above our coffee pot.  It was a combo of so many things and in desperate need of help.
Photobucket
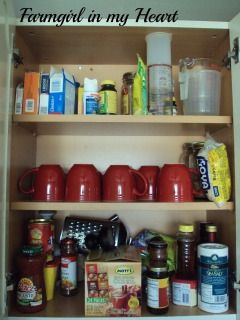
Now this has become of beverage center.  It is located above the coffee pot so it makes perfect sense.  Too bad it took me so long to realize this.
Photobucket
The top shelf contains a basket that holds assorted cooking tools I don't use as often, it also houses all of our medicines.  The next shelf contains our mugs, and the last one is for different beverages.  The enamel canisters hold a variety of teas and the basket holds different ciders.
Photobucket
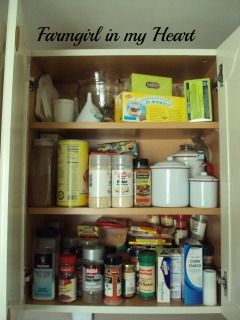
This cabinet is to the right of the beverage cabinet.  It was so disorganized and made it difficult to find what I needed.
Photobucket
Now it contains all of my cooking sauces, seasonings and spices.  Directly below are my canisters which hold sugar, flour, and rice.  Next is labels.
Photobucket

These changes may not seem significant but have definitely been an improvement the chaotic disorganization in my cabinets before.  I am thrilled with them.
I am thankful for the new layout of my kitchen and the additional cabinets since we remodeled.  This change has long been overdue and now I am making the best of use of the new space.
This organization comes at the perfect time.  I am hosting Thanksgiving and there will be a lot of holiday baking from now until the new year.
Linking to the great parties listed here.


Friday, November 9, 2012

Crochet Flower Embellishments

Today I am guest posting at Life in Grace for the 12 Days of Christmas series.  
I posted a tutorial for a basic crochet ear warmer/headband.  The fun part about these is the embellishments. Most patterns suggest sewing the embellishment onto your ear warmer but I think pinning it on is better.  There are so many possibilities, and you can change them out to fit your outfit or mood.

I am sharing this easy pattern I found originally on Favecrafts site.

Flower
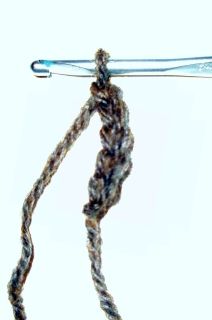
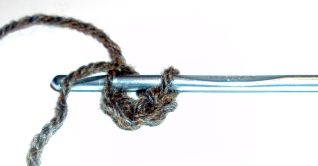
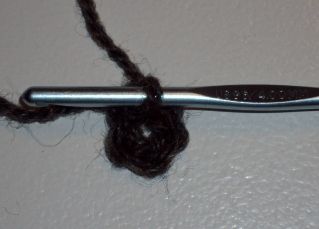
With smaller hook, ch 5; join with a slip st to form ring.

Photobucket

Photobucket
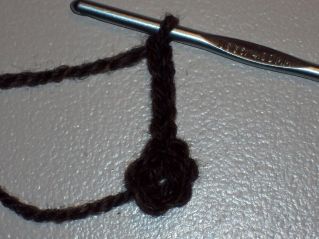
Round 1: Ch 5 (counts as dc and ch-2), [dc, ch 2] 5 times in ring; join to 3rd ch.
Here I made two additional [dc, ch 2], because I wanted my flower a little larger.

Photobucket

Photobucket
Round 2: Ch 1, (sc, hdc, dc, tr, dc, hdc, sc) in each ch-2 space around – 6 petals.

These stitches are to create the petals of the flower.  You begin and end with the smaller stitches. 
Photobucket
Once you have completed the petals (I have 7 petals because of my earlier increase) you will join them with a slip stitch to the first sc stitch.
Photobucket
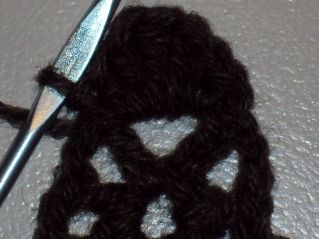
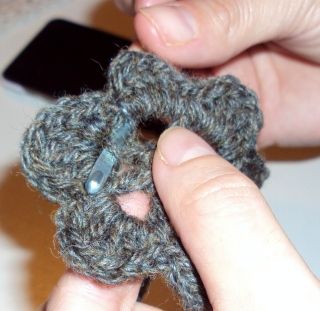
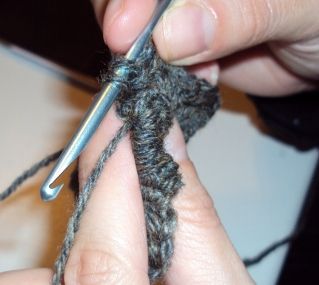
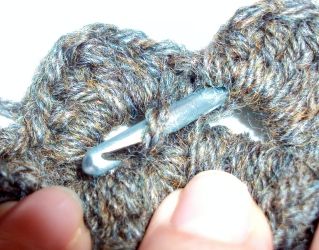
Round 3: Holding Round 2 forward, * sc in dc from Round 1, ch 3; repeat from * around; join.
This part is a bit tricky~You will be crocheting behind the first row of stitches you made.  This will give the flower its depth.
From behind you will insert the hook in the first dc stitch you made.

Photobucket


Photobucket
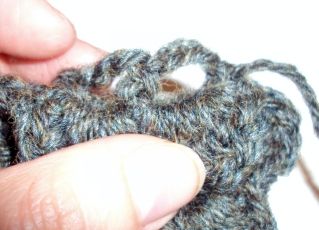
Ch 3 and sc around the next dc from row 1.  I tried to show this in the picture below.  I am holding the petals of row 2 down and crocheting the stitches around the dcs from row 1.  You will do this all around the flower and then join the last ch 3 to the first sc with a slip stitch.

Photobucket
Round 4: Ch 1, (sc, hdc, dc, 3 tr, dc, hdc, sc) in each ch-3 space around – 6 petals.
In this row you will begin to crochet the new petals of the flower.  You will crochet these stitches on the ch 3 stitches you just finished.
Photobucket
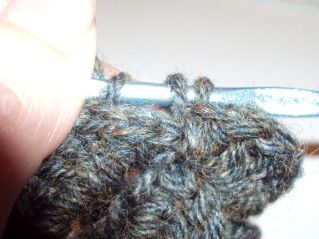
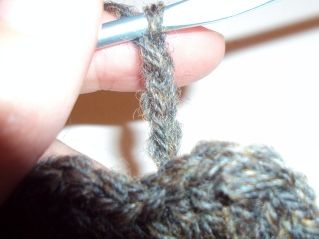
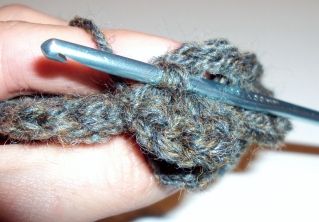
Round 5: Holding Round 4 forward, * sc in sc from Round 3, ch 4; repeat from * around; join. 
This row is completed in the same way that we did row 3.
Photobucket

Photobucket

Photobucket


Photobucket
Round 6: Ch 1, (sc, hdc, dc, 5 tr, dc, hdc, sc) in each ch-4 space around – 6 petals. Fasten off.
Complete this row in the same way we did row 4.
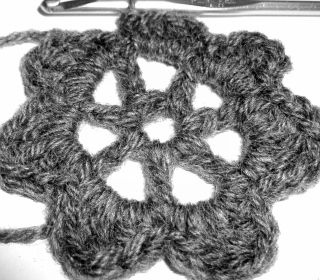
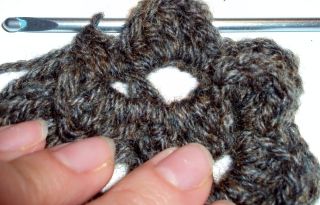
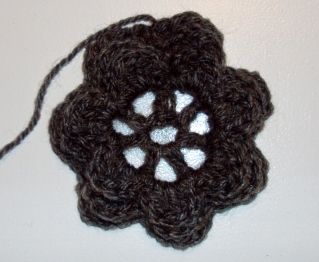
This is the completed flower.

Photobucket
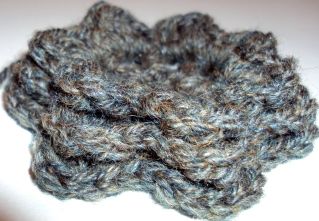
You can see the different layers.
Photobucket
When adding embellishments there are so many patterns, styles and colors you can choose from.
This flower pattern is from this great book. In a bright patterned pink yarn.
This rose is a very full rose created in one long strip and then gathered.  I found this pattern on the Red Heart site when I crocheted the ruffle skirt and rosette headband for my niece.
This flower is from the same pattern as the pink one.  I used a thinner yarn and less layers.  This is on the baby hat I made for my sister.
Another full rose.  I shared the link on the baby gifts post.
Here is the ear warmer with flower added.  The pink and white flowers would both look fabulous with it.
These ear warmers with the embellishments will make great gifts.  There are many wonderful possibilities.
Soon I will be posting a tutorial for creating a bow to add to your headband.
 Don't forget to visit again.