Showing posts with label crochet. Show all posts

Wednesday, August 14, 2013

A Hiatus, a Plethora of Crochet, and an Amazing Class

I have been on a blogging hiatus simply because life has been demanding and required all of my attention and energy.  At these times I want so much to blog, to share what's on my heart, and to connect with all the fabulous people in blog land but life throws a monkey wrench in my plans.  

These months have not been quiet and serene but have challenged me and caused me to grow.  They have been a learning experience and I wait on my Heavenly Father to make a way where there seems to be no way.  With Him nothing is impossible so I lean on his everlasting love and comfort.

I have missed sharing all my latest projects with you.  Crocheting is my go to favorite to relax me and get my mind focused on something productive.  Below is a sampling of my latest projects.  I hope to share more about them very soon.

What I really want to share with you today is this most amazing e-course that will be held in October hosted by Jeanne Oliver as part of her Creatively Made Home series called, Home for the Holidays.  You can find out all of the details to this fabulous class at Life In Grace blog.  Edie will be one of the many fabulous ladies sharing their insight and decor wisdom with us, but most importantly their stories and hearts for hospitality.  I hope you hop on over and sign up for this incredible e-course.  I am looking forward to it already. 

Linking up here.

Wednesday, May 8, 2013

Sweet Friend's Baby

This blog has been completely neglected this past month.  Life has a way of taking over and I planned and planned on blogging but could not find the time.  Although I haven't been here I do still try to read many of my favorite blogs.  I have also kept busy crocheting.  It is my favorite way to pass time.  Whenever I have down time or have to wait for anything I take my crochet along.  This project was mostly completed late at night to relax or during my son's basketball games.
My garden plans are underway and I have seeds started indoors.  It is only getting warm enough to plant outdoors now.  Everything is in bloom and I am blessed to look out the window and see our peach tree in full bloom, and the two trees in the front in full bloom.  I am refinishing and painting a bureau for my mom and as I looked out the window I  was thinking that I really needed to take some pictures of those beautiful blooms.  This afternoon a horrible wind came through and nearly took all of the blooms off the trees.  Next time, I will get my camera as soon as the thought comes to me.
A sweet friend of mine is expecting her first baby girl.  That made me immediately run through my baby crochet patterns.  Crocheting for babies is my favorite.  Baby things are so sweet and you fill them with love and hope for this precious new blessing.
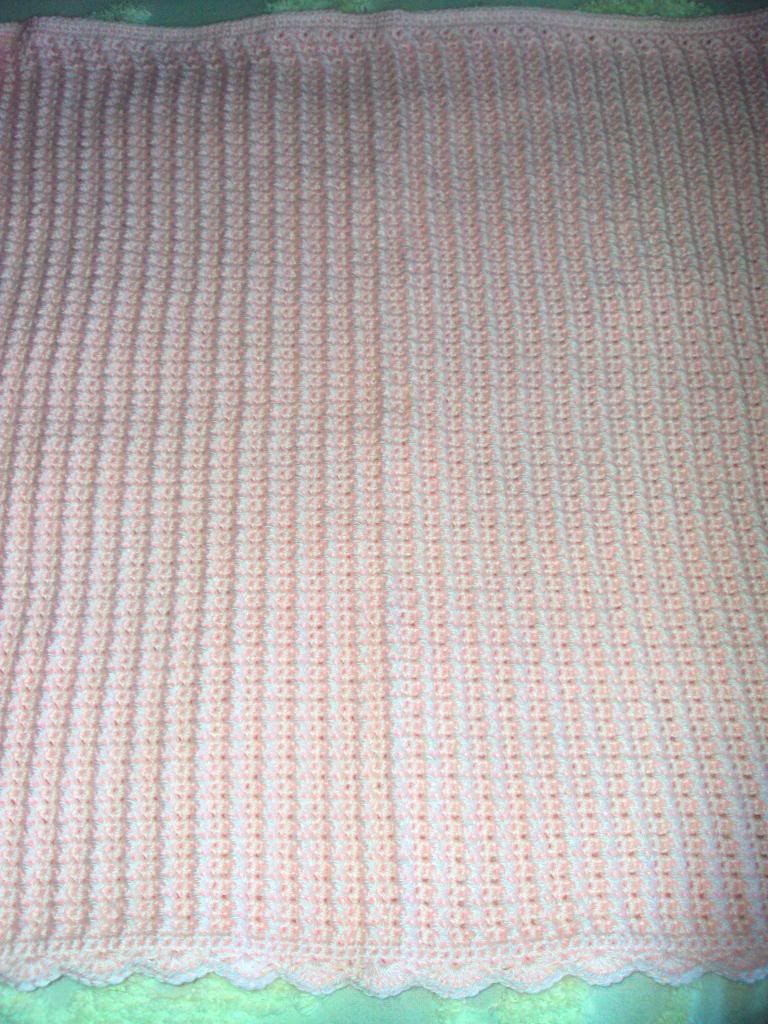
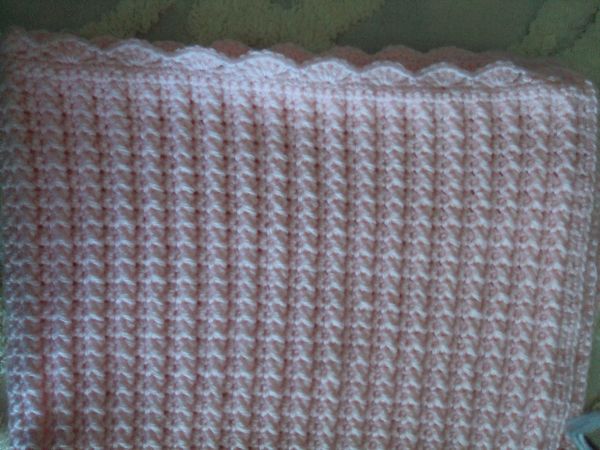
I found this sweet pattern of small cross over cables.  At first, I misread the pattern and all of my rows were slanting but after taking it apart twice I finally figures out my mistake.
 photo DSC00739_zpsbdd27132.jpg
It is a simple pattern but looks precious.  The scallop edge is very feminine and the perfect touch.
 photo DSC00741_zps5c26b386.jpg
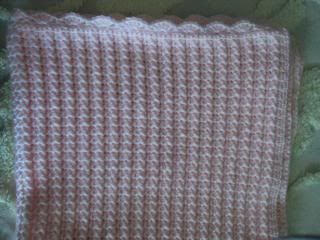
I  have it ready to send to my friend.  I can remember the excitement of getting everything ready for baby.  My babies are now almost 20 and almost 16.  Where does the time go?
 photo DSC00742_zps66c284ba.jpg
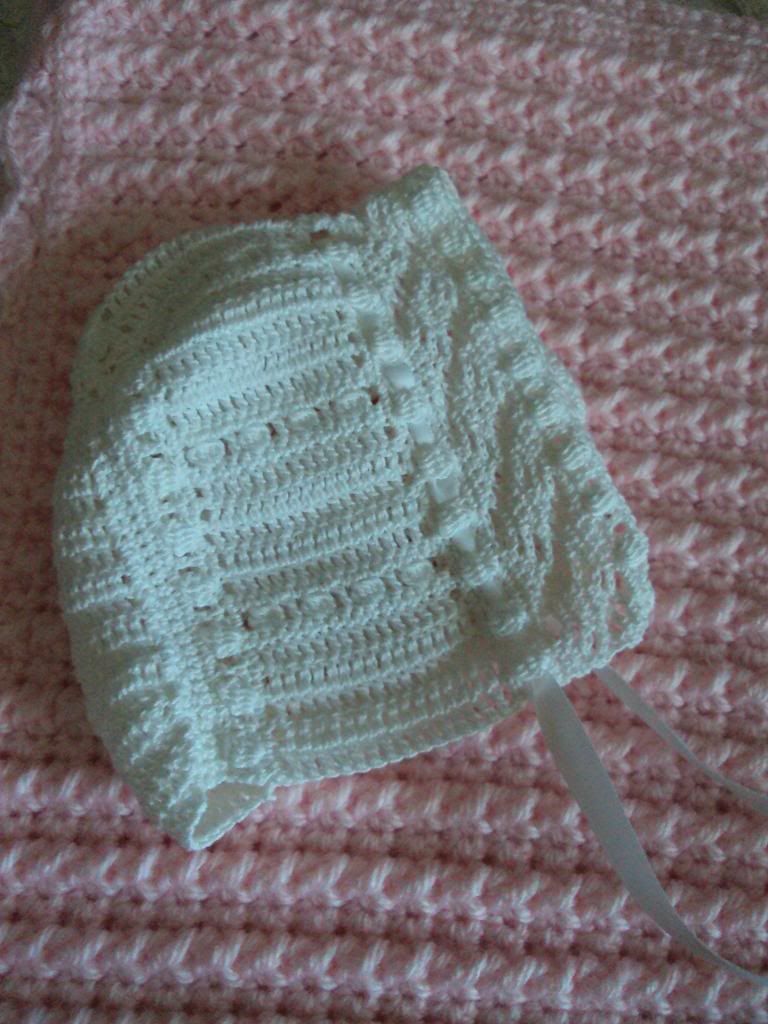
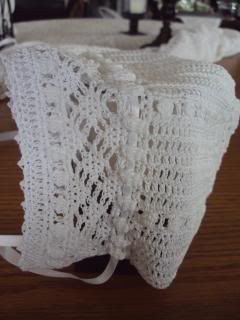
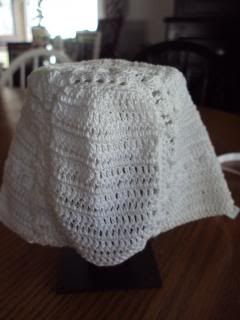
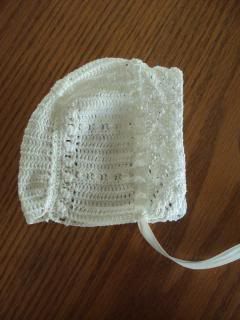
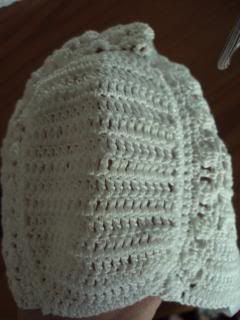
I made the precious bonnet when I made the one for my niece.  I love thread crochet.  This is a vintage pattern and it was fun to give it a try.  Of course, there were mistakes along the way but that is all part of learning.
 photo DSC00744_zpsacca5cdf.jpg
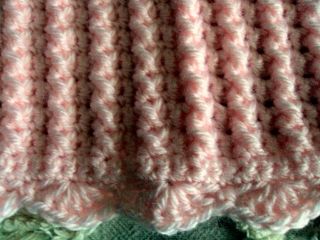
A close up of the blanket with the scallop edge
 photo DSC00743_zps172bc678.jpg

I will be linking up here.

Thursday, March 21, 2013

For Sweet Emmaline

My sweet little niece Emmaline will be having her church dedication very soon.  She will be wearing my sister's gown but I wanted to make some special things just for little Emmaline.
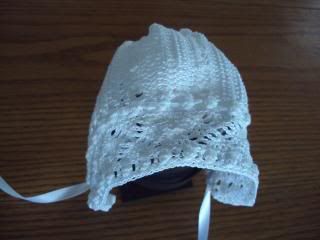
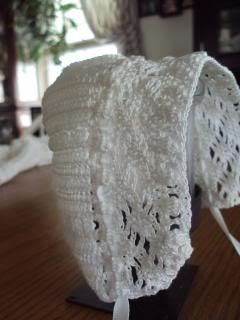
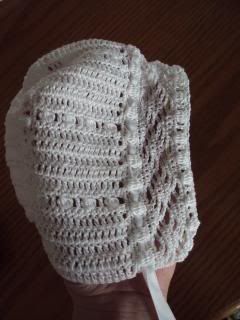
I found a sweet bonnet pattern and made it for her special day.  This is actually the second one I made because she had a growth spurt and the first one was too small.
I crocheted this with size 10 cotton thread
I would prefer to have pictures with the sweet baby girl but she decided she needed her beauty sleep.
Hopefully, later I will be able to take some sweet pictures.  She is such a sweet, happy, and pleasant baby.
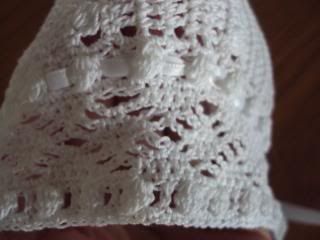
The detailing on the edge of the bonnet is so precious.
Here is the full bonnet
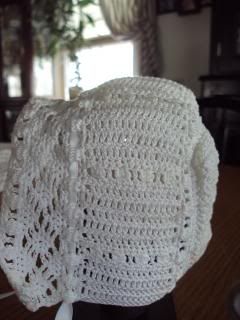
This is the first one I made.  The patterns are very similar but the front of the bonnet does not have the same detailing.
This little bonnet will go to a dear friend who is soon to have a baby girl of her own.

Side close up of pattern
Top band 
shaped back
Hoping this bonnet will be perfect my friend's sweet angel.
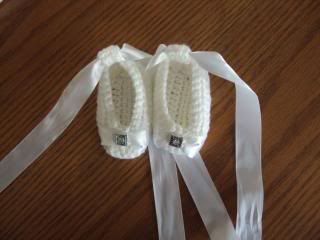
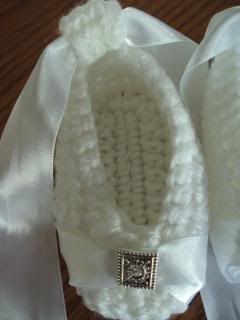
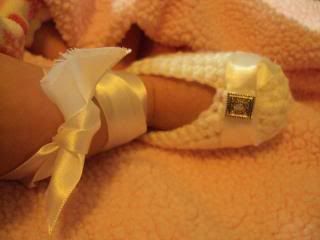
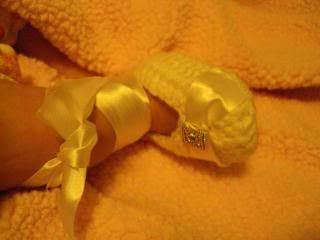
For sweet Emmaline, I made these little shoes for her special day.
I used a Mary Jane pattern I had and modified it to fit what I needed.
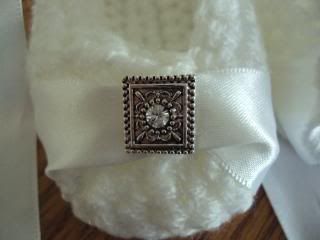
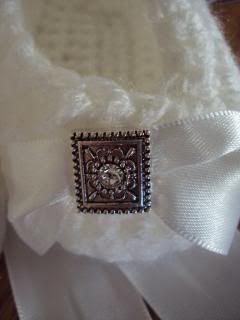
To dress up the toe of the shoe I added satin ribbon and a jewelry embellishment.

I sewed through the side holes that originally are used for a bracelet or necklace.
They fit perfectly and look so incredibly beautiful on these sweet baby shoes.
Can not wait to have these sweet shoes on her sweet little baby feet.

Sweet Emmaline has woken up but is not feeling her best today.  We attempted this little photo shoot anyway.  She is too sweet.
She's saying, "I love you Auntie, but I don't feel like smiling for the camera."
Sweet little angel foot.

Serious look with her bonnet.  She is not used to wearing it and did not really want us to tie it on and fix it all pretty.
Here she is almost cracking a smile but anytime we tried to adjust the bonnet, she did not appreciate it.

There are still a few weeks so the bonnet will fit better than.  She will fill it in better then.  I love her sweet cheeks.  At 10 weeks she is all smiles and so alert.  A sweet little princess who brightens my days.


I will be linking up at these fabulous link parties.

Friday, November 9, 2012

Crochet Flower Embellishments

Today I am guest posting at Life in Grace for the 12 Days of Christmas series.  
I posted a tutorial for a basic crochet ear warmer/headband.  The fun part about these is the embellishments. Most patterns suggest sewing the embellishment onto your ear warmer but I think pinning it on is better.  There are so many possibilities, and you can change them out to fit your outfit or mood.

I am sharing this easy pattern I found originally on Favecrafts site.

Flower
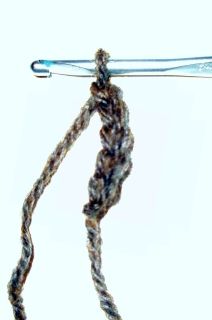
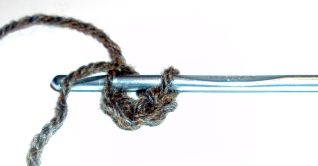
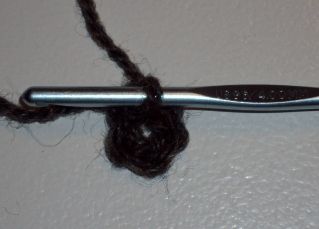
With smaller hook, ch 5; join with a slip st to form ring.

Photobucket

Photobucket
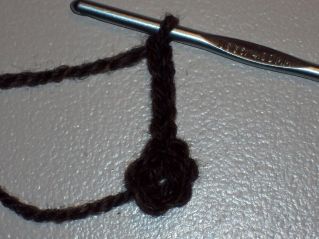
Round 1: Ch 5 (counts as dc and ch-2), [dc, ch 2] 5 times in ring; join to 3rd ch.
Here I made two additional [dc, ch 2], because I wanted my flower a little larger.

Photobucket

Photobucket
Round 2: Ch 1, (sc, hdc, dc, tr, dc, hdc, sc) in each ch-2 space around – 6 petals.

These stitches are to create the petals of the flower.  You begin and end with the smaller stitches. 
Photobucket
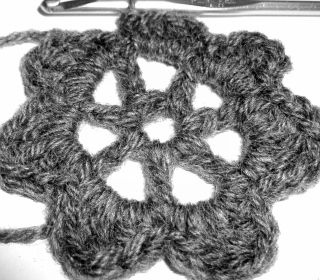
Once you have completed the petals (I have 7 petals because of my earlier increase) you will join them with a slip stitch to the first sc stitch.
Photobucket
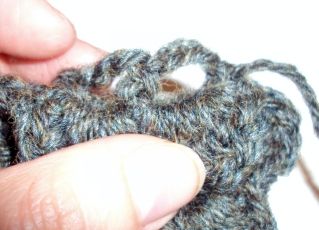
Round 3: Holding Round 2 forward, * sc in dc from Round 1, ch 3; repeat from * around; join.
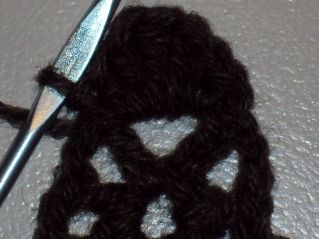
This part is a bit tricky~You will be crocheting behind the first row of stitches you made.  This will give the flower its depth.
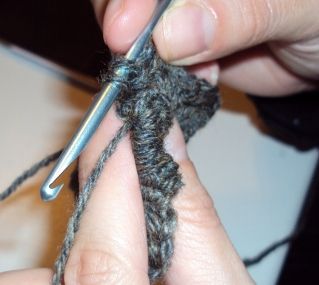
From behind you will insert the hook in the first dc stitch you made.

Photobucket


Photobucket
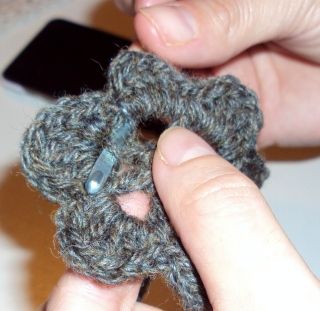
Ch 3 and sc around the next dc from row 1.  I tried to show this in the picture below.  I am holding the petals of row 2 down and crocheting the stitches around the dcs from row 1.  You will do this all around the flower and then join the last ch 3 to the first sc with a slip stitch.

Photobucket
Round 4: Ch 1, (sc, hdc, dc, 3 tr, dc, hdc, sc) in each ch-3 space around – 6 petals.
In this row you will begin to crochet the new petals of the flower.  You will crochet these stitches on the ch 3 stitches you just finished.
Photobucket
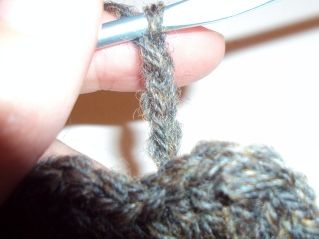
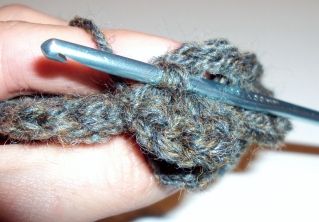
Round 5: Holding Round 4 forward, * sc in sc from Round 3, ch 4; repeat from * around; join. 
This row is completed in the same way that we did row 3.
Photobucket

Photobucket

Photobucket


Photobucket
Round 6: Ch 1, (sc, hdc, dc, 5 tr, dc, hdc, sc) in each ch-4 space around – 6 petals. Fasten off.
Complete this row in the same way we did row 4.
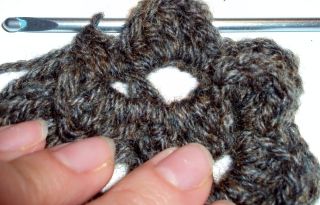
This is the completed flower.

Photobucket
You can see the different layers.
Photobucket
When adding embellishments there are so many patterns, styles and colors you can choose from.
This flower pattern is from this great book. In a bright patterned pink yarn.
This rose is a very full rose created in one long strip and then gathered.  I found this pattern on the Red Heart site when I crocheted the ruffle skirt and rosette headband for my niece.
This flower is from the same pattern as the pink one.  I used a thinner yarn and less layers.  This is on the baby hat I made for my sister.
Another full rose.  I shared the link on the baby gifts post.
Here is the ear warmer with flower added.  The pink and white flowers would both look fabulous with it.
These ear warmers with the embellishments will make great gifts.  There are many wonderful possibilities.
Soon I will be posting a tutorial for creating a bow to add to your headband.
 Don't forget to visit again.

Thursday, November 1, 2012

Chunky Circle Scarf

Crocheting has been my creative outlet recently.  I have acquired so many amazing patterns that I just can't stop making things.  Today I am showing you the newest scarf I made. I found the pattern on Pinterest and it is originally from People Webs.  This pattern was not difficult but you do have to pay close attention.  At times I did not and there was some thread pulling happening.  But in the end I am happy with how it turned out.
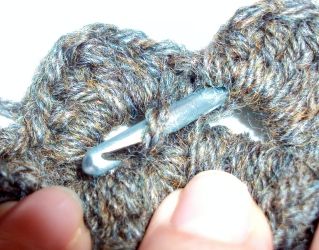
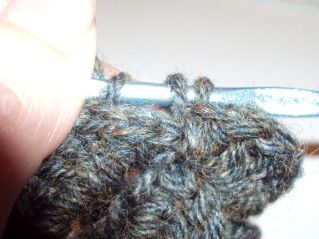
I did not use the same thread recommended in the pattern.  I love this soft and thick alpaca yarn.  I was making this scarf for my mom who walks home from work almost daily and I thought it would be warmer.


The original pattern directions are to join the ends together, but I knew my mom would prefer it as a regular scarf instead of an infinity scarf. 
 The pattern was simple to understand.  She explains things so well.  I made this while watching tv at night, most likely the source of my mistakes.  
I am so thankful to all the wonderful artists who post their patterns and share them so generously with others.    What did we ever do before the internet.  I know my pattern list has grown substantially with all the talented bloggers sharing their gifts.  
My mom loved the scarf.  I hope it helps her think of me whenever she uses it.

I will be linking up to the fabulous parties listed here.