Showing posts with label diy. Show all posts

Wednesday, May 15, 2013

Better Than New

For Mother's Day my mom wanted a new bureau for her bedroom.  But by new she meant an old bureau, so off we went in search of a previously loved bureau that would fit her space.  We found the perfect piece at the third shop we visited.
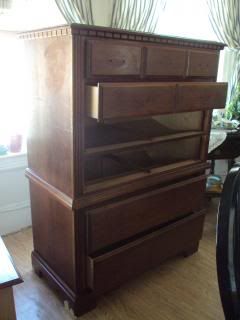
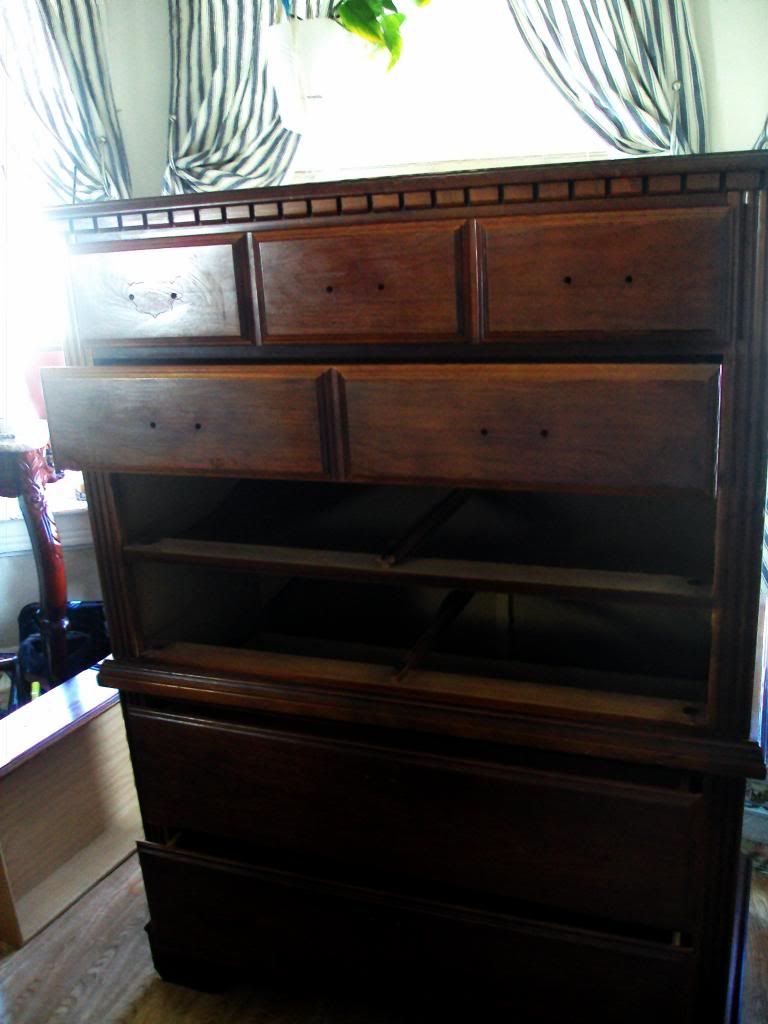
This bureau was in fairly good condition.  The drawers were in good shape and it was sturdy.  It was the perfect size for her space.
 photo DSC00746_zps5862de95.jpg
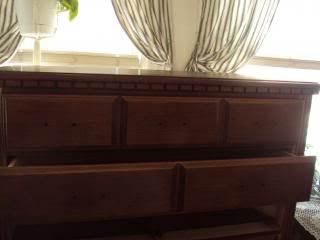
This before is missing some drawers and all the hardware.  I had already begun work on it before I remembered to take a good before picture.  I had a time limit, since this was sitting in her dining room while I worked on it and she would have a house full of company for Mother's Day.
I took off all the hardware and gave the piece a good cleaning with TSP.  Then I used a sander deglosser liquid before I began painting.  The only part of the bureau that I needed to sand was the top.  I planned to stain that instead of painting it.
 photo DSC00745_zps8450b40a.jpg

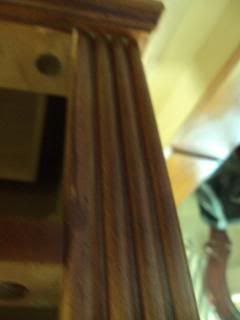
The bureau had some great accents and molding.
 photo DSC00747_zps8d57273e.jpg
It was just in need of some TLC.
 photo DSC00748_zps5ca1f2e3.jpg
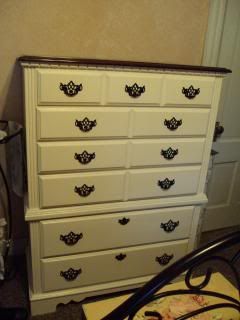
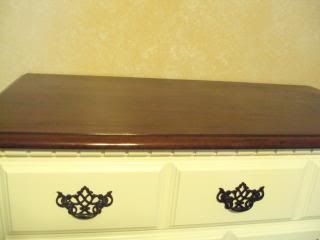
Here is the after:
 photo DSC00749_zps5631e942.jpg
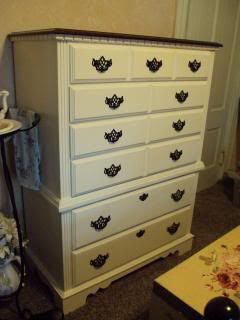
I used Valspar paint in off white to paint the bureau and Minwax stain for the top.  
 photo DSC00750_zpsdd2d2f4e.jpg
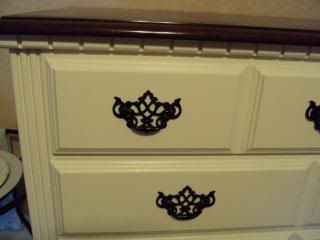
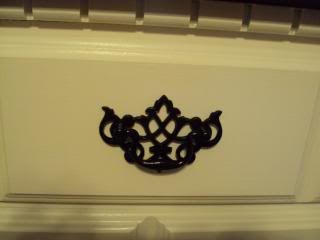
I gave the hardware a good cleaning and spray painted them with Krylon in black.
 photo DSC00751_zps0149ec2e.jpg
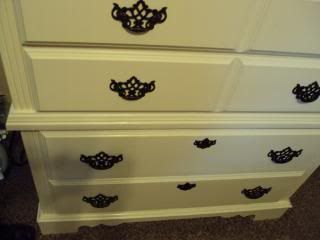
I used Minwax clear furniture wax to seal the whole piece.
 photo DSC00752_zps8553e2a0.jpg
My mom was very happy with the final product and I was too.
 photo DSC00753_zps7fc7028b.jpg
It looks better than new.
 photo DSC00754_zps7c03f414.jpg

It is now sitting in her bedroom and she is so happy with it.  I was glad to find the perfect piece and have it completed in time for her on Mother's Day.

I will be linking up at these great Linky Parties.

Thursday, March 21, 2013

For Sweet Emmaline

My sweet little niece Emmaline will be having her church dedication very soon.  She will be wearing my sister's gown but I wanted to make some special things just for little Emmaline.
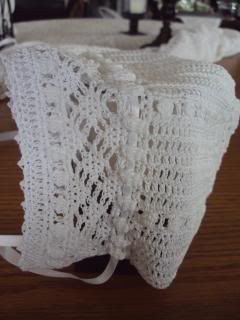
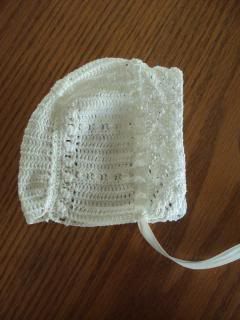
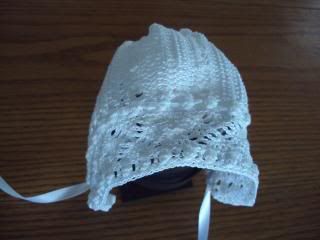
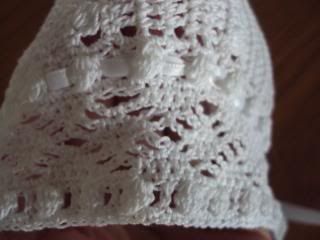
I found a sweet bonnet pattern and made it for her special day.  This is actually the second one I made because she had a growth spurt and the first one was too small.
I crocheted this with size 10 cotton thread
I would prefer to have pictures with the sweet baby girl but she decided she needed her beauty sleep.
Hopefully, later I will be able to take some sweet pictures.  She is such a sweet, happy, and pleasant baby.
The detailing on the edge of the bonnet is so precious.
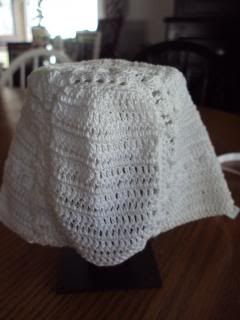
Here is the full bonnet
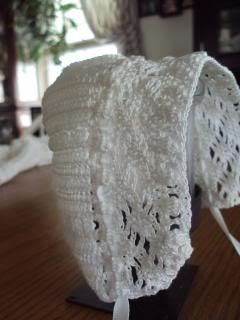
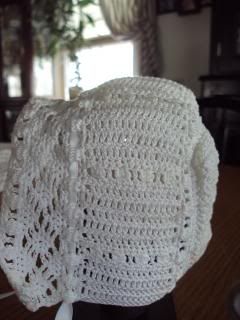
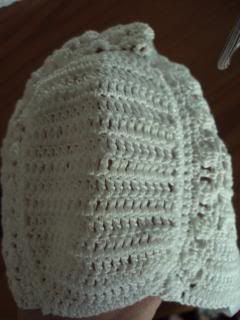
This is the first one I made.  The patterns are very similar but the front of the bonnet does not have the same detailing.
This little bonnet will go to a dear friend who is soon to have a baby girl of her own.

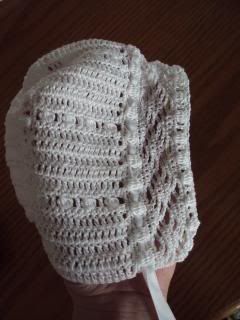
Side close up of pattern
Top band 
shaped back
Hoping this bonnet will be perfect my friend's sweet angel.
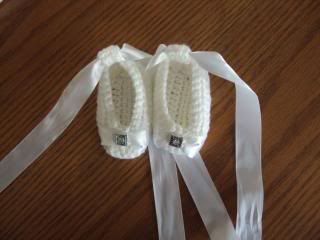
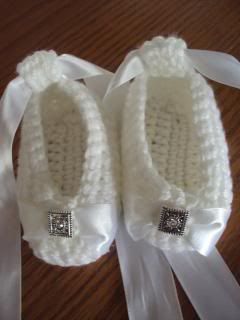
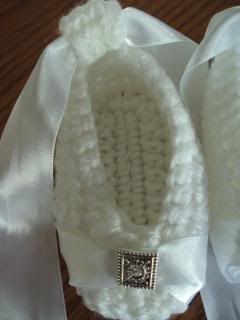
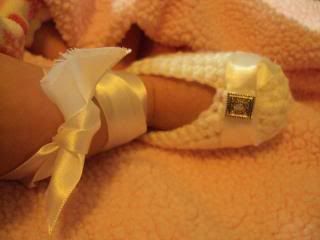
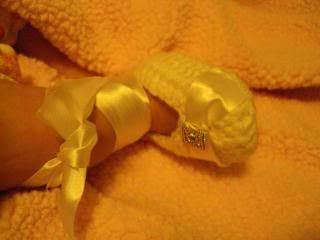
For sweet Emmaline, I made these little shoes for her special day.
I used a Mary Jane pattern I had and modified it to fit what I needed.
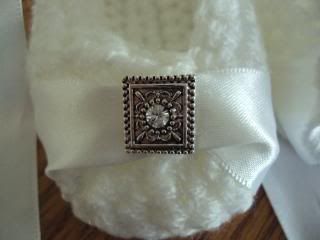
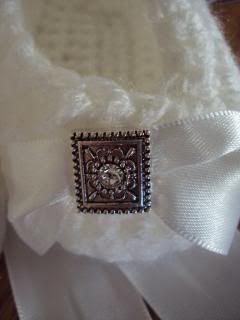
To dress up the toe of the shoe I added satin ribbon and a jewelry embellishment.

I sewed through the side holes that originally are used for a bracelet or necklace.
They fit perfectly and look so incredibly beautiful on these sweet baby shoes.
Can not wait to have these sweet shoes on her sweet little baby feet.

Sweet Emmaline has woken up but is not feeling her best today.  We attempted this little photo shoot anyway.  She is too sweet.
She's saying, "I love you Auntie, but I don't feel like smiling for the camera."
Sweet little angel foot.

Serious look with her bonnet.  She is not used to wearing it and did not really want us to tie it on and fix it all pretty.
Here she is almost cracking a smile but anytime we tried to adjust the bonnet, she did not appreciate it.

There are still a few weeks so the bonnet will fit better than.  She will fill it in better then.  I love her sweet cheeks.  At 10 weeks she is all smiles and so alert.  A sweet little princess who brightens my days.


I will be linking up at these fabulous link parties.
Thursday, February 28, 2013

Recycled Storage

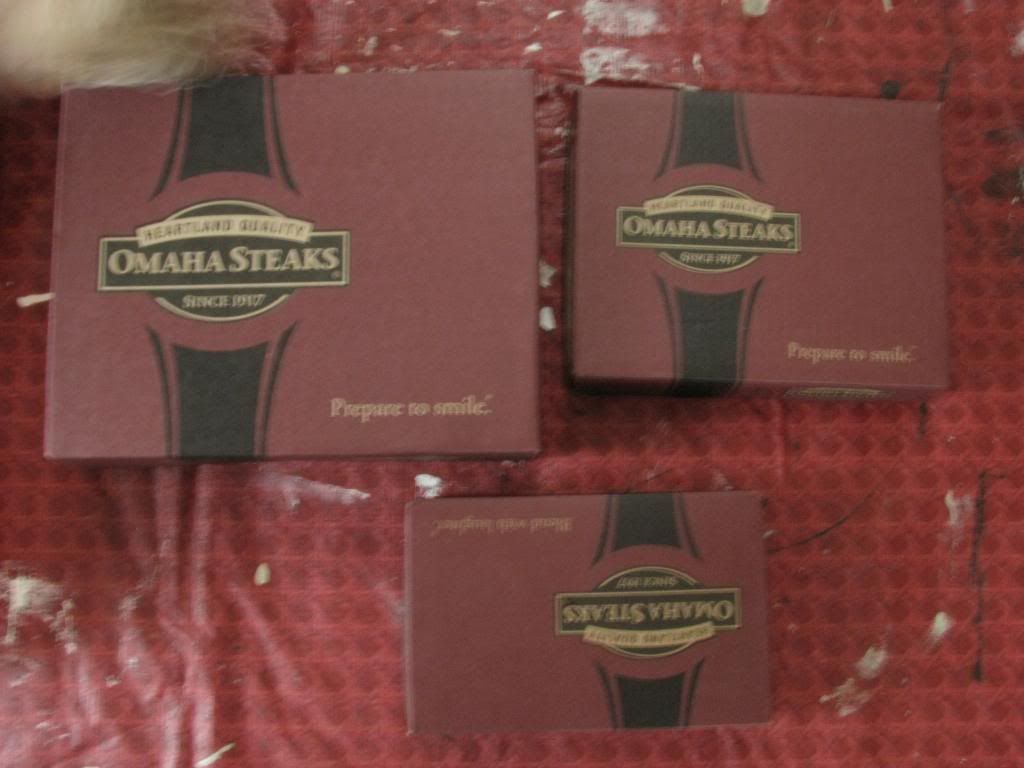
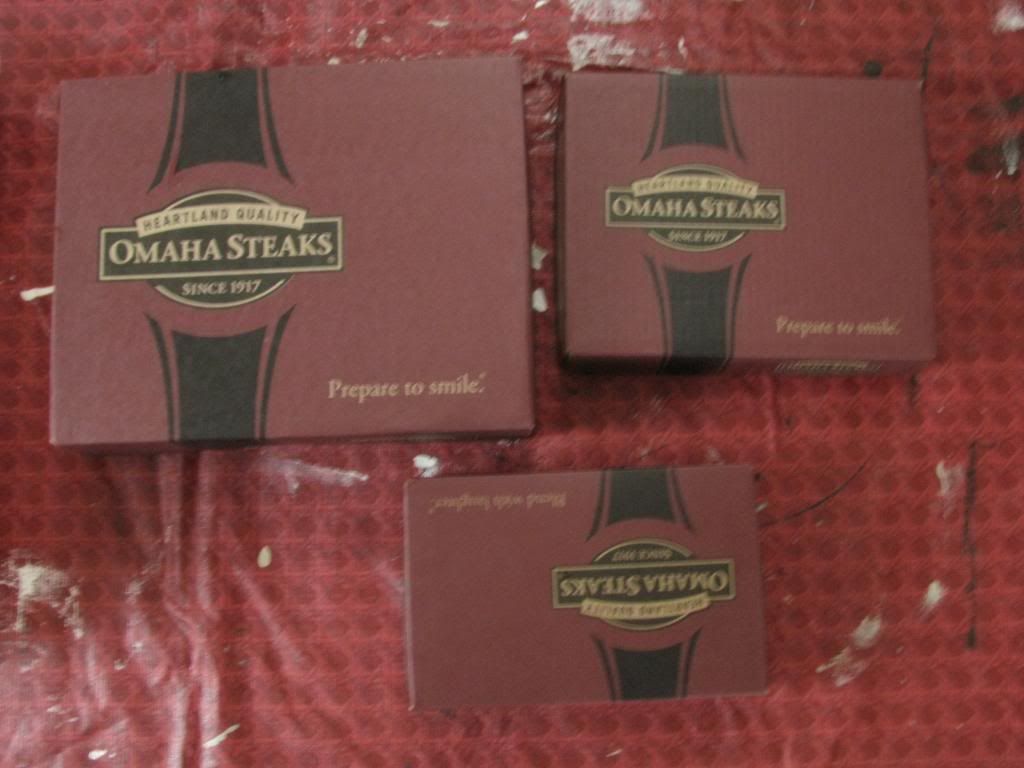
My dear neighbors gave me these boxes because they thought I could use them for storage.  I decided they would be perfect for stamps and ink pad storage.
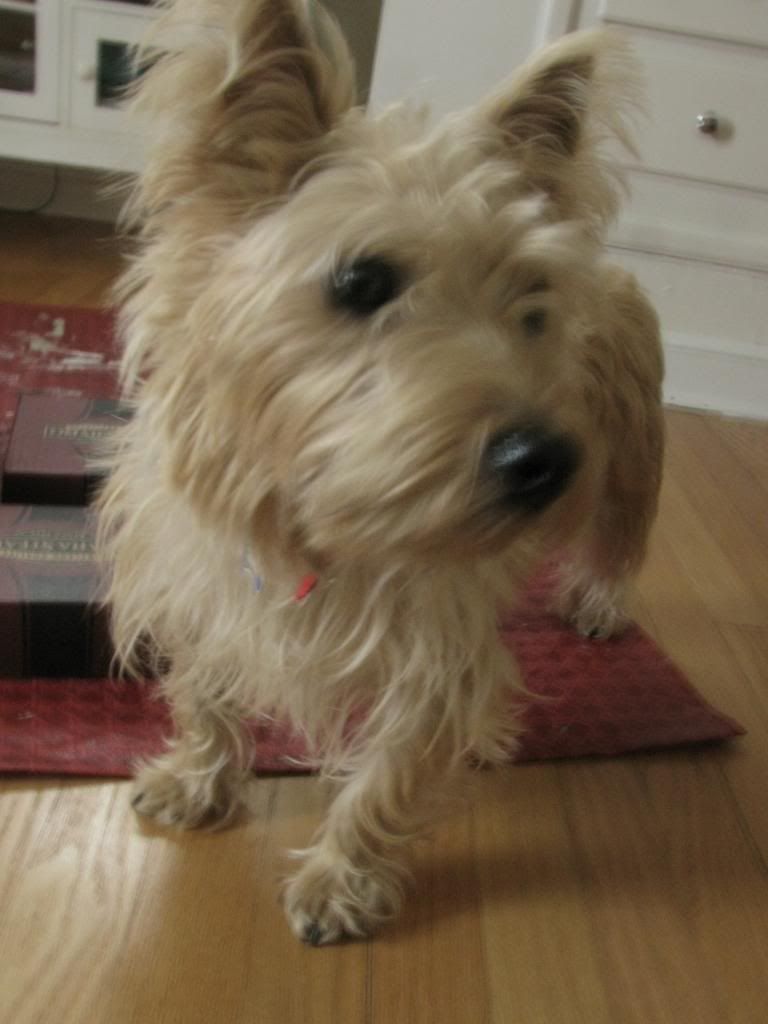
The little blur on the top left corner is this little guy.  My sidekick and helper extraordinaire. Isn't he cute.
Back to work~the boxes needed a little dressing up before I could put them to good use.
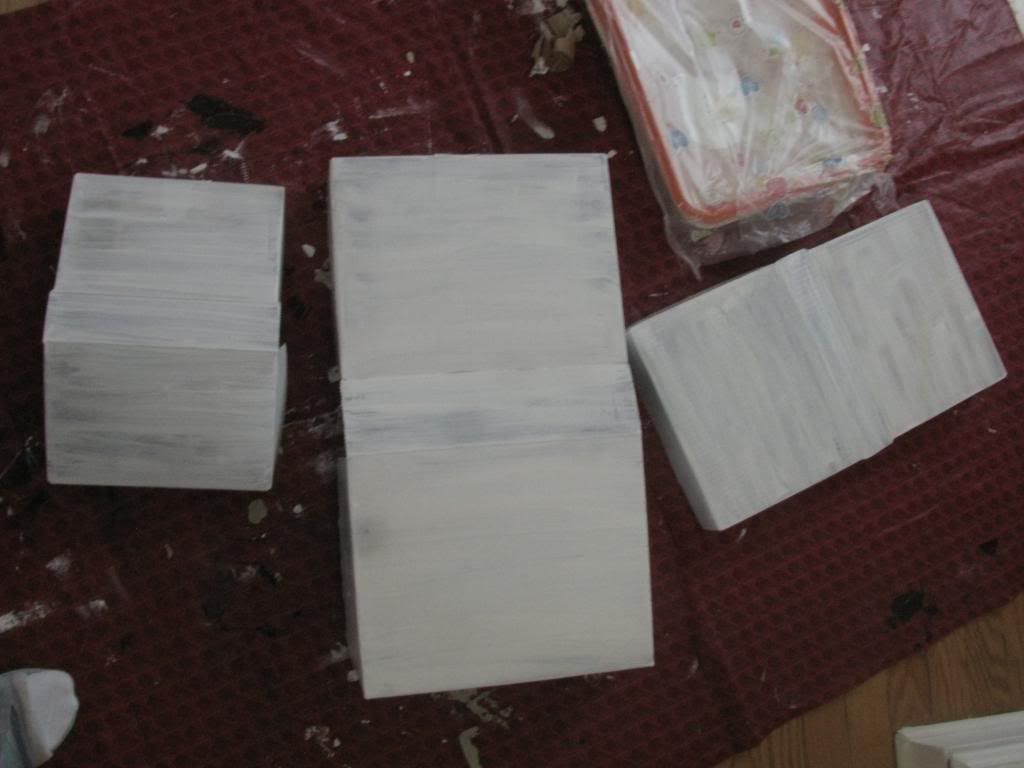
I decided to start with a coat of white paint just to cover up the dark colors.
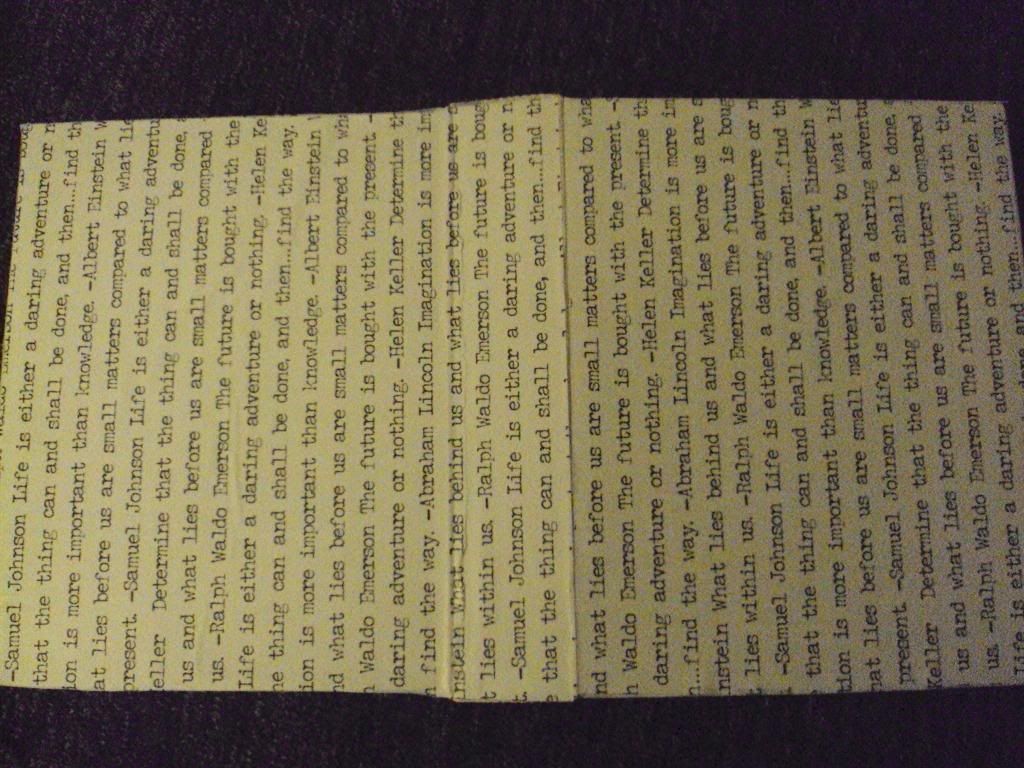
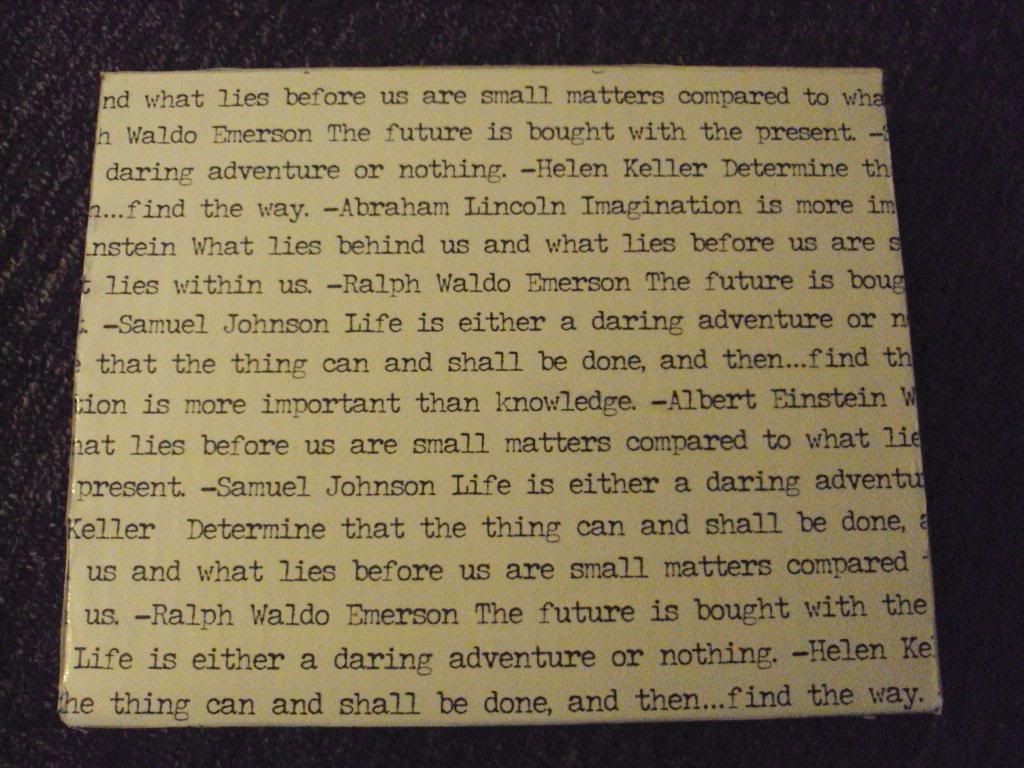
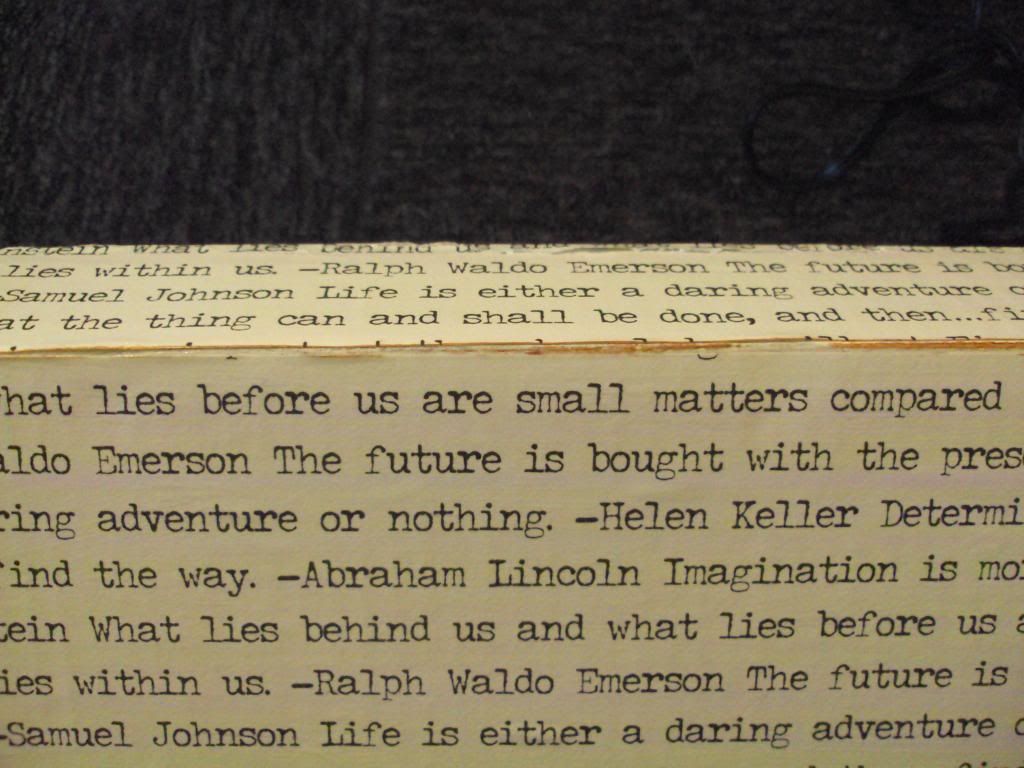
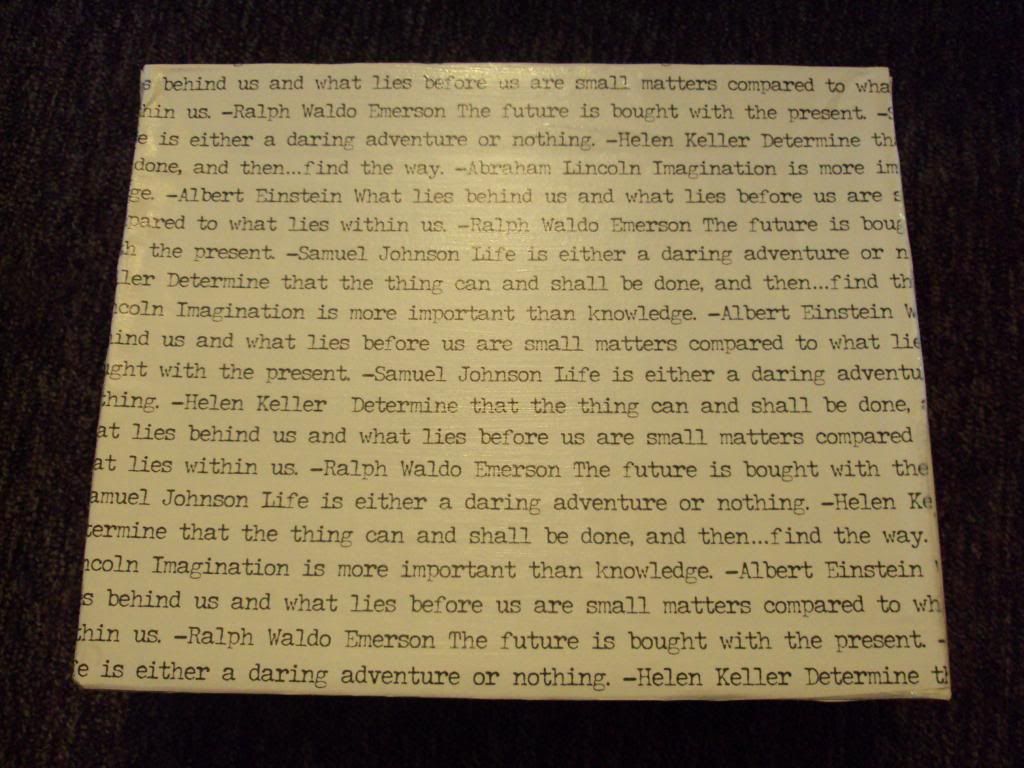
I found a scrap paper at Joanns that had quotes and I knew it would be perfect to cover 
the boxes.
I got to work with a little Mod Podge 
and soon enough they were looking much better

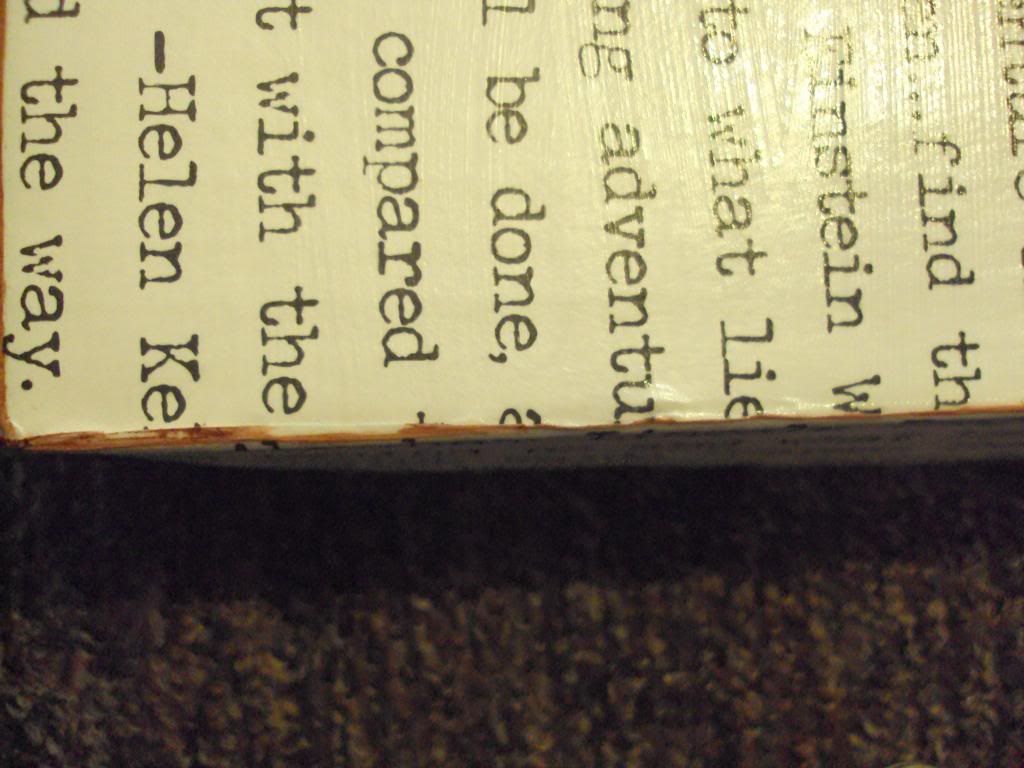
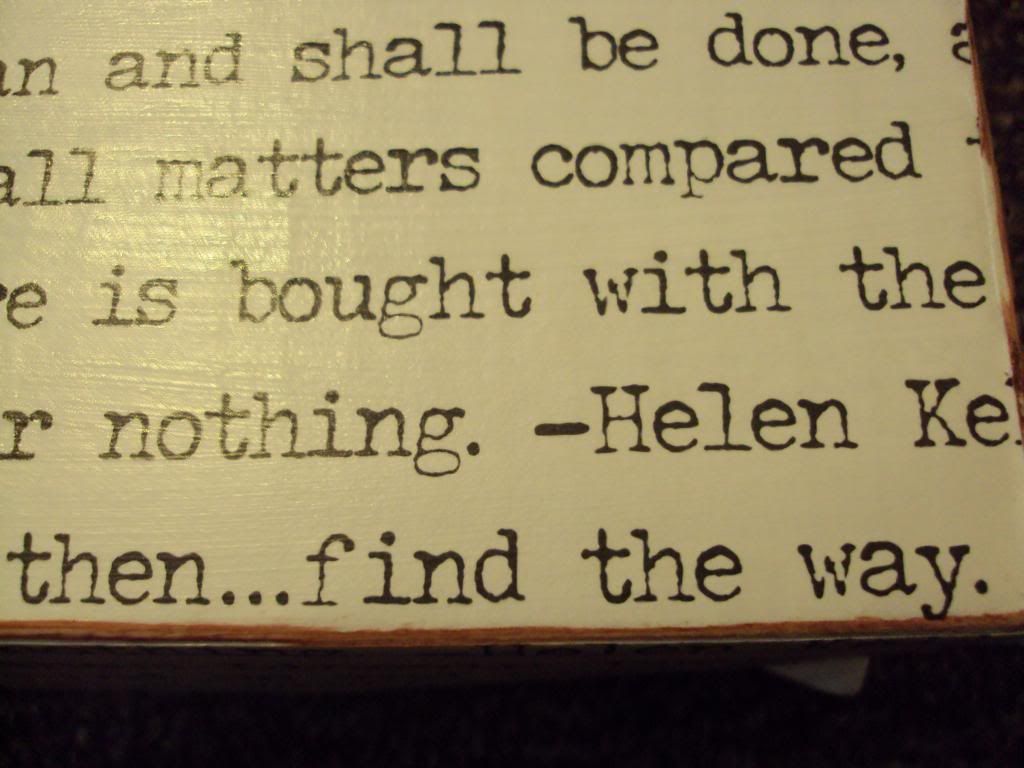
I distressed the edges with an ink pad and a little sanding
No need to be perfect 
just perfectly imperfect
A little ink along each edge went a long way
I used this handy tool to add
label pulls to the box.
 Here are two of the boxes completed and put to use.
 I found the inspiration for these from Country Living February issue where Thea Beasley covered boxes in French paper and maps.  I did not have French newspapers but I thought this paper would work quite well for the look.
I'm happy with how my little knock off turned out.


I will be joining these great link parties.
Thursday, February 14, 2013

Surviving the Blizzard & Valentines

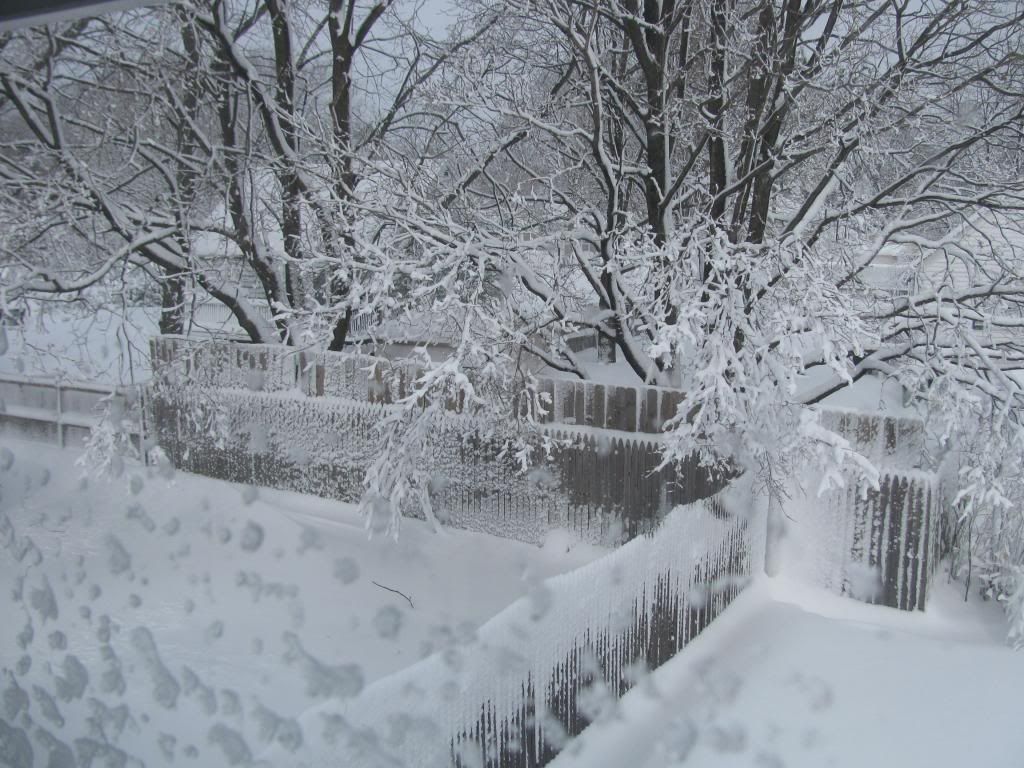
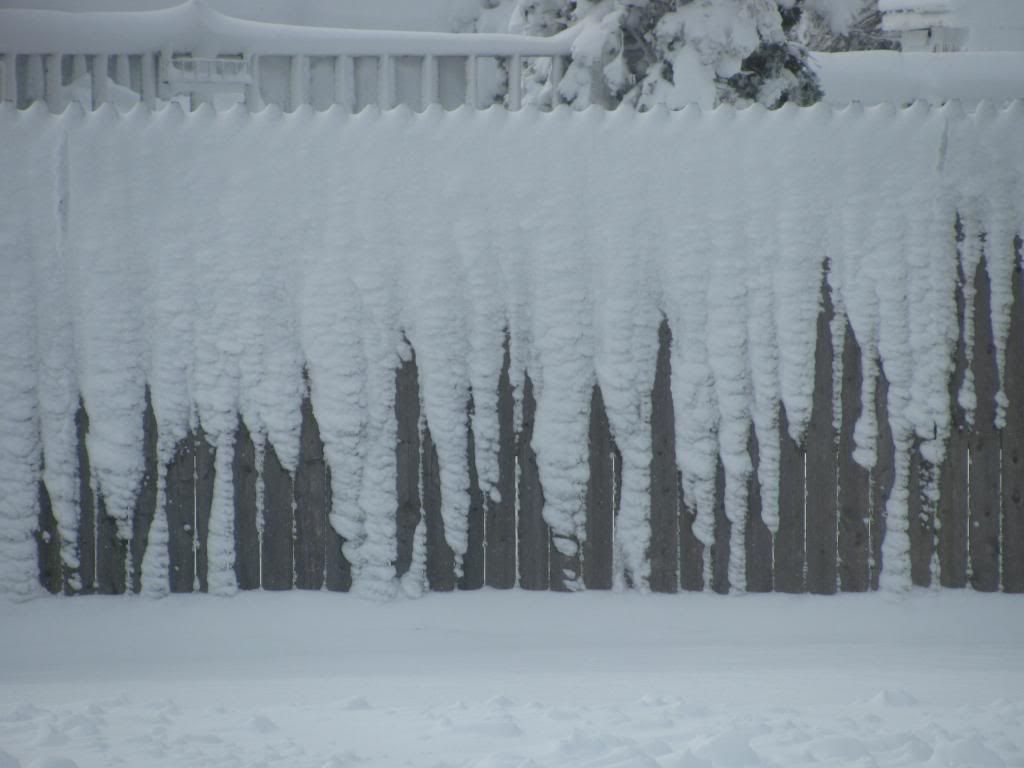
We survived the recent blizzard here with no problems.  We are so thankful to not have lost power during this storm.  Reminders of no power for eight days with Irene were no fun.  My heart went out to all those who lost power and were without heat.  Temps were down to single digits the night after the storm.
The snow can be such an inconvenience with travel and shoveling but it makes everything beautiful.
The blanket of white on our branches
from my window
so much snow
I did not venture out
picturesque
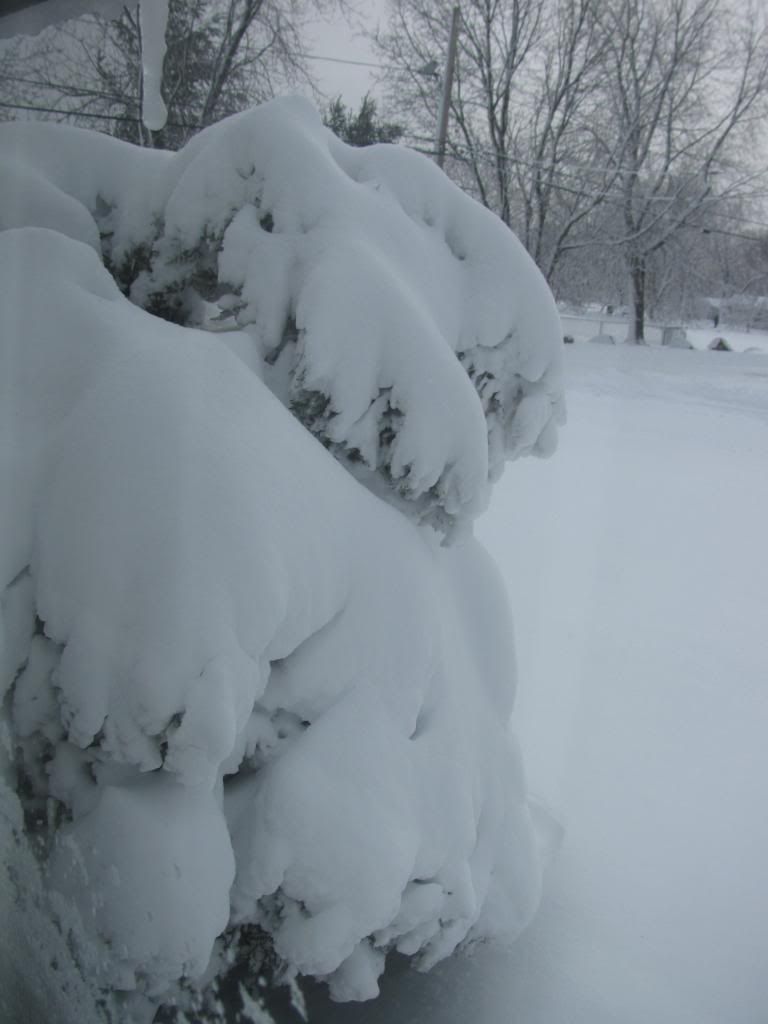
Our poor bush over loaded with the weight of this snow~not the light and fluffy kind
dense and heavy

Now my Valentine surprise for my love
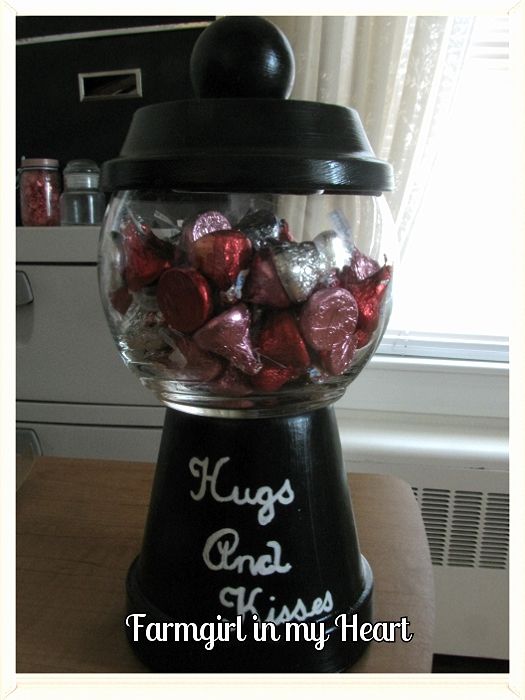
I have seen this cute "gum ball" machines on Pinterest and around blog land.
Since hubby loves candy I knew I wanted to try one.
They are so simple.
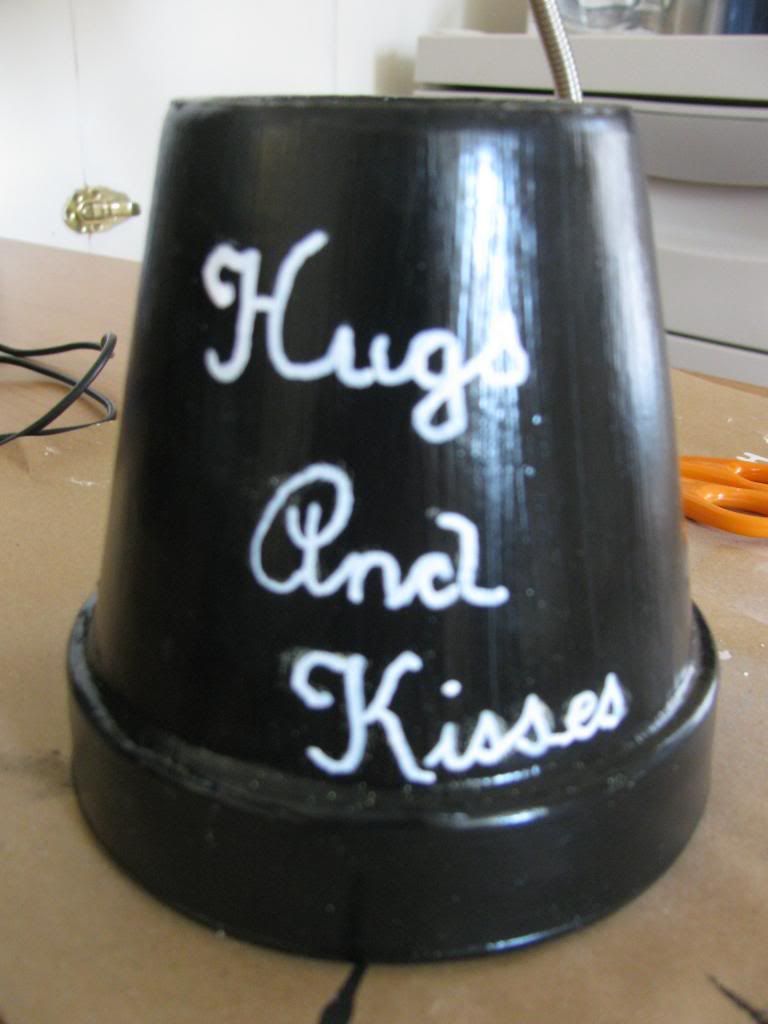
I painted a 4 inch pot black, inside and out.
And because I do not have a vinyl cutting machine I used a font as a guide and 
wrote the message with a paint pen.
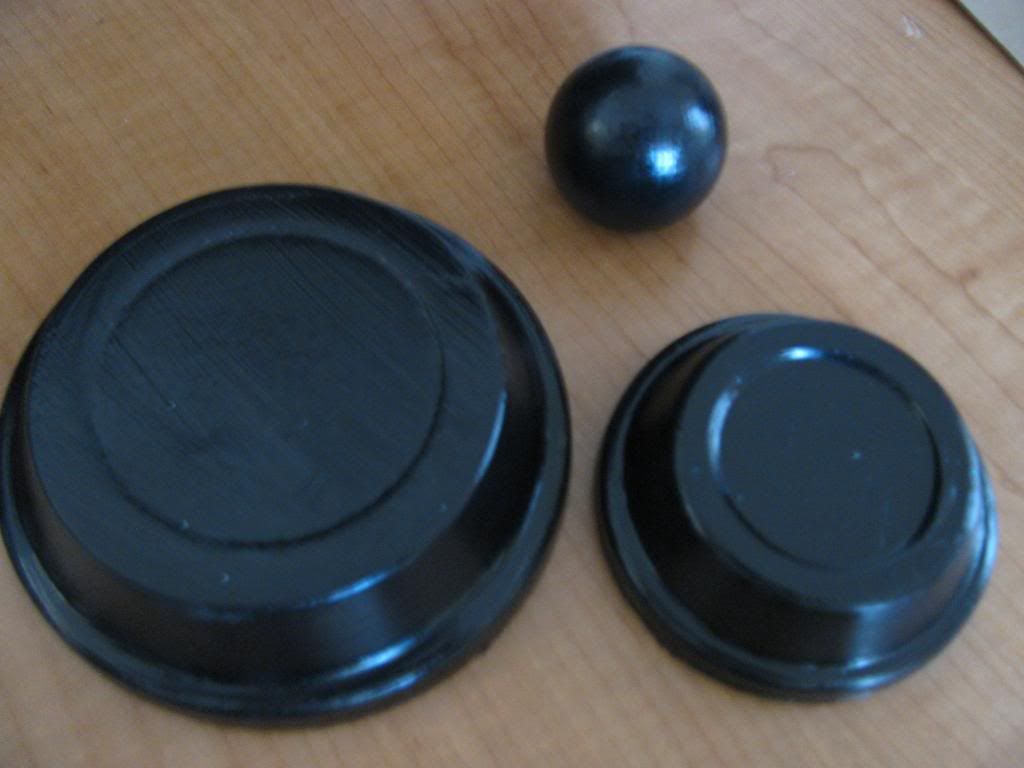
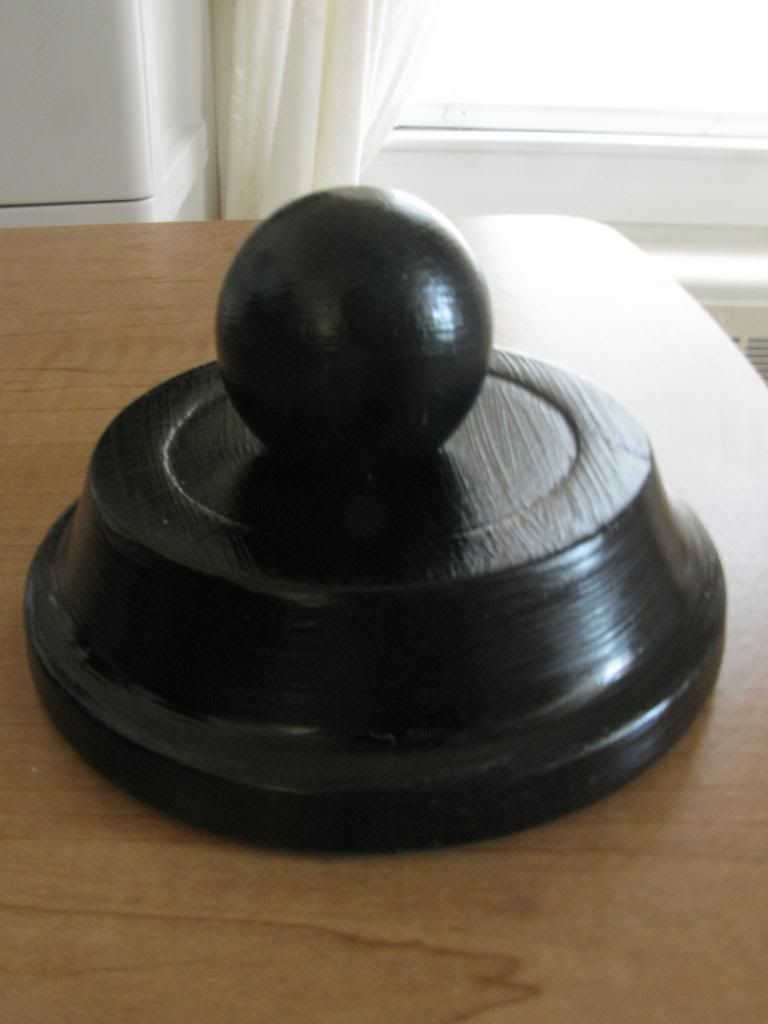
The cover consists of a 4 inch saucer, a 2 inch saucer, and a wooden ball
The smaller saucer keeps the bigger one from sliding off the glass jar.
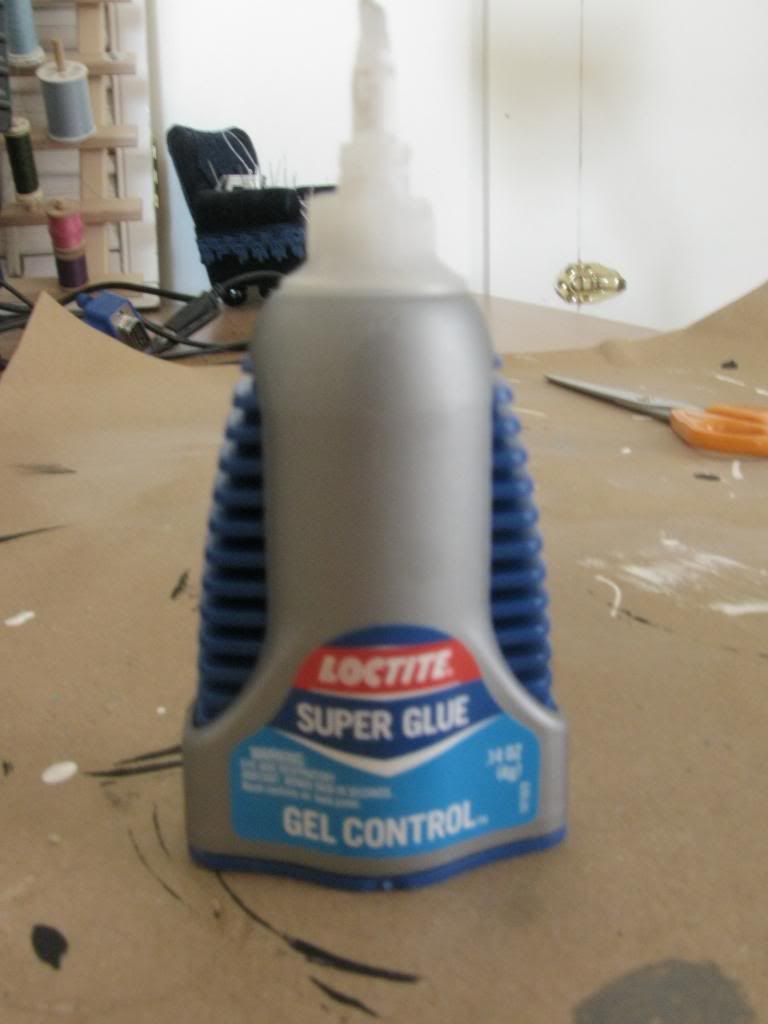
My E6000 glue dried up so I had to use good old super glue.
I glued the inverted smaller saucer inside the larger saucer
then glued the wooden knob on top
The glass jar is from Dollar Tree
I glued it to the inverted pot.
TADA
Such a fun idea.

I am joining these great parties.