Thursday, November 29, 2012

Simple Felt Ruffle Tree Skirt


It is hard to believe that Thanksgiving has already past and we are now well into this Christmas season.  We had a wonderful Thanksgiving with family and a lot of great food.  I was so busy that I did not even take one picture.  What kind of blogger am I??  My son did snap a quick picture right before we sat down to eat.  I loved how pretty everything looked and really wished I had remembered to snap one.  I hope everyone had as wonderful a day as we did.
Right before Thanksgiving I began working on a tree skirt.  Ours had seen better days. I saw many I liked but the prices were high.  So I decided to give it a try.  I had all the supplies here at home.
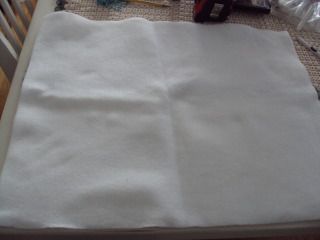
I started with a yard of felt.  Folded it in fourths and then following Martha Stewart's tutorial I cut the skirt out.
Photobucket

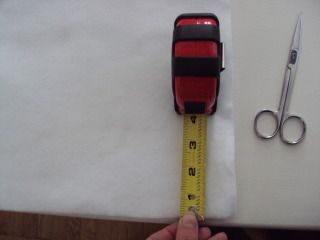
Once the skirt was cut out I cut 4 inch strips from the felt to add as a ruffle around the cut edge.
Photobucket

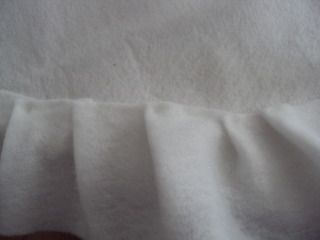
I gathered and hot glue all the way around.
Photobucket

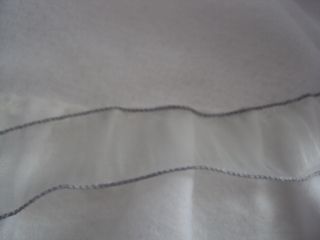
For a little added something I hot glued a silver ribbon over the ruffle.
Photobucket
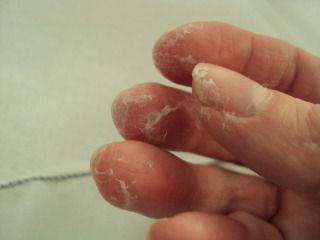
Be warned~when working with hot glue and felt this is what your fingers will look like, making it very difficult to take pictures.
Photobucket

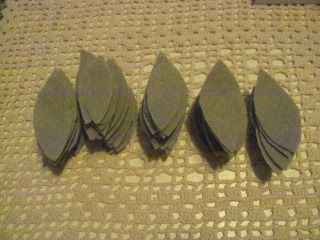
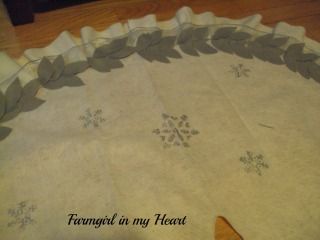
Once that was completed I cut out multiple leaf pattern from gray felt, then glued them at the inside edge of the silver ribbon and ruffle.
Photobucket

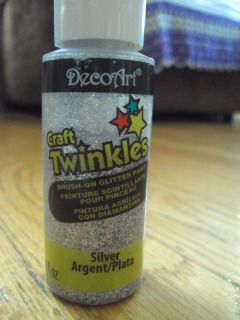
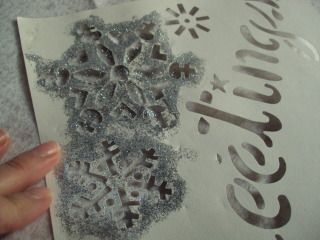
Then I chose some silver glitter paint and 
Photobucket

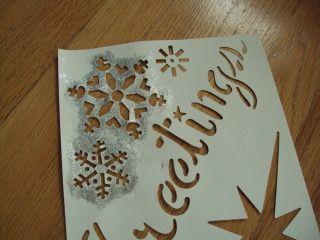
a snowflake stencil
Photobucket

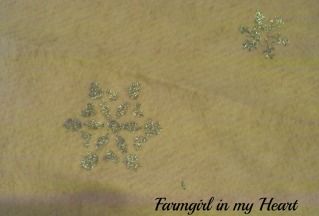
and added some sparkly snowflakes to the tree skirt.
Photobucket
I am so happy with how it turned out. 
Photobucket


Although a bit time consuming it is quite an easy tree skirt.  I love the felt, so easy to work with and it created a soft backdrop for the glittery snowflakes.
Photobucket
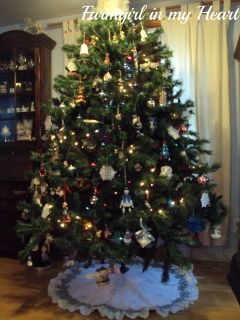
The completed skirt

and under the tree.
Photobucket
There are so many projects I want to do before Christmas.  I think I may not sleep from now until then.

Linking to these great parties.


Friday, November 16, 2012

Inspired Organization


Inspired by Edie's 31 Days to a Heart of Hospitality, I decided it was time to make the best use of my kitchen space.  We have a small, galley style kitchen and space is limited.  Once I saw these posts from Edie here, here, and here.  Our kitchen has no where near the space of Edie's but I knew I needed to make better use of the space we have.
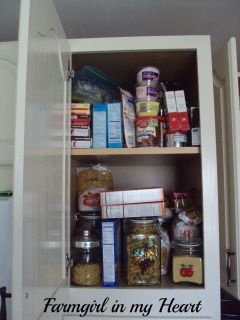
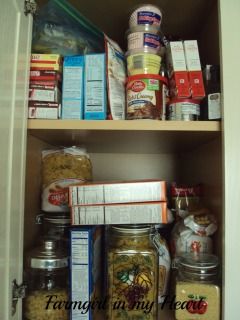
This is the top part of our slide out pantry.  These two shelves are very deep and do not pull out.  Because they are up so high they tend to become very messy.  I have wanted to reorganize them for a long time and finally was inspired to.
Photobucket
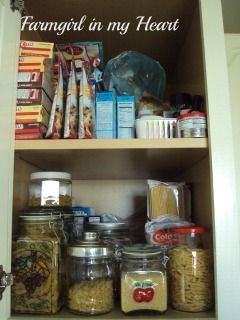
From big mess to:
Photobucket
order.  I used some small baskets and glass jars to hold pasta, cupcake liners, decorative sugars, and extracts.  Unfortunately, you can't see all the way into the cabinet but it is all contained and organized. Now I just need a few more glass jars to put things in, then there won't be that awful bag of brown sugar sticking up in the back.  I did use a lot of glass jars I already had.  They mostly hold all the varieties of pasta.
Photobucket
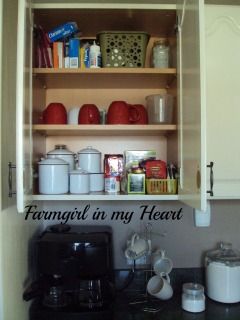
This cabinet is above our coffee pot.  It was a combo of so many things and in desperate need of help.
Photobucket
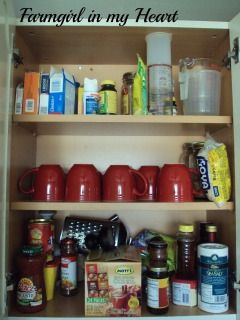
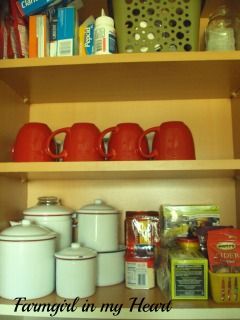
Now this has become of beverage center.  It is located above the coffee pot so it makes perfect sense.  Too bad it took me so long to realize this.
Photobucket
The top shelf contains a basket that holds assorted cooking tools I don't use as often, it also houses all of our medicines.  The next shelf contains our mugs, and the last one is for different beverages.  The enamel canisters hold a variety of teas and the basket holds different ciders.
Photobucket
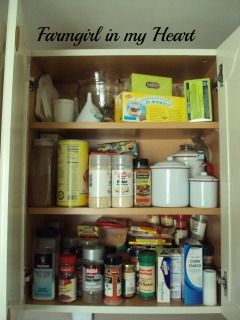
This cabinet is to the right of the beverage cabinet.  It was so disorganized and made it difficult to find what I needed.
Photobucket
Now it contains all of my cooking sauces, seasonings and spices.  Directly below are my canisters which hold sugar, flour, and rice.  Next is labels.
Photobucket

These changes may not seem significant but have definitely been an improvement the chaotic disorganization in my cabinets before.  I am thrilled with them.
I am thankful for the new layout of my kitchen and the additional cabinets since we remodeled.  This change has long been overdue and now I am making the best of use of the new space.
This organization comes at the perfect time.  I am hosting Thanksgiving and there will be a lot of holiday baking from now until the new year.
Linking to the great parties listed here.


Friday, November 9, 2012

Crochet Flower Embellishments

Today I am guest posting at Life in Grace for the 12 Days of Christmas series.  
I posted a tutorial for a basic crochet ear warmer/headband.  The fun part about these is the embellishments. Most patterns suggest sewing the embellishment onto your ear warmer but I think pinning it on is better.  There are so many possibilities, and you can change them out to fit your outfit or mood.

I am sharing this easy pattern I found originally on Favecrafts site.

Flower
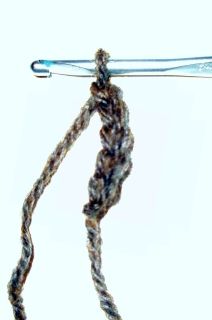
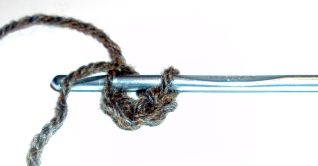
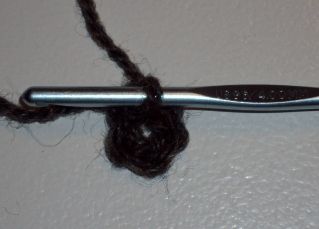
With smaller hook, ch 5; join with a slip st to form ring.

Photobucket

Photobucket
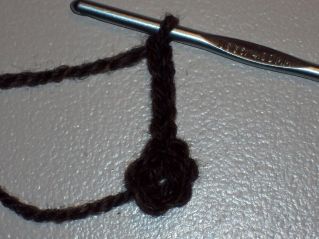
Round 1: Ch 5 (counts as dc and ch-2), [dc, ch 2] 5 times in ring; join to 3rd ch.
Here I made two additional [dc, ch 2], because I wanted my flower a little larger.

Photobucket

Photobucket
Round 2: Ch 1, (sc, hdc, dc, tr, dc, hdc, sc) in each ch-2 space around – 6 petals.

These stitches are to create the petals of the flower.  You begin and end with the smaller stitches. 
Photobucket
Once you have completed the petals (I have 7 petals because of my earlier increase) you will join them with a slip stitch to the first sc stitch.
Photobucket
Round 3: Holding Round 2 forward, * sc in dc from Round 1, ch 3; repeat from * around; join.
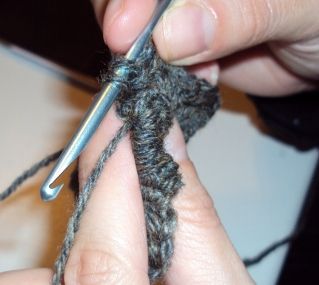
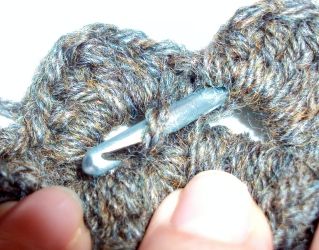
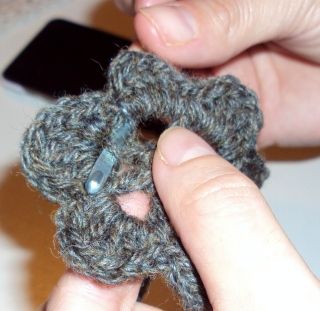
This part is a bit tricky~You will be crocheting behind the first row of stitches you made.  This will give the flower its depth.
From behind you will insert the hook in the first dc stitch you made.

Photobucket


Photobucket
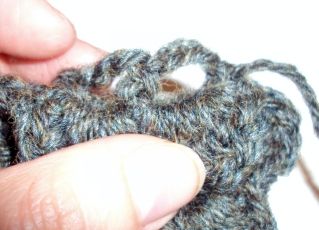
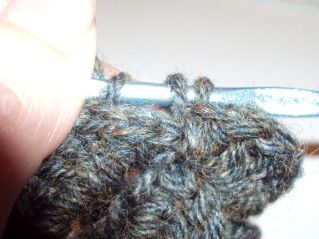
Ch 3 and sc around the next dc from row 1.  I tried to show this in the picture below.  I am holding the petals of row 2 down and crocheting the stitches around the dcs from row 1.  You will do this all around the flower and then join the last ch 3 to the first sc with a slip stitch.

Photobucket
Round 4: Ch 1, (sc, hdc, dc, 3 tr, dc, hdc, sc) in each ch-3 space around – 6 petals.
In this row you will begin to crochet the new petals of the flower.  You will crochet these stitches on the ch 3 stitches you just finished.
Photobucket
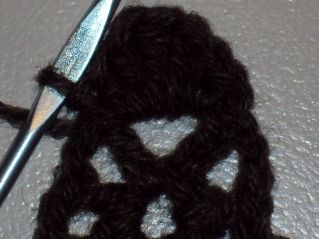
Round 5: Holding Round 4 forward, * sc in sc from Round 3, ch 4; repeat from * around; join. 
This row is completed in the same way that we did row 3.
Photobucket

Photobucket

Photobucket


Photobucket
Round 6: Ch 1, (sc, hdc, dc, 5 tr, dc, hdc, sc) in each ch-4 space around – 6 petals. Fasten off.
Complete this row in the same way we did row 4.
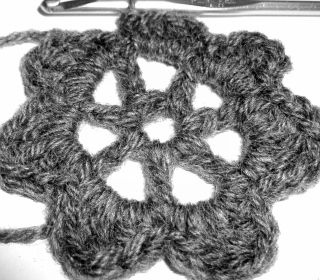
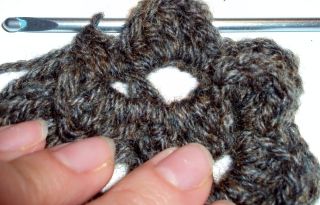
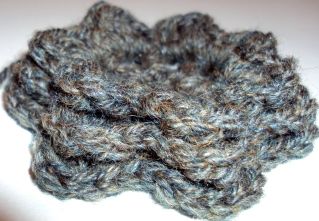
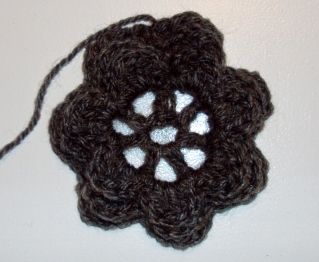
This is the completed flower.

Photobucket
You can see the different layers.
Photobucket
When adding embellishments there are so many patterns, styles and colors you can choose from.
This flower pattern is from this great book. In a bright patterned pink yarn.
This rose is a very full rose created in one long strip and then gathered.  I found this pattern on the Red Heart site when I crocheted the ruffle skirt and rosette headband for my niece.
This flower is from the same pattern as the pink one.  I used a thinner yarn and less layers.  This is on the baby hat I made for my sister.
Another full rose.  I shared the link on the baby gifts post.
Here is the ear warmer with flower added.  The pink and white flowers would both look fabulous with it.
These ear warmers with the embellishments will make great gifts.  There are many wonderful possibilities.
Soon I will be posting a tutorial for creating a bow to add to your headband.
 Don't forget to visit again.

Wednesday, November 7, 2012

Hospitality Begins at Home

Edie at Life in Grace posted 31 Days to a Heart of Hospitality.  You can read all her posts here.
One of the thoughts she shared is hospitality should begin at home.    We should serve our families first.
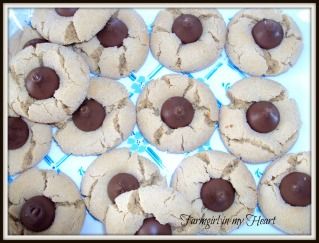
One of my favorite ways to serve my family is baking for them.  Of course, desserts are always a favorite here. Lately, hubby had been dropping some hints for these delicious peanut blossoms.  So I promptly got to
baking.  I follow the recipe from the Land o Lakes site because I prefer to make the cookies with real butter instead of shortening.
Photobucket


Ingredients

  • 1/2 CUP

    sugar
  • 1/2 CUP

    firmly packed brown sugar
  • 1/2 CUP

    Land O Lakes® Butter, softened
  • 1/2 CUP

    peanut butter
  • 1

    Land O Lakes® All-Natural Egg
  • 1 TEASPOON

    vanilla extract
  • 1/4 TEASPOON

    salt
  • 1 3/4 CUPS

    all-purpose flour
  • 1 TEASPOON

    baking soda
  • 1/4 CUP

    sugar
  • 48

    milk chocolate candy kisses, unwrapped
  • DIRECTIONS

    Heat oven to 375°F. Combine 1/2 cup sugar, brown sugar, butter and peanut butter in large bowl. Beat at medium speed until light and fluffy. Add egg, vanilla and salt; continue beating until well mixed. Add flour and baking soda. Continue beating, scraping bowl often, until well mixed.

    Shape dough into 1-inch balls. (If dough is too soft, refrigerate 30 to 60 minutes.) Roll balls in 1/4 cup sugar. Place 2 inches apart onto ungreased cookie sheets.

    Bake for 8 to 10 minutes or until very lightly golden brown. Immediately press 1 chocolate kiss in center of each cookie. Remove from cookie sheets; cool completely on wire racks.

    Everyone loves Pinterest and I am no exception.  I probably spend way too much time on there.  But some good does come of it.  Especially when I actually prepare one of the many recipes I've pinned.
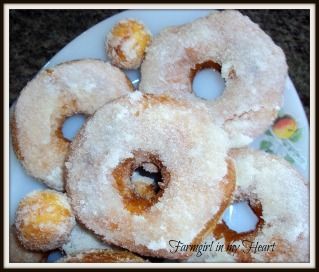
  • This is one of the easiest and tastiest recipes I've pinned.  You can find it at the Southern Plate.  Obviously, southerners know what they're doing when it comes to deliciousness.  This has quickly become one of our favorites.  I have made them a couple of times.  These fabulous donuts are made from biscuits.  Needless to say, anything fried then dipped in butter and sugar is going to quickly become a number one pick.  I followed the recipe except I only use sugar to coat mine instead of cinnamon sugar, and dip them in butter instead of margarine. They taste like fried doughboys that are so very popular in our area.  
Photobucket 
They are a mouth watering treat that takes nearly no time at all to make.  Everyone needs to try this at least one.  You will want to make them all the time.  They are perfect for these cool fall mornings with a hot latte.
You must let me know if you try these.


Linking to these parties.
Thursday, November 1, 2012

Chunky Circle Scarf

Crocheting has been my creative outlet recently.  I have acquired so many amazing patterns that I just can't stop making things.  Today I am showing you the newest scarf I made. I found the pattern on Pinterest and it is originally from People Webs.  This pattern was not difficult but you do have to pay close attention.  At times I did not and there was some thread pulling happening.  But in the end I am happy with how it turned out.

I did not use the same thread recommended in the pattern.  I love this soft and thick alpaca yarn.  I was making this scarf for my mom who walks home from work almost daily and I thought it would be warmer.


The original pattern directions are to join the ends together, but I knew my mom would prefer it as a regular scarf instead of an infinity scarf. 
 The pattern was simple to understand.  She explains things so well.  I made this while watching tv at night, most likely the source of my mistakes.  
I am so thankful to all the wonderful artists who post their patterns and share them so generously with others.    What did we ever do before the internet.  I know my pattern list has grown substantially with all the talented bloggers sharing their gifts.  
My mom loved the scarf.  I hope it helps her think of me whenever she uses it.

I will be linking up to the fabulous parties listed here.