Showing posts with label gifts. Show all posts

Thursday, February 14, 2013

Surviving the Blizzard & Valentines

We survived the recent blizzard here with no problems.  We are so thankful to not have lost power during this storm.  Reminders of no power for eight days with Irene were no fun.  My heart went out to all those who lost power and were without heat.  Temps were down to single digits the night after the storm.
The snow can be such an inconvenience with travel and shoveling but it makes everything beautiful.
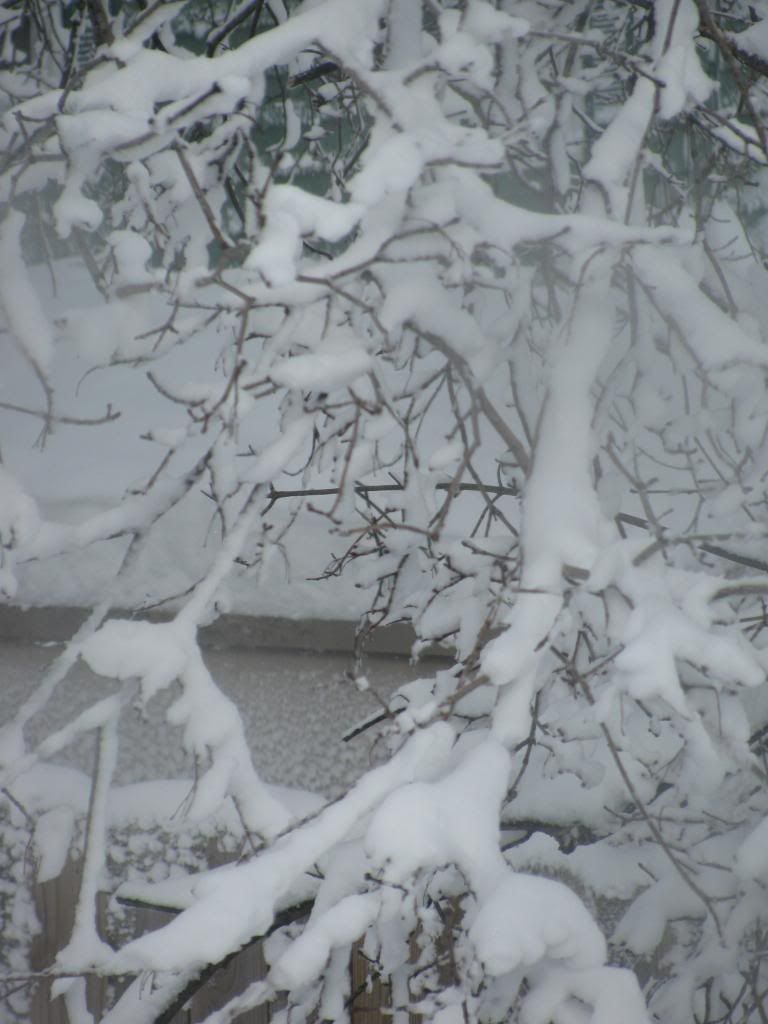
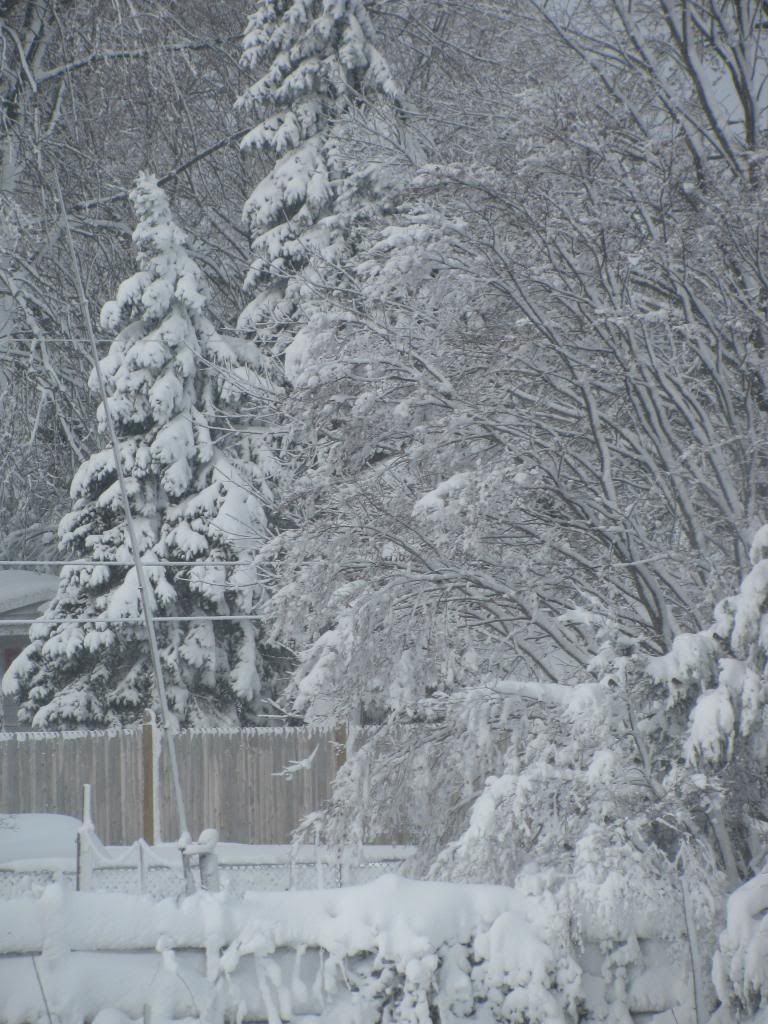
The blanket of white on our branches
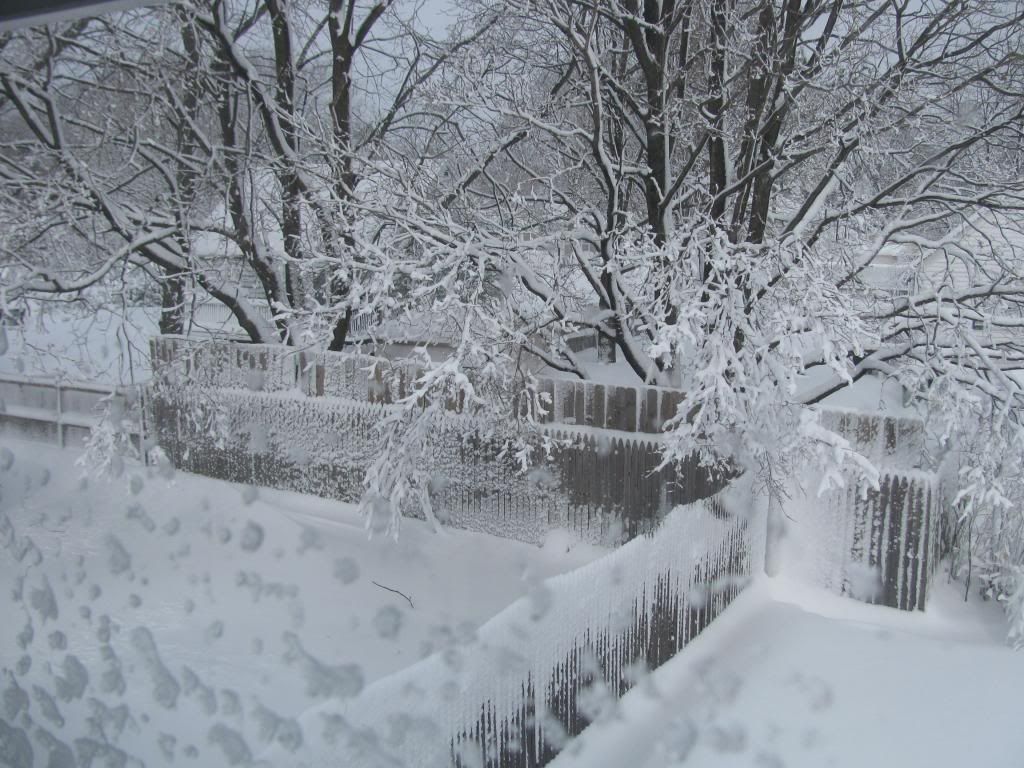
from my window
so much snow
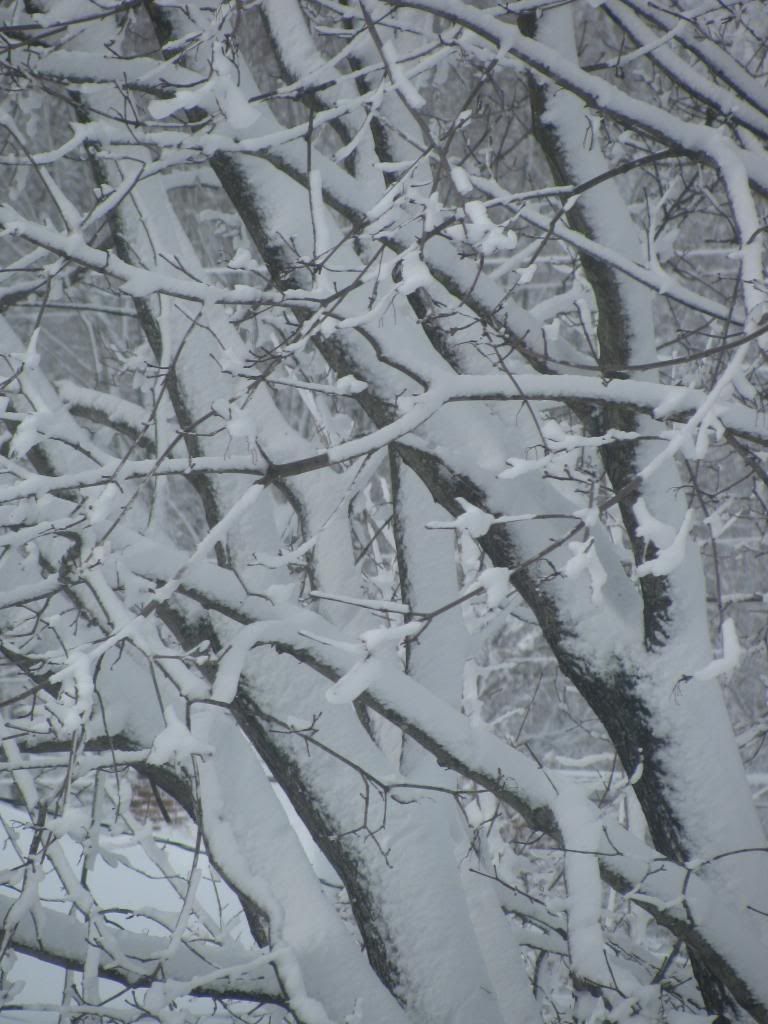
I did not venture out
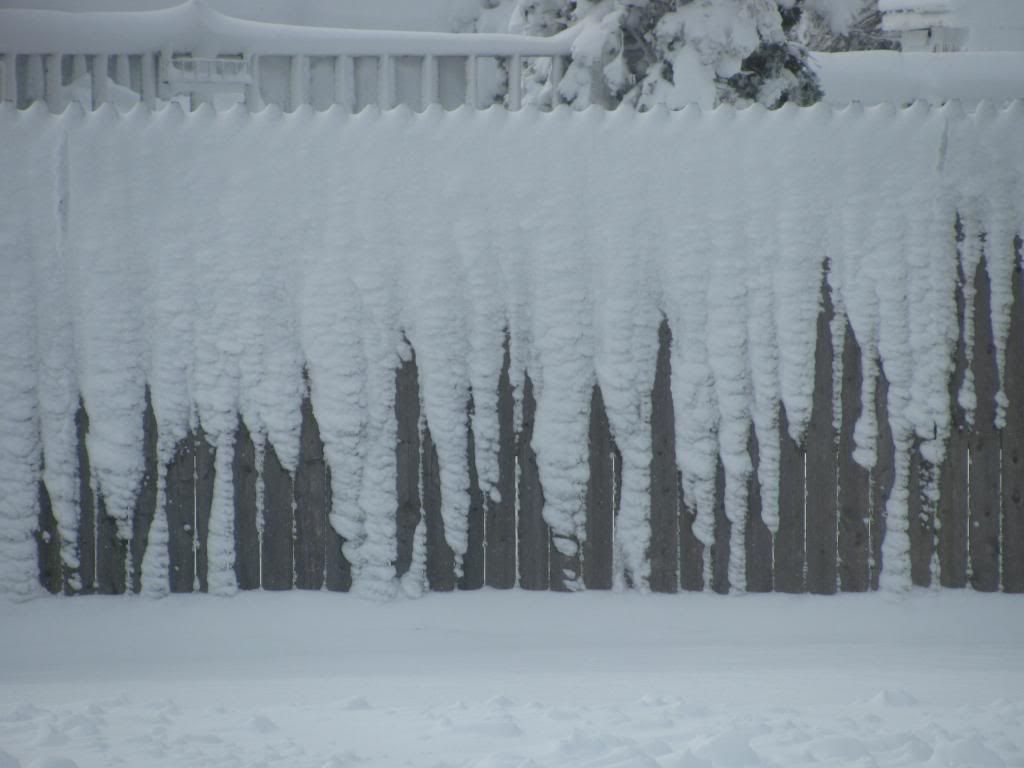
picturesque
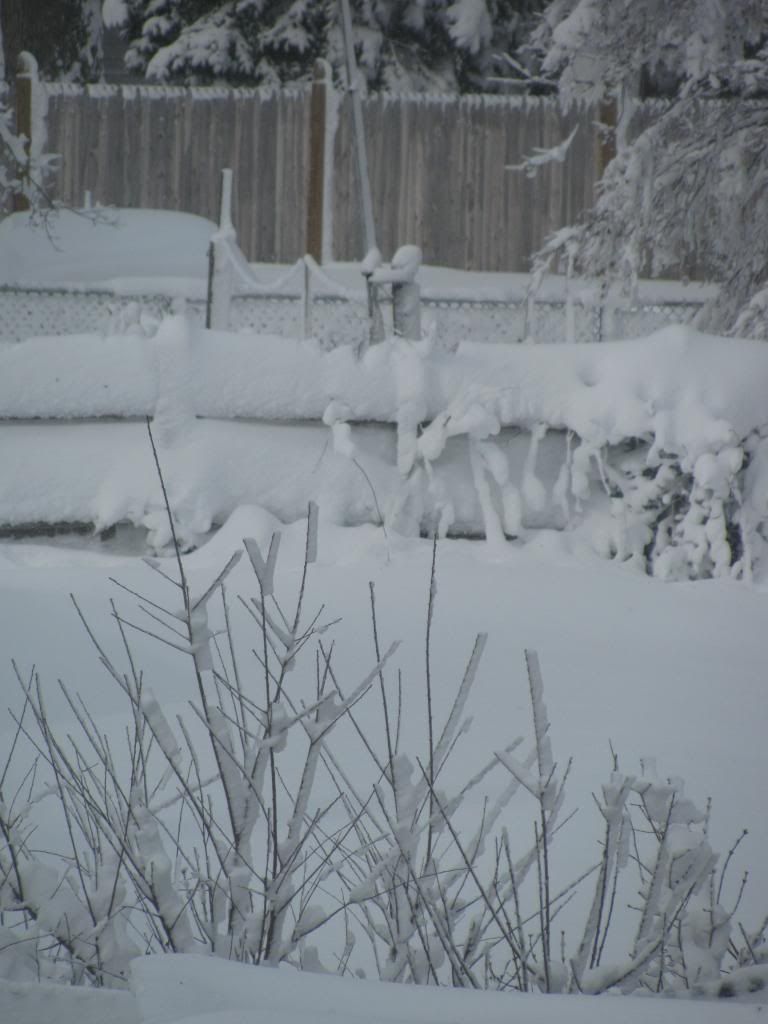
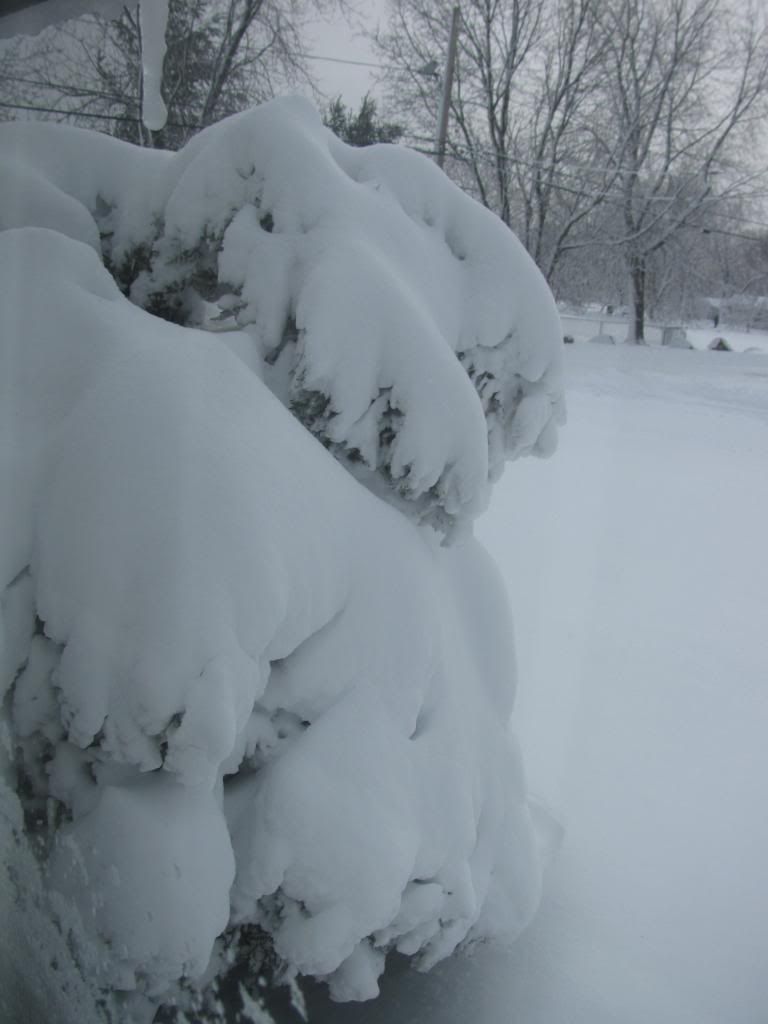
Our poor bush over loaded with the weight of this snow~not the light and fluffy kind
dense and heavy

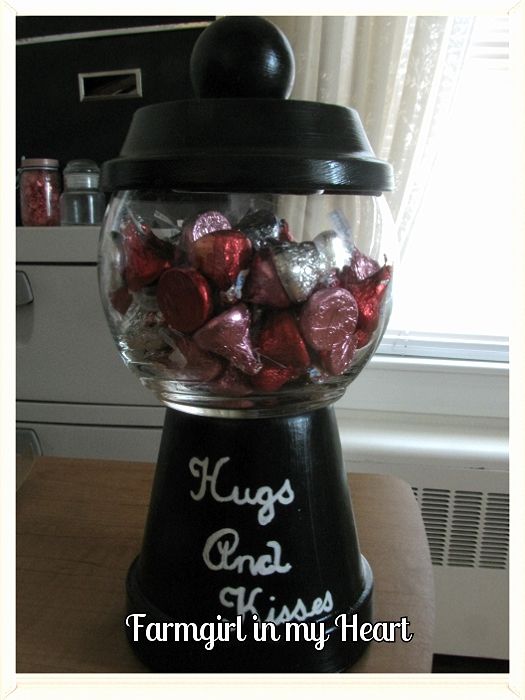
Now my Valentine surprise for my love
I have seen this cute "gum ball" machines on Pinterest and around blog land.
Since hubby loves candy I knew I wanted to try one.
They are so simple.
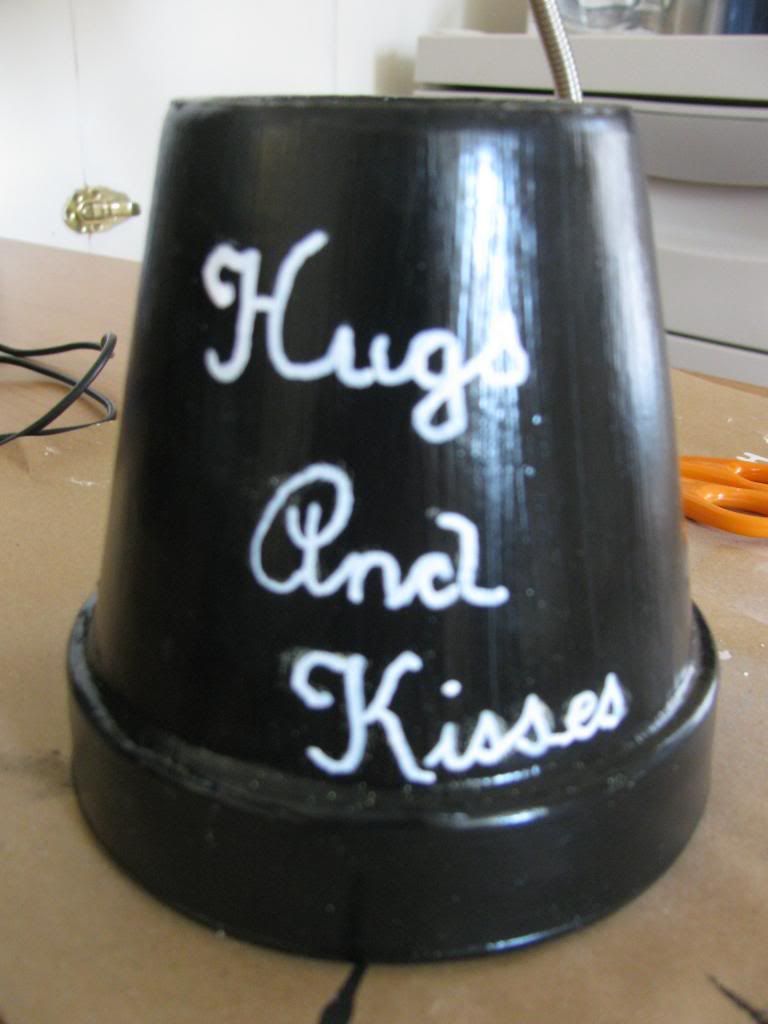
I painted a 4 inch pot black, inside and out.
And because I do not have a vinyl cutting machine I used a font as a guide and 
wrote the message with a paint pen.
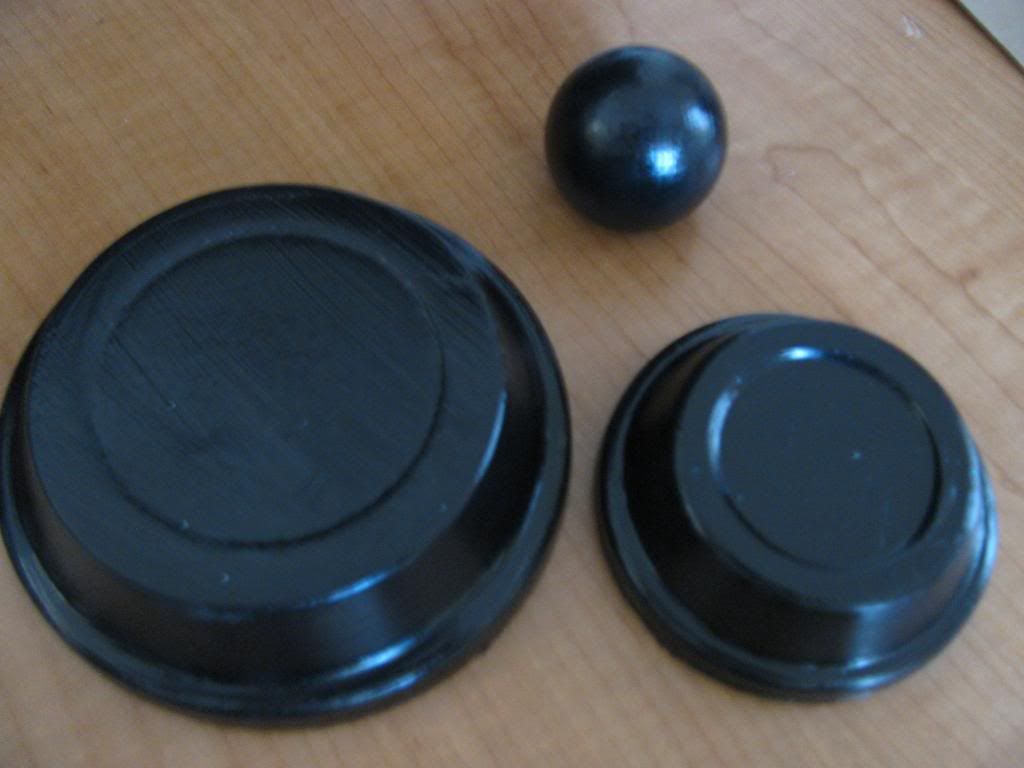
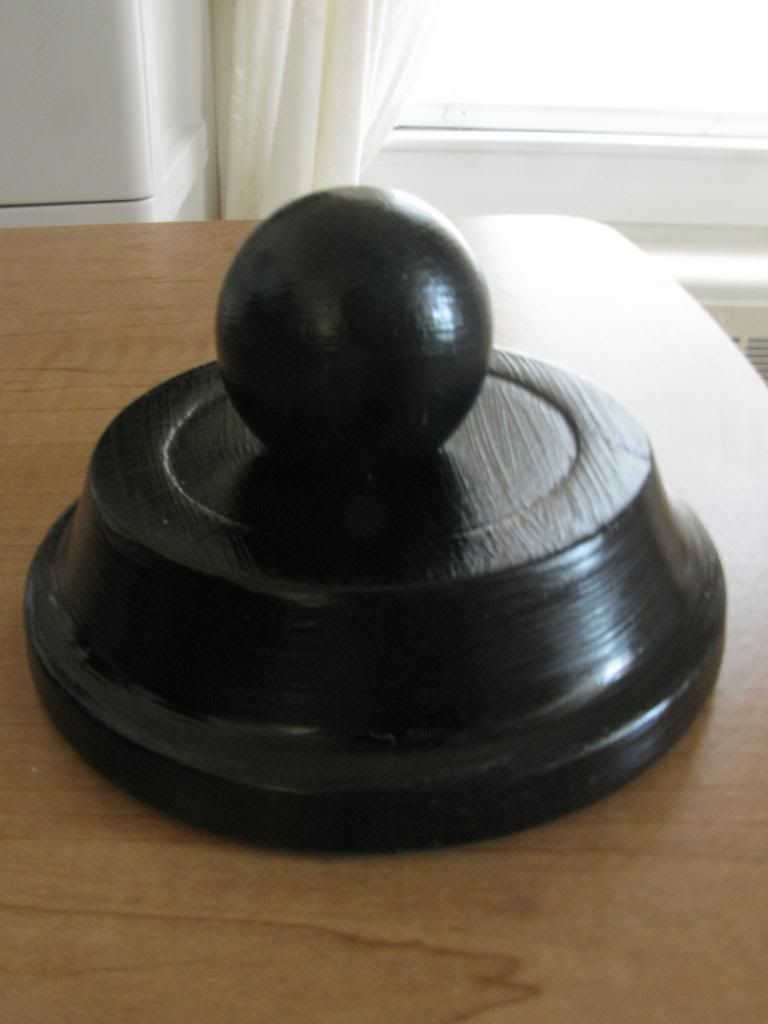
The cover consists of a 4 inch saucer, a 2 inch saucer, and a wooden ball
The smaller saucer keeps the bigger one from sliding off the glass jar.
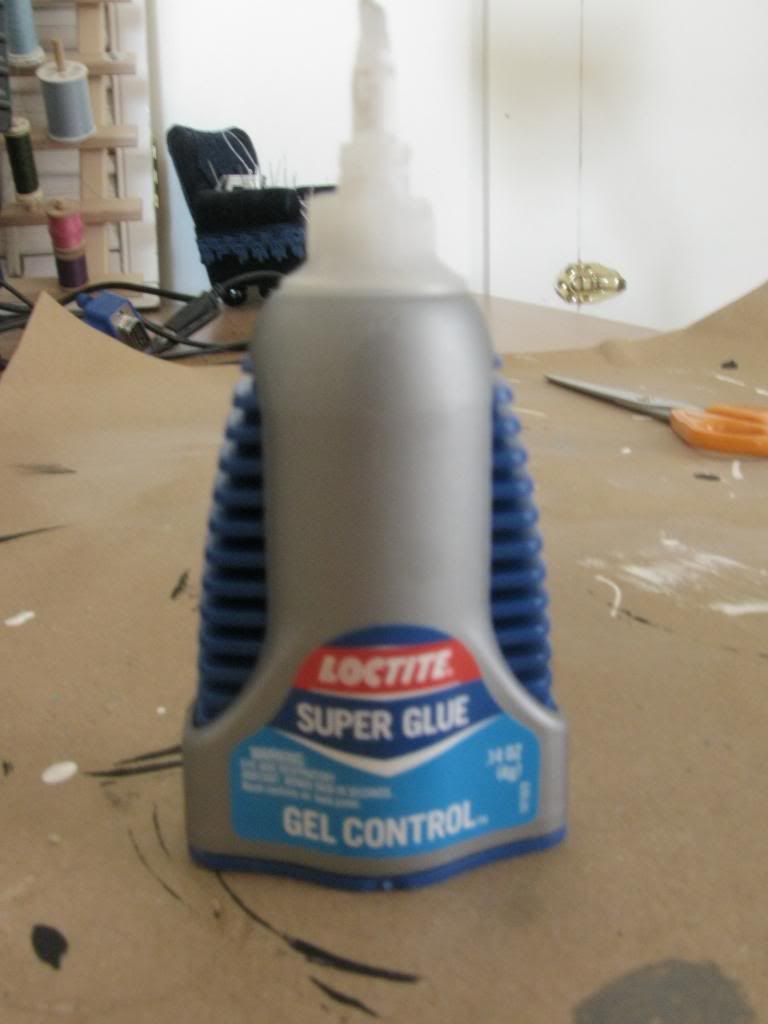
My E6000 glue dried up so I had to use good old super glue.
I glued the inverted smaller saucer inside the larger saucer
then glued the wooden knob on top
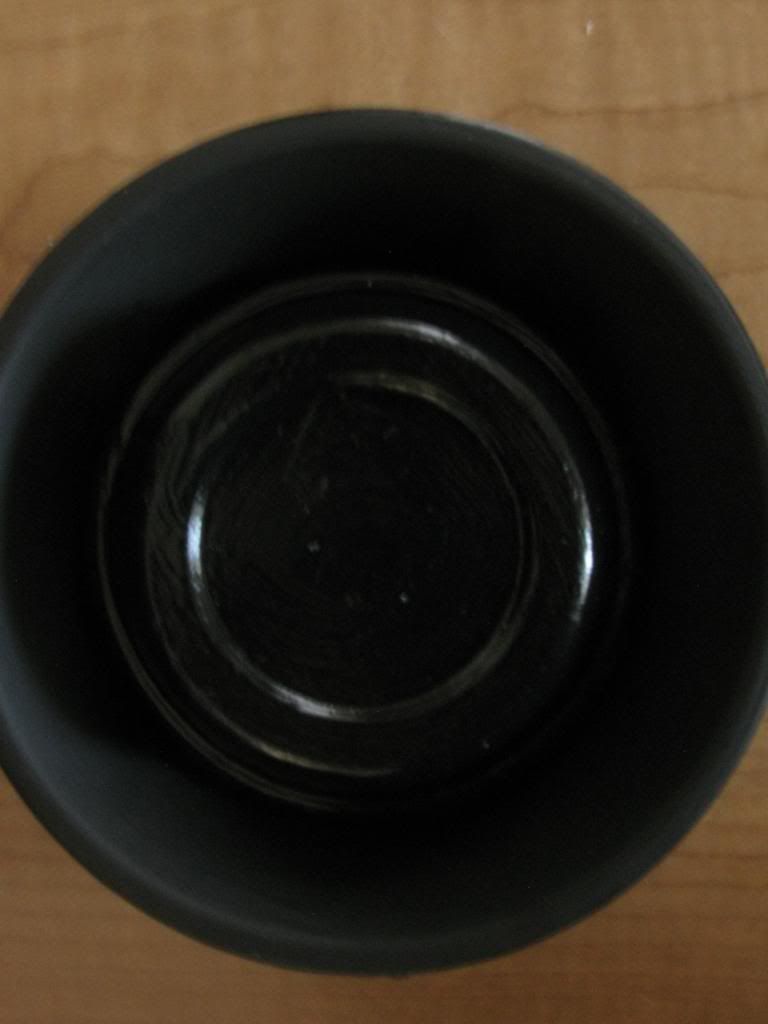
The glass jar is from Dollar Tree
I glued it to the inverted pot.
TADA
Such a fun idea.

I am joining these great parties.


Thursday, December 6, 2012

Winter Tulle Wreath & a Gift

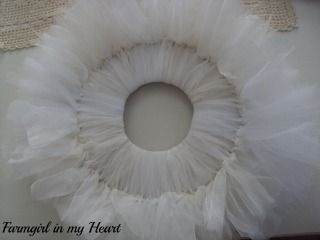
My craft stash is quite large and currently I am trying to clean out, organize, and use of as many supplies as I can before buying more.  This is never easy.  There are so many great supplies calling my name.  To help with this, I have not been to Joann's, Michaels, or Hobby Lobby in weeks.  But I did want a new wreath for our door.  I wanted one that could stay up through the winter.  Searching through my stash I found tons of white, sheer ribbon and tulle.  I did not have a wreath form so I improvised with cardboard.  Using a plate and bowl I cut out two circles of cardboard and the inside circles.  Then I glued them together for stability.  Then I cut all the tulle and ribbon to fairly even lengths.  Then I began wrapping them around the form and tying them all around.  I wanted the wreath to be very full and fluffy so I pushed each piece tightly together.
Here is the form filled with the tulle and ribbon.  Now the embellishment possibilities are endless. 
Photobucket
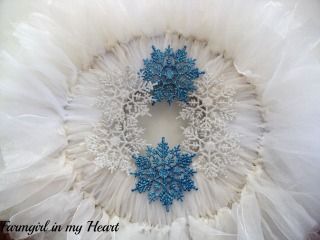
Because I was working with what I already had, I was limited in my embellishments.  These snowflakes were already in my stash so I hot glued them around the center of the wreath.  I really wish I had more blue to add to the wreath.  For now they are glued lightly and I can alter it whenever I find something I like more.
Photobucket
Here is the wreath on our door.  I am quite pleased with it. The best part was that everything was on hand.  The ribbon and tulle had been in my stash for a veeerrrryyy lllooonnnggg time and it makes me happy to see it put to good use.
Photobucket
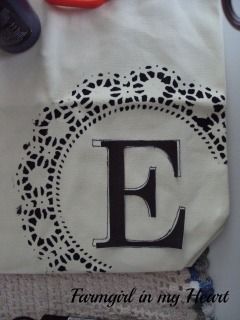
My next project was another Pinterest favorite.  It is originally found here.  When I tried this, I could not find the original pin and I was in a bit of a hurry so I winged it.  I had the basic idea in my head from seeing it previously.  First, I started with the paper doily and followed her directions for that part.  The next part is what I tried on my own. I printed up a large E and cut it out.
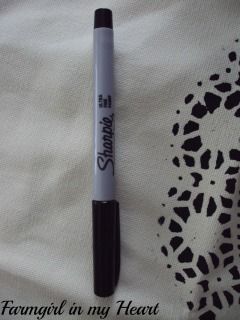
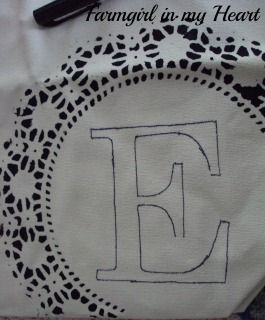
Then using a fine point Sharpie marker
Photobucket
I traced the letter
Photobucket
Here it is missing a few lines but that's ok.
Photobucket

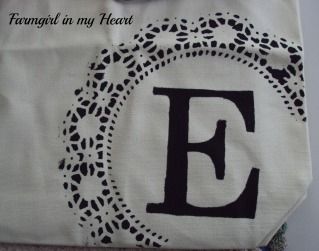
Then I filled it in with paint and ironed the bag to make it washer safe (at least I hope so).  I sent this off as a gift to a friend and I hope she loves it.  She loves monograms and I do believe I saw this her on to do list one day. I hope I beat her to it.  
Photobucket

There are so many projects started and others still swirling around my head.  Hopefully, I can finish them and post them soon.

I will be linking up to the fabulous parties here.

Friday, November 9, 2012

Crochet Flower Embellishments

Today I am guest posting at Life in Grace for the 12 Days of Christmas series.  
I posted a tutorial for a basic crochet ear warmer/headband.  The fun part about these is the embellishments. Most patterns suggest sewing the embellishment onto your ear warmer but I think pinning it on is better.  There are so many possibilities, and you can change them out to fit your outfit or mood.

I am sharing this easy pattern I found originally on Favecrafts site.

Flower
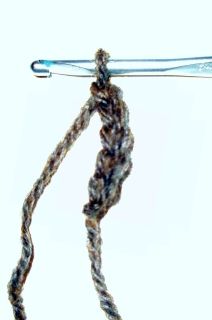
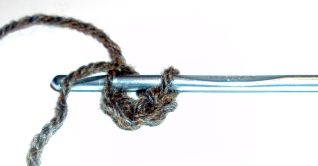
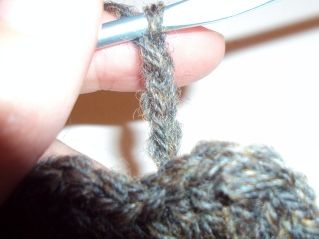
With smaller hook, ch 5; join with a slip st to form ring.

Photobucket

Photobucket
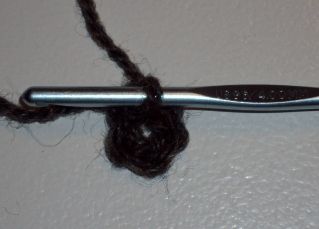
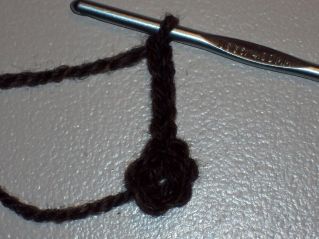
Round 1: Ch 5 (counts as dc and ch-2), [dc, ch 2] 5 times in ring; join to 3rd ch.
Here I made two additional [dc, ch 2], because I wanted my flower a little larger.

Photobucket

Photobucket
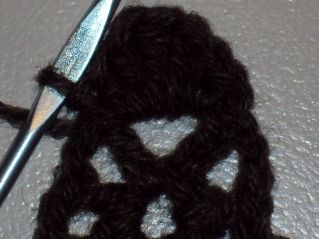
Round 2: Ch 1, (sc, hdc, dc, tr, dc, hdc, sc) in each ch-2 space around – 6 petals.

These stitches are to create the petals of the flower.  You begin and end with the smaller stitches. 
Photobucket
Once you have completed the petals (I have 7 petals because of my earlier increase) you will join them with a slip stitch to the first sc stitch.
Photobucket
Round 3: Holding Round 2 forward, * sc in dc from Round 1, ch 3; repeat from * around; join.
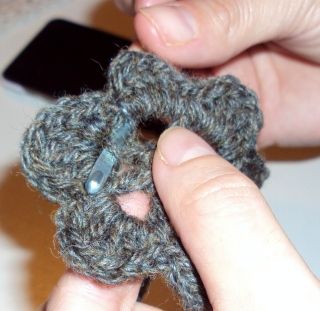
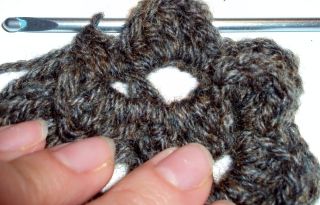
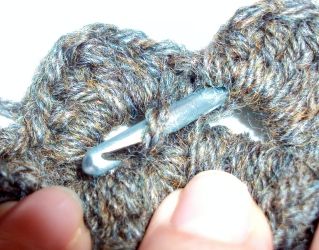
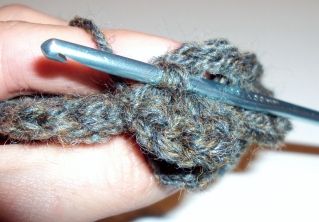
This part is a bit tricky~You will be crocheting behind the first row of stitches you made.  This will give the flower its depth.
From behind you will insert the hook in the first dc stitch you made.

Photobucket


Photobucket
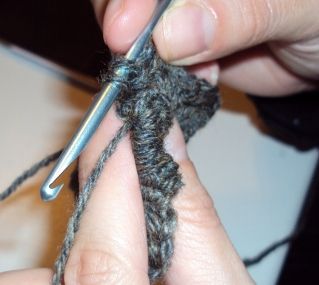
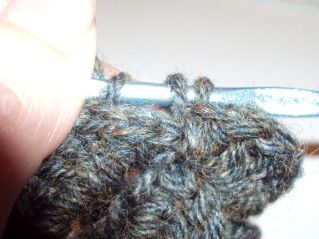
Ch 3 and sc around the next dc from row 1.  I tried to show this in the picture below.  I am holding the petals of row 2 down and crocheting the stitches around the dcs from row 1.  You will do this all around the flower and then join the last ch 3 to the first sc with a slip stitch.

Photobucket
Round 4: Ch 1, (sc, hdc, dc, 3 tr, dc, hdc, sc) in each ch-3 space around – 6 petals.
In this row you will begin to crochet the new petals of the flower.  You will crochet these stitches on the ch 3 stitches you just finished.
Photobucket
Round 5: Holding Round 4 forward, * sc in sc from Round 3, ch 4; repeat from * around; join. 
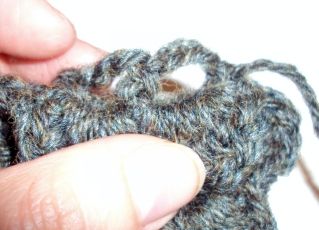
This row is completed in the same way that we did row 3.
Photobucket

Photobucket

Photobucket


Photobucket
Round 6: Ch 1, (sc, hdc, dc, 5 tr, dc, hdc, sc) in each ch-4 space around – 6 petals. Fasten off.
Complete this row in the same way we did row 4.
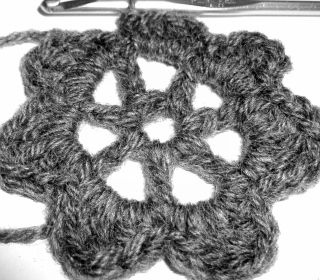
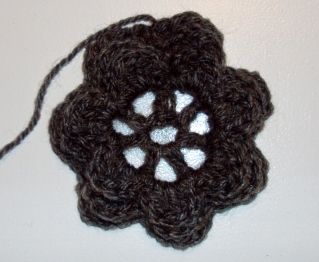
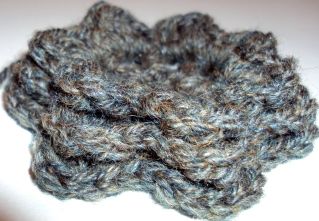
This is the completed flower.

Photobucket
You can see the different layers.
Photobucket
When adding embellishments there are so many patterns, styles and colors you can choose from.
This flower pattern is from this great book. In a bright patterned pink yarn.
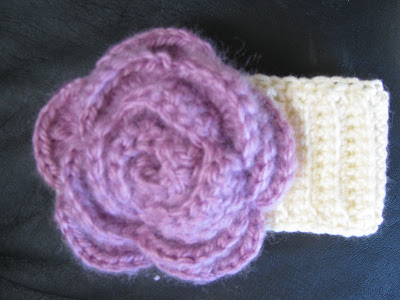
This rose is a very full rose created in one long strip and then gathered.  I found this pattern on the Red Heart site when I crocheted the ruffle skirt and rosette headband for my niece.
This flower is from the same pattern as the pink one.  I used a thinner yarn and less layers.  This is on the baby hat I made for my sister.
Another full rose.  I shared the link on the baby gifts post.
Here is the ear warmer with flower added.  The pink and white flowers would both look fabulous with it.
These ear warmers with the embellishments will make great gifts.  There are many wonderful possibilities.
Soon I will be posting a tutorial for creating a bow to add to your headband.
 Don't forget to visit again.

Friday, October 26, 2012

Baby on the Way

Not for me, though~My sister is soon to be mommy to a baby girl.  She is the proud mama of two very handsome young boys and is thrilled to be plunging into baby girl mommyhood.  As soon as we knew she would be having a baby girl, my mom and I started on some very fun projects.  A couple of weeks ago we had her baby shower and she was able to see the treasures for her little girl.
I made this newborn cloche on the drive to Virginia.  
 The rose is one of my favorite patterns.  She will look precious sporting this hat adorned with a sweet rose.
There is nothing more precious than a baby bonnet.  This pattern was so simple and easy and it was another one I made during the drive to Virginia.
The circular back is started much like a hat pattern, with increases spaced evenly.  It makes a the shape of the bonnet.
Headband with a large rose.  The fullness of this rose caught my eye and I knew I wanted to try it.
I found the pattern for the rose here.  The headband is made with single crochet stitches all around.
Sweet rose headband.  I cut circles out of lace and layered them to create the fullness.
Then I added some pearls in the middle for a little glam.  Every girl needs a little glam.
Pink rose headband.  I took apart a silk flower and glued everything together than added it to the headband.
Small car seat blanket.  She is due at the end of December and you can never have too many blankets with a little one. 
This little blanket was crocheted with alternating rows of double crochet and single crochet.  The edging is a shell stitch.
This afghan is by far my favorite.  It is a vintage pattern that my mom had.  I love its simplicity.  It what makes the afghan gorgeous.
Lining up the stitches is the most important thing in a pattern like this.  There were times that I had to tear apart rows because one stitch was off but in the end it was worth it.
The edging is light and airy.  It gives the afghan an added measure of femininity.  
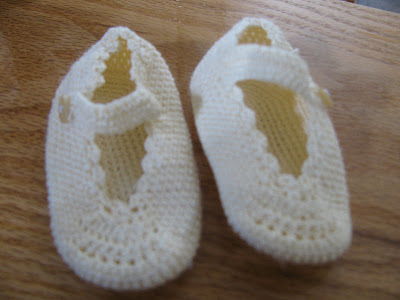
Crocheted Mary Janes~these precious little shoes were fun to make.  They are so simple and sweet.  Working with such thin thread can be a challenge but these were a hit with everyone.
The shower was held at a place that neither my mom or I had ever seen until the day of.  It was difficult to prepare for decorations and set.  Thankfully everything turned out well.  I wish the space was brighter and less masculine but you have to work with what you have.
These fabulous cupcakes were made by a friend.  They were pretty  and yummy.
These booties are so precious.  I did not finish them in time for the shower but they were done shortly after.
I followed the pattern at Repeat Crafter Me.  She has some amazing patterns and fun things.
Her crocheted snowman and Mickey/Minnie Mouse hats are next on the to do list.  But first my sister has requested a lace bonnet for the baby's christening and I am currently working on a scarf for my mom.  More on that pattern soon.
My mom crocheted a filet crochet bedspread out of white cotton thread in a Snow White and the Seven Dwarfs pattern.  I am waiting for my sister to email that picture so I can share it here.  It is truly a work of art.

Linking to:


Skip To My Lou
Rooted In Thyme


Liz Marie Blog