Showing posts with label burlap. Show all posts

Friday, February 8, 2013

Burlap Votives

We are prepping here for Snowmaggedon here.  There is a blizzard watch for our area until 6 p.m. tomorrow.  We have plenty of food and water, wood for the wood stove to last us a bit, and we're charging up everything we can.  Praying for the best and preparing for the worst  case scenario.  We have been teased with snow all winter.  Minor accumulations one day, six inches a week later, several dustings and a few accumulations of less than three inches but this storm is going to be the big one, the mother of all storms. Rivaling the Blizzard of 1978, whose thirty-five year anniversary was February 6.  We may be snow in for quite some time.
In the midst of all this storm prep I decided I needed to work on something fun.  I made this a couple of years ago, it's wintry cuteness made me smile, but I am done with this winter and really wanted a change, so..
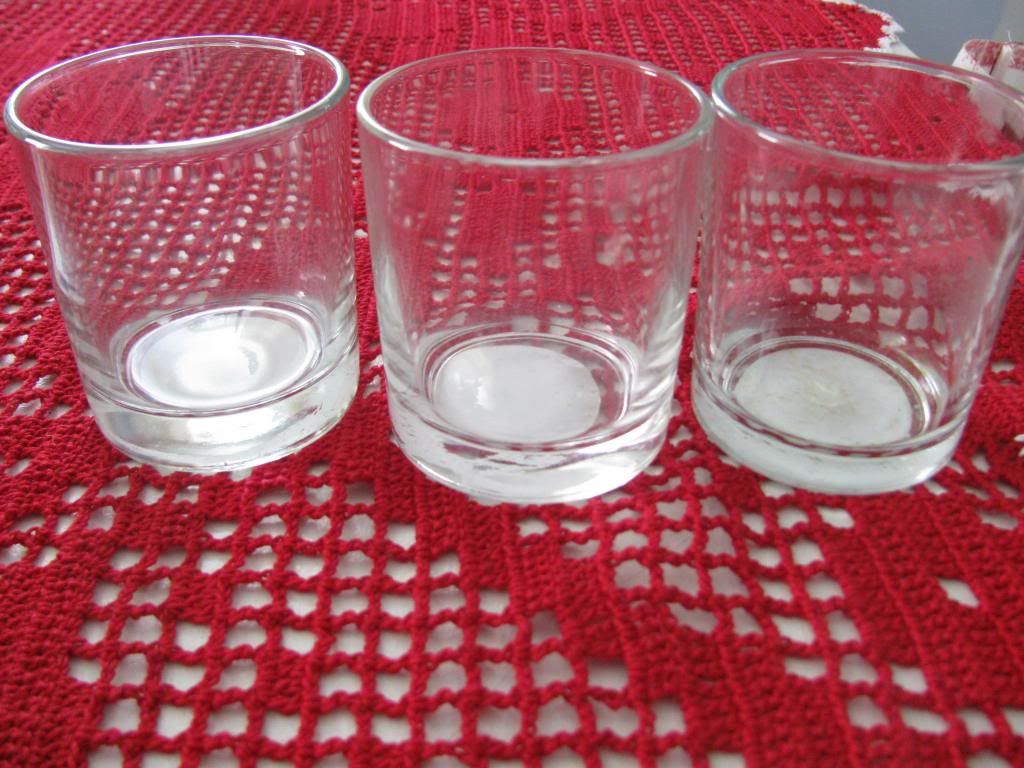
There are about 100 of these candle jars in my stash.  I can't help it.  Glade candles are great, I buy them on sale and with coupons, and they are such a great deal.  When they've burned out I simply clean out the jars and save them.  This is why I have so many.
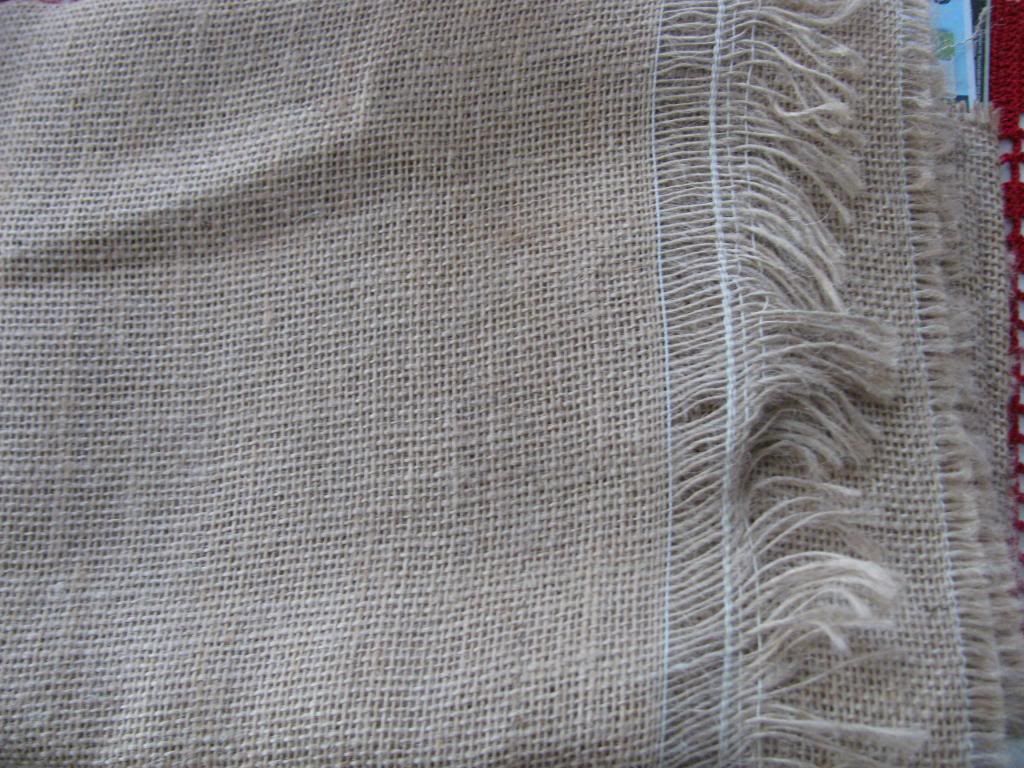
I always have some burlap on hand 
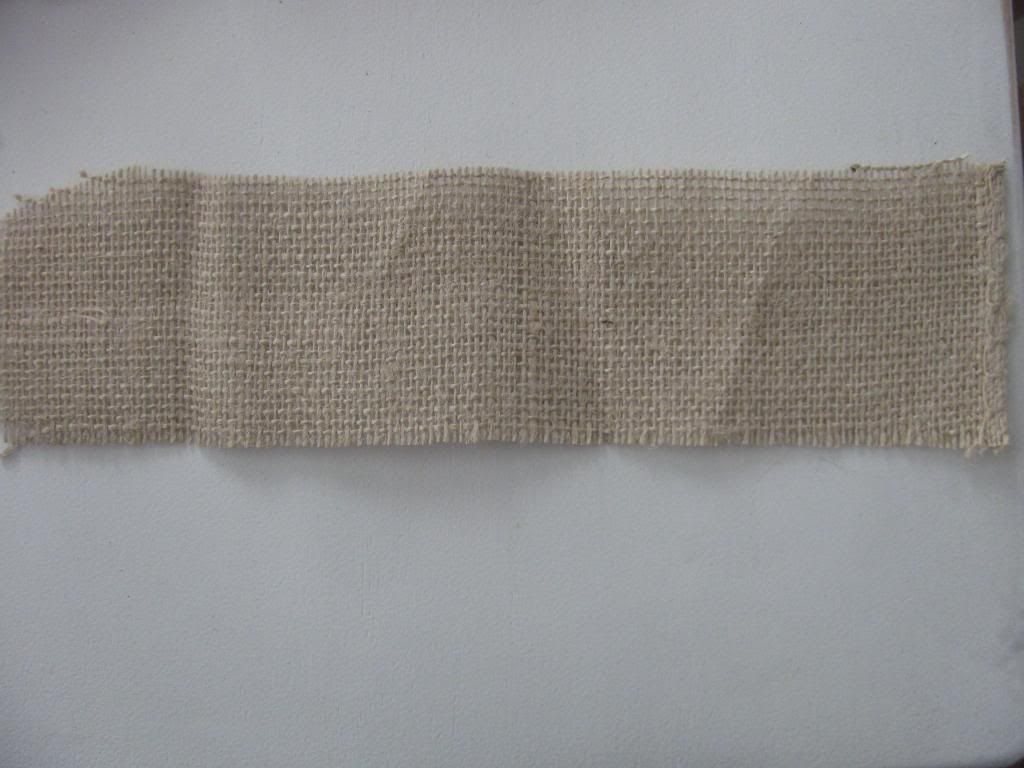
I cut it into strips that will fit around the glass jars, it does not need to be perfect, simply make sure they will overlap in the back
Then using some Mod Podge
and a foam brush
I covered the jars 
then wrapped the burlap pieces around them.
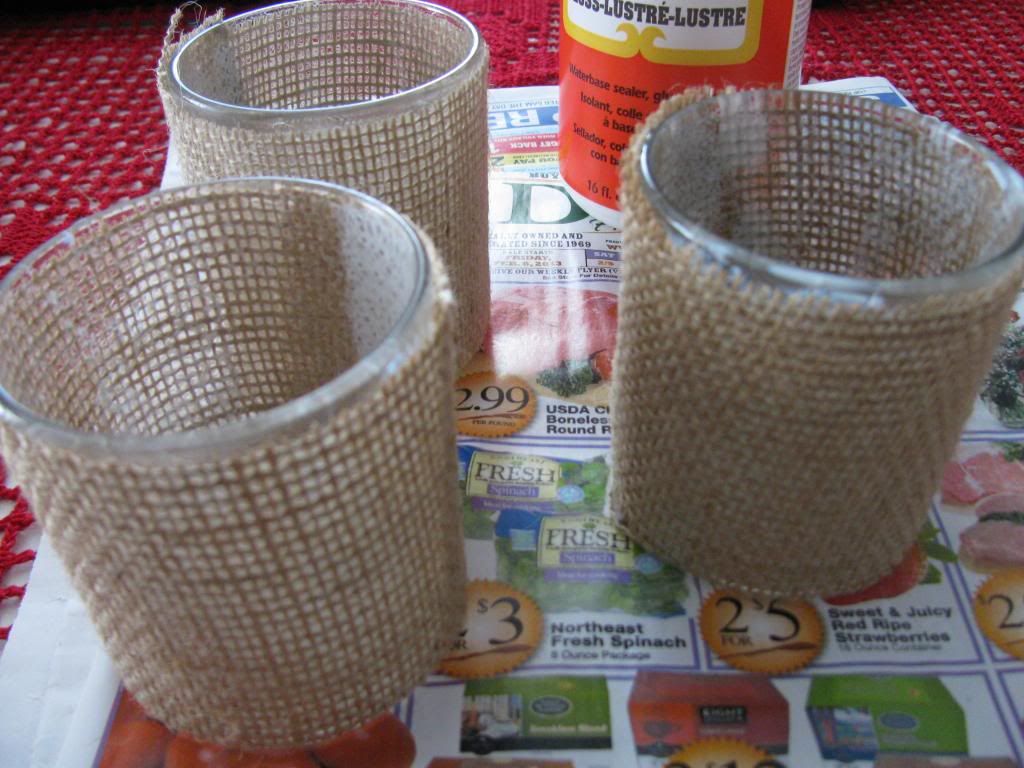
I let them dry for a couple of hours. 
 I don't usually wait very patiently but I had to take my son to basketball.

Once they were dry I used a good old fashioned stencil and paint pen because
I do not own a Cricut or Silhouette.  Not that I wouldn't loooooovvee one but it's
not in the budget for now. I digress, back to the project 
I stenciled the numbers onto the burlap
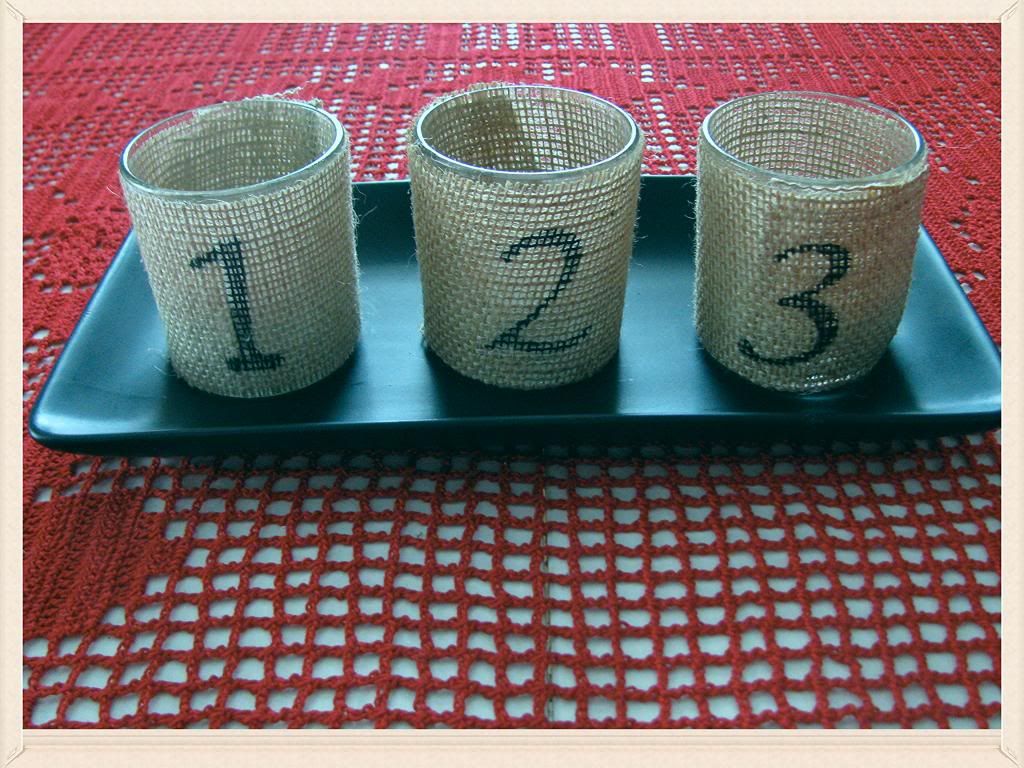
Loving the simlicity
the ease
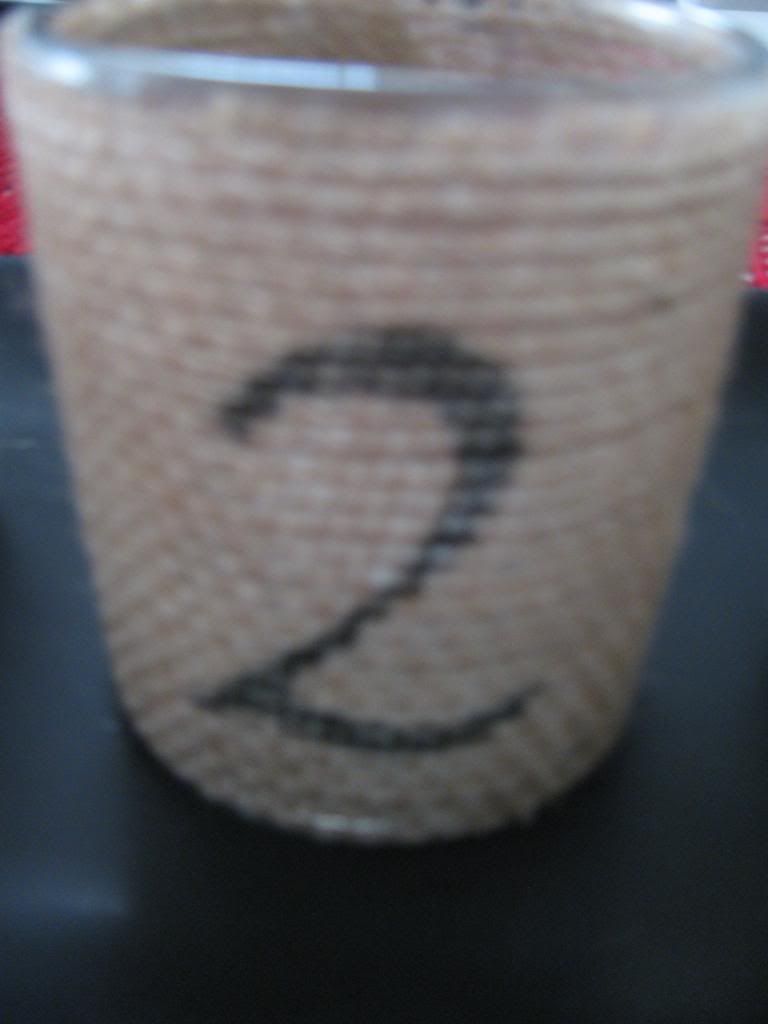
and fun that this little change made
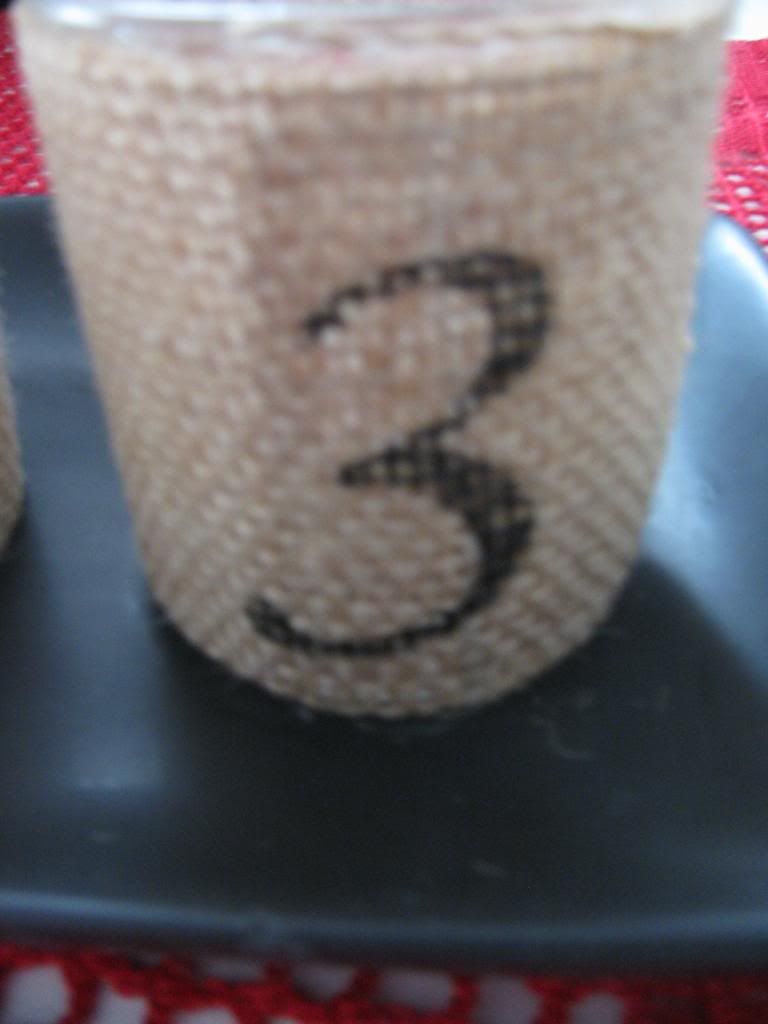
an easy upcycle
Here they are all together on our table.  The lovely doily was made by my mom, who is so talented.
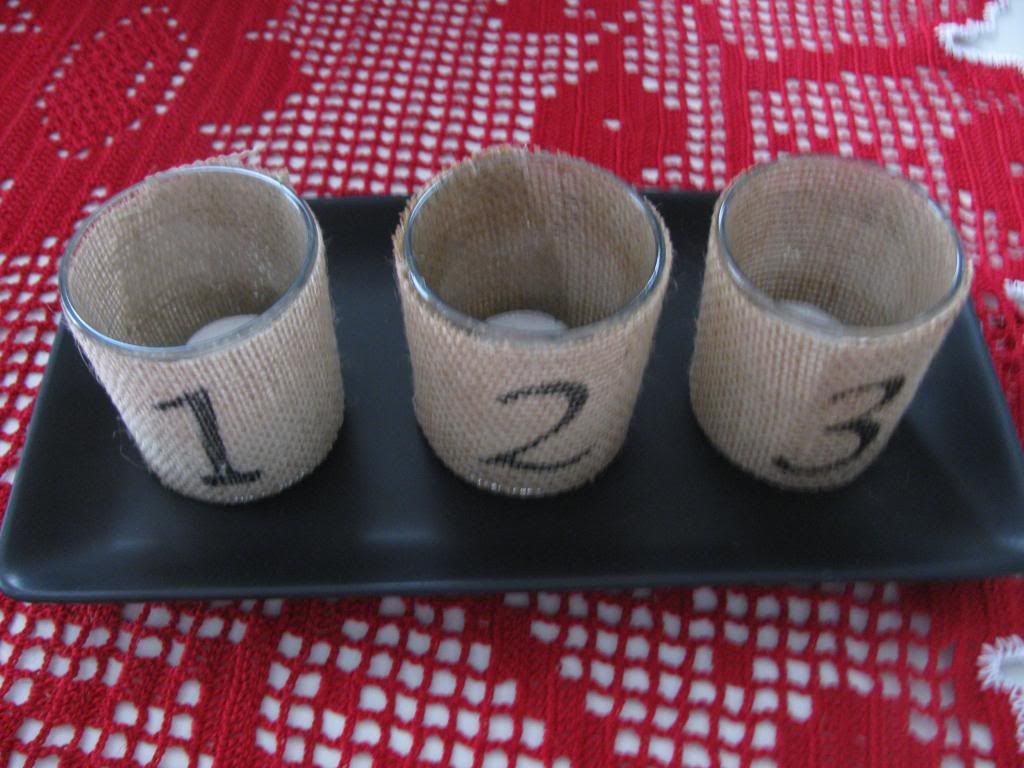
Isn't it beautiful???? 
 Disregard the hideously ugly heating unit in the background.  It has been waiting for a cover since the kitchen remodel.  I am going to have to bite the bullet and do it myself.
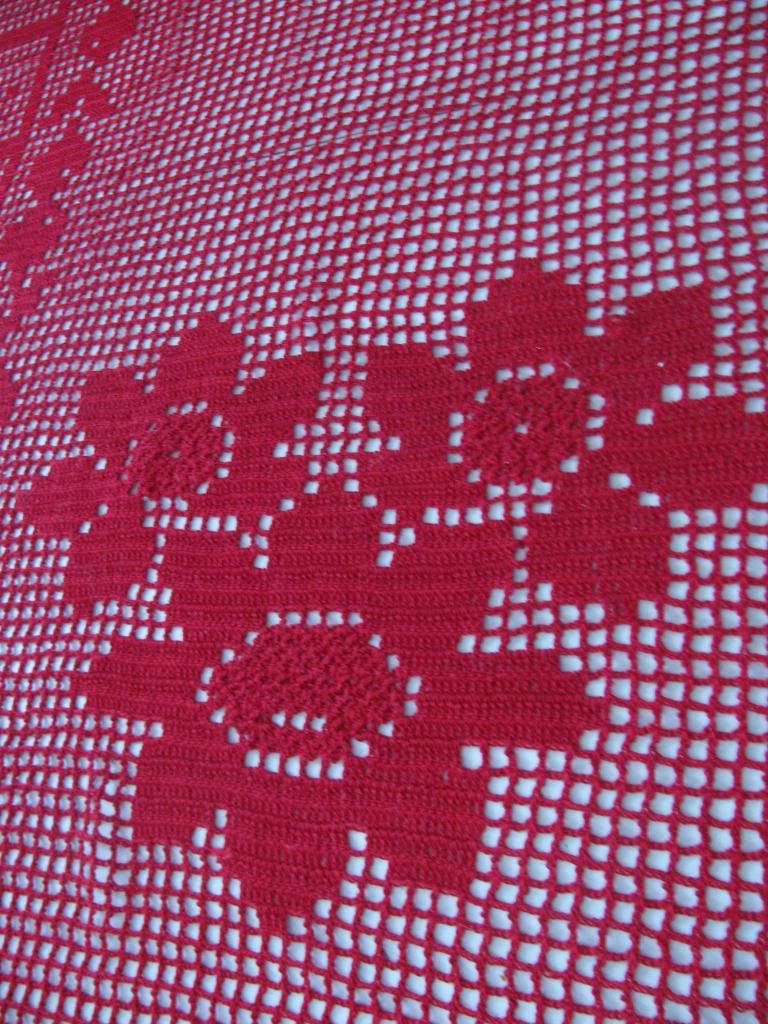
Their is so much work that goes into creating a beautiful doily/tablecloth like this.
The details~it was made with a pattern from Portugal that a friend recently brought back for my mom.
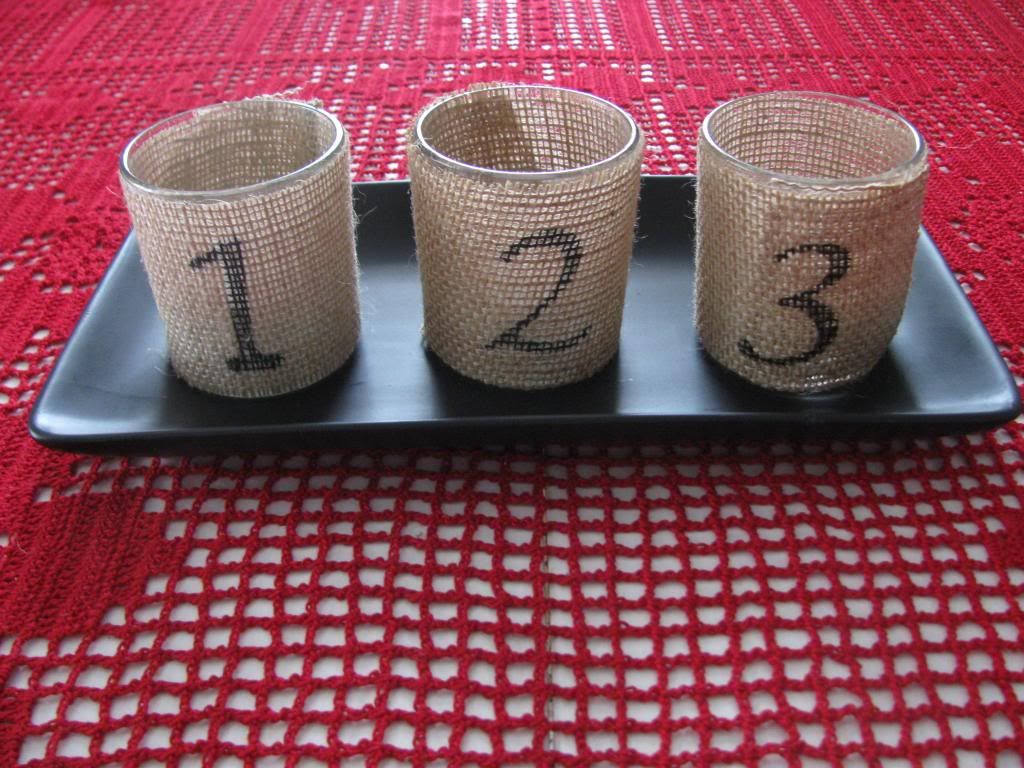
The completed set
Happy weekend!!

I am linking up to these great parties.

Thursday, January 24, 2013

Upcycled Frame Tray & a Giveaway

Yesterday I posted about Edie's fabulous e-book, 31 Days to a Heart of Hospitality.  Well, sweet Edie has offered one of her e-books for a giveaway.  If you would like a chance to win a copy of her book, go on over to her blog and read through some of her posts.  Then come back here and leave a comment telling me your favorite post.  The contest will be open until Tuesday, January 29.  Don't blame me if you can't tear yourself away from her spectacular blog.  It will draw you in and keep you there.

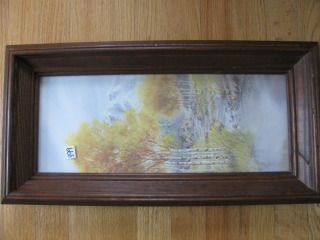
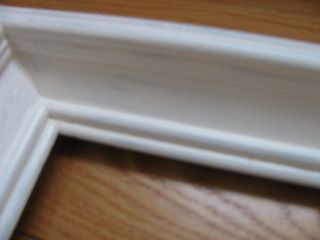
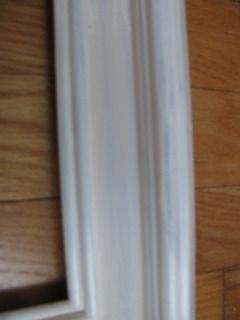
Now onto my latest project.  While moving things from the basement to my new craft studio I found this frame that I purchased at Salvation Army a long time ago.
The price was right and I loved the shape.
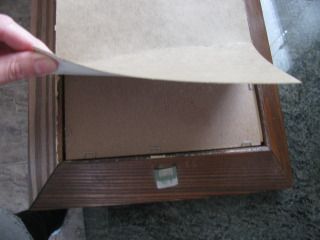
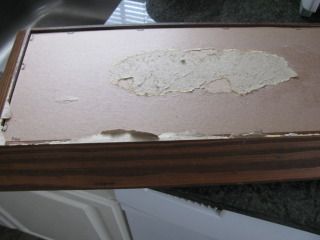
I decided it was long overdue for a new life.  I started by peeling off the backing.
It was glued on pretty well but it came off without too much trouble.
Then I proceeded to remove the picture and cardboard backing.  I wanted to save the cardboard for what I was going to do.  I had to removed these staples carefully so as not to rip it to shreds.
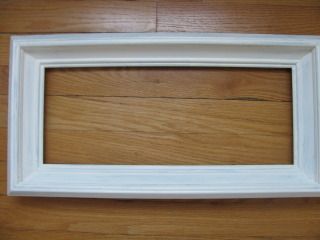
It needed a good cleaning.  It sat in the basement for far too long and it was dirty.  I washed it down with TSP.  I removed the glass and gave that a good washing.
Once it was dry I gave it a couple of coats of paint and primer in one.  I used Behr in Swiss Coffee (I think that's the correct color).  I had it on hand from my hutch redo.
I watered the paint down a bit so it wouldn't give a full coverage.  I like the original color showing through in spots.

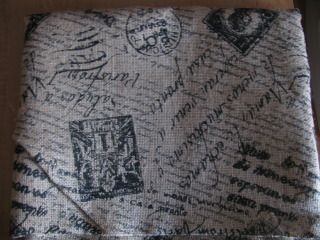
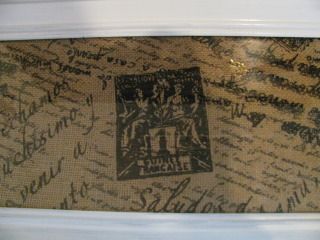
I had this burlap left over from my mailbox project.  I had purchased two yards originally because I loved it.
I cut a piece of the burlap to fit and wrapped it around the original cardboard insert.
I inserted it in the frame and pulled it tight. Then glued down the edges.
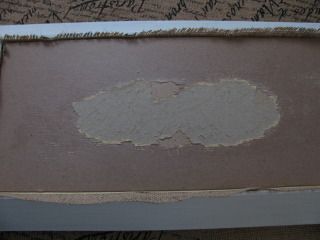
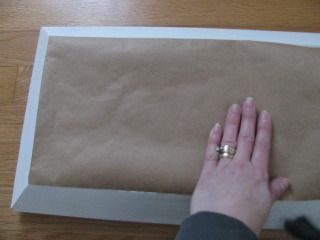
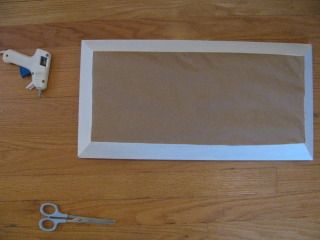
To cover up the messy back I cut a piece of brown craft paper to the size of the frame
and hot glued it all around.
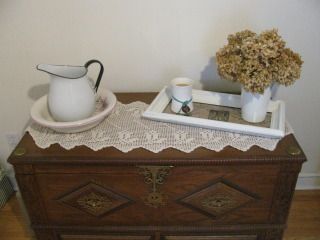
Here it is all finished.  I am using it as a try.  I think I may add some handles to it.  Not sure.  What do you think?  Handles or no handles?
I think I will head to Hobby Lobby because they have so many gorgeous handles, and see if there is anything that catches my eye.
This transformation is perfect and I am loving it.
I added some hydrangeas and a candle to the tray

and it sits on my hope chest. This hope chest came from Portugal and belonged to my grandmother.  
I am thinking of painting it.  I am a bit torn about it but think it would look fabulous with a new color. 
Should I do it?  If so, what color?????
Help me figure this out!!!  I am a bit torn about painting an heirloom but not happy with the current finish.

Don't forget to spread the word about the giveaway above.

I'm linking to these great parties. Come on over and join us.