
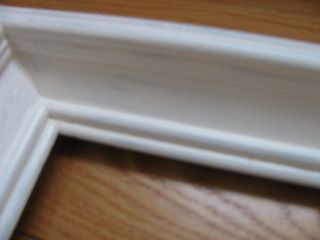
Now onto my latest project. While moving things from the basement to my new craft studio I found this frame that I purchased at Salvation Army a long time ago.
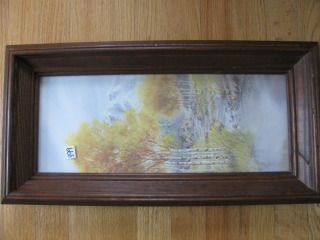
The price was right and I loved the shape.

I decided it was long overdue for a new life. I started by peeling off the backing.
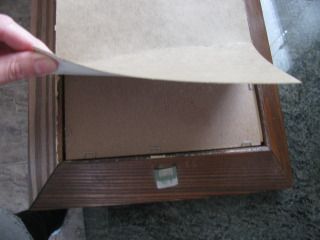
It was glued on pretty well but it came off without too much trouble.
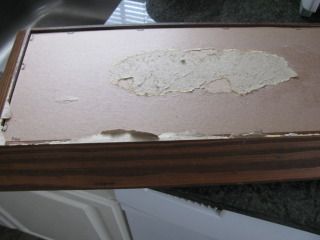
Then I proceeded to remove the picture and cardboard backing. I wanted to save the cardboard for what I was going to do. I had to removed these staples carefully so as not to rip it to shreds.

It needed a good cleaning. It sat in the basement for far too long and it was dirty. I washed it down with TSP. I removed the glass and gave that a good washing.

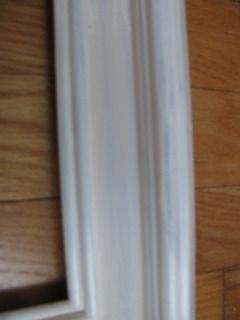
Once it was dry I gave it a couple of coats of paint and primer in one. I used Behr in Swiss Coffee (I think that's the correct color). I had it on hand from my hutch redo.
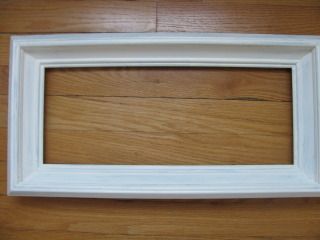
I watered the paint down a bit so it wouldn't give a full coverage. I like the original color showing through in spots.
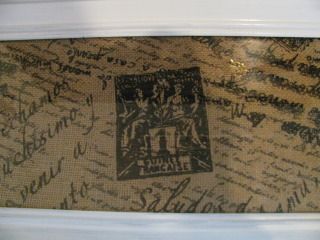
I had this burlap left over from my mailbox project. I had purchased two yards originally because I loved it.
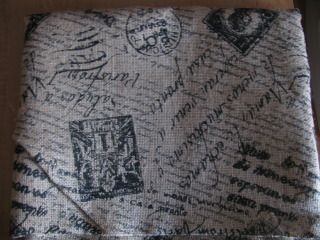
I cut a piece of the burlap to fit and wrapped it around the original cardboard insert.
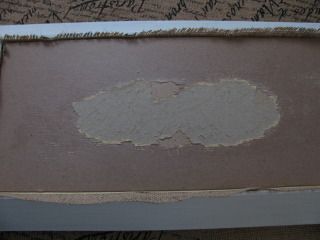
I inserted it in the frame and pulled it tight. Then glued down the edges.

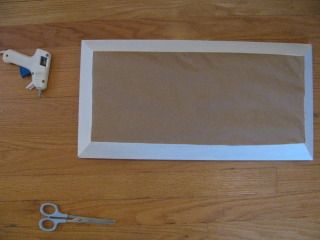
To cover up the messy back I cut a piece of brown craft paper to the size of the frame
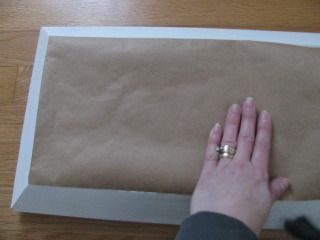
and hot glued it all around.
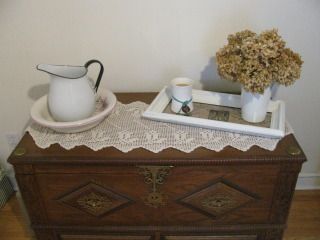
Here it is all finished. I am using it as a try. I think I may add some handles to it. Not sure. What do you think? Handles or no handles?

I think I will head to Hobby Lobby because they have so many gorgeous handles, and see if there is anything that catches my eye.
This transformation is perfect and I am loving it.

I added some hydrangeas and a candle to the tray

and it sits on my hope chest. This hope chest came from Portugal and belonged to my grandmother.
I am thinking of painting it. I am a bit torn about it but think it would look fabulous with a new color.
Should I do it? If so, what color?????
Help me figure this out!!! I am a bit torn about painting an heirloom but not happy with the current finish.
Don't forget to spread the word about the giveaway above.
I'm linking to these great parties. Come on over and join us.


16 comments:
You are always so good at repurposing. Love the conversion. I'm a bit old school when it comes to antiques so I say no paint (although I'm sure it would look good painted). This comes from a gal who wants to paint her piano so what do I know ;-)
I love your tray, it turned out so cute! I would have a hard time painting that hope chest for sure, especially since it's an heirloom piece, maybe you could strip and re-stain?
Thanks for stopping by my blog.
Heather @ No Business Like Sew Business
I am jumping on the bandwagon of two don't paint it. I'm for strip and d'estaing. :)
Great tray.
Mmmmm d'estaing. I think that's French for re -stain love auto correct
Ruth! Thank you so very much for visiting me at my blog home! I am so glad you did and introduced me to your blog home. You have a lovely home here full of great ideas and hospitality. I am looking forward to coming back for a visit soon and I am adding you to my list of blogs I follow! I hope that you have a wonderful Friday and weekend!
Perfect! Now I have to go check out your mailbox project :)
I adore the fabric you found for the inside of your tray. Very classy upcycle!
Such a nifty idea, and super easy. I think I'm your newest follower.
Oh I love this!!! I so want to get my hands on some of that burlap - where did you buy it??
Gorgeous project!
Love it!! That fabric is gorgeous!
Jenna @ http://rainonatinroof.com
If you use it as a tray how is the piece of carboard you put on the bottom strong enough to support anything on top of it if you pick it up?
That makes a really pretty tray!!
So pretty! I also vote for staining it and keeping it looking like an antique. I think something similar to this.
Thanks for stopping by my blog.
Thanks for sharing this creative project at Simple & Sweet Fridays! So Charming!
Jody
What a great way to upcycle! Beautiful transformation. Thanks for linking up to Make-It challenge :)
What a great idea, and I love that burlap fabric! Pinning this for sure!
Post a Comment
I love to hear from all of you. Your comments make me smile.