Today I am guest posting at Life in Grace for the 12 Days of Christmas series.
I posted a tutorial for a basic crochet ear warmer/headband. The fun part about these is the embellishments. Most patterns suggest sewing the embellishment onto your ear warmer but I think pinning it on is better. There are so many possibilities, and you can change them out to fit your outfit or mood.
I am sharing this easy pattern I found originally on Favecrafts site.
Flower
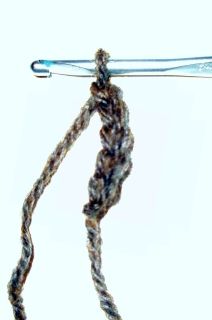
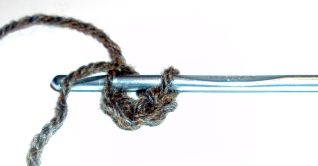
With smaller hook, ch 5; join with a slip st to form ring.
With smaller hook, ch 5; join with a slip st to form ring.
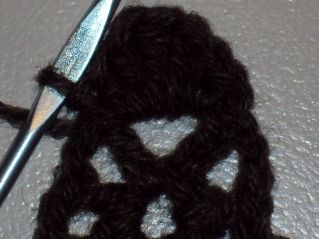
Round 1: Ch 5 (counts as dc and ch-2), [dc, ch 2] 5 times in ring; join to 3rd ch.
Here I made two additional [dc, ch 2], because I wanted my flower a little larger.
Round 2: Ch 1, (sc, hdc, dc, tr, dc, hdc, sc) in each ch-2 space around – 6 petals.
These stitches are to create the petals of the flower. You begin and end with the smaller stitches.
Once you have completed the petals (I have 7 petals because of my earlier increase) you will join them with a slip stitch to the first sc stitch.
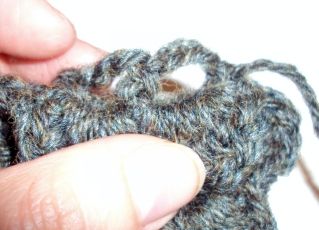
Round 3: Holding Round 2 forward, * sc in dc from Round 1, ch 3; repeat from * around; join.
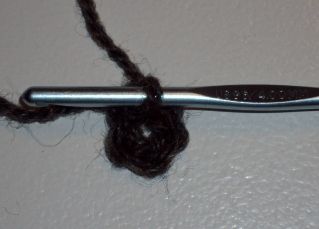
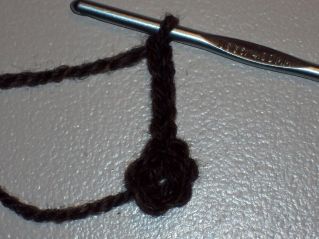
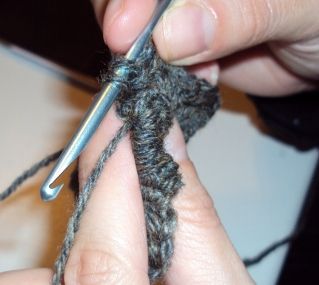
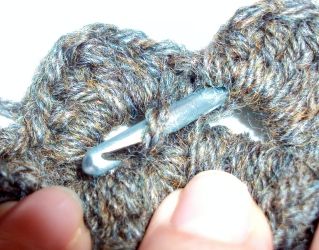
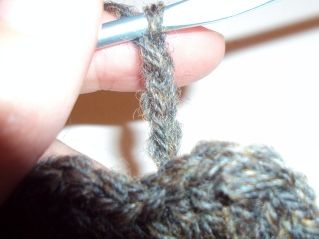
This part is a bit tricky~You will be crocheting behind the first row of stitches you made. This will give the flower its depth.
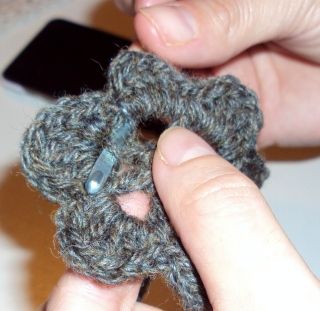
From behind you will insert the hook in the first dc stitch you made.
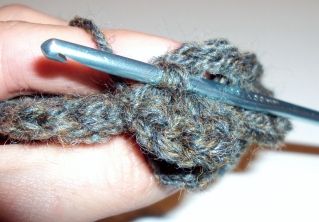
Ch 3 and sc around the next dc from row 1. I tried to show this in the picture below. I am holding the petals of row 2 down and crocheting the stitches around the dcs from row 1. You will do this all around the flower and then join the last ch 3 to the first sc with a slip stitch.
Round 4: Ch 1, (sc, hdc, dc, 3 tr, dc, hdc, sc) in each ch-3 space around – 6 petals.
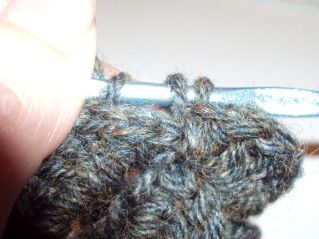
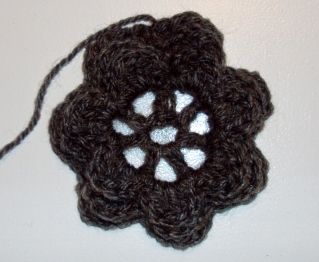
In this row you will begin to crochet the new petals of the flower. You will crochet these stitches on the ch 3 stitches you just finished.
Round 5: Holding Round 4 forward, * sc in sc from Round 3, ch 4; repeat from * around; join.
This row is completed in the same way that we did row 3.
Round 6: Ch 1, (sc, hdc, dc, 5 tr, dc, hdc, sc) in each ch-4 space around – 6 petals. Fasten off.
Complete this row in the same way we did row 4.
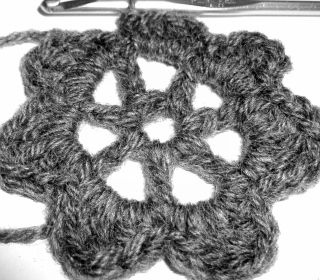
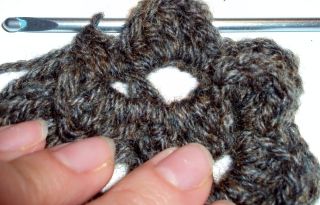
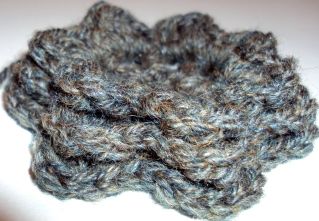
This is the completed flower.
You can see the different layers.
When adding embellishments there are so many patterns, styles and colors you can choose from.
This flower pattern is from this great book. In a bright patterned pink yarn.
This rose is a very full rose created in one long strip and then gathered. I found this pattern on the Red Heart site when I crocheted the ruffle skirt and rosette headband for my niece.
This flower is from the same pattern as the pink one. I used a thinner yarn and less layers. This is on the baby hat I made for my sister.
Another full rose. I shared the link on the baby gifts post.
Here is the ear warmer with flower added. The pink and white flowers would both look fabulous with it.
These ear warmers with the embellishments will make great gifts. There are many wonderful possibilities.
Soon I will be posting a tutorial for creating a bow to add to your headband.
Don't forget to visit again.


No comments:
Post a Comment
I love to hear from all of you. Your comments make me smile.