Thursday, February 28, 2013

Recycled Storage

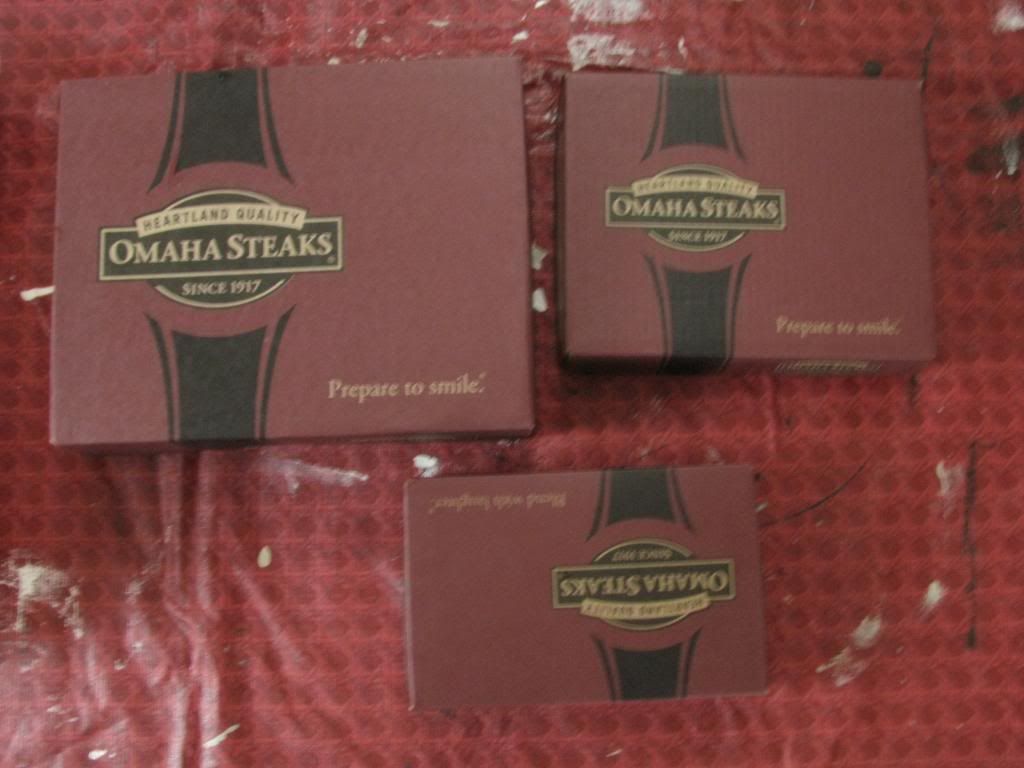
My dear neighbors gave me these boxes because they thought I could use them for storage.  I decided they would be perfect for stamps and ink pad storage.
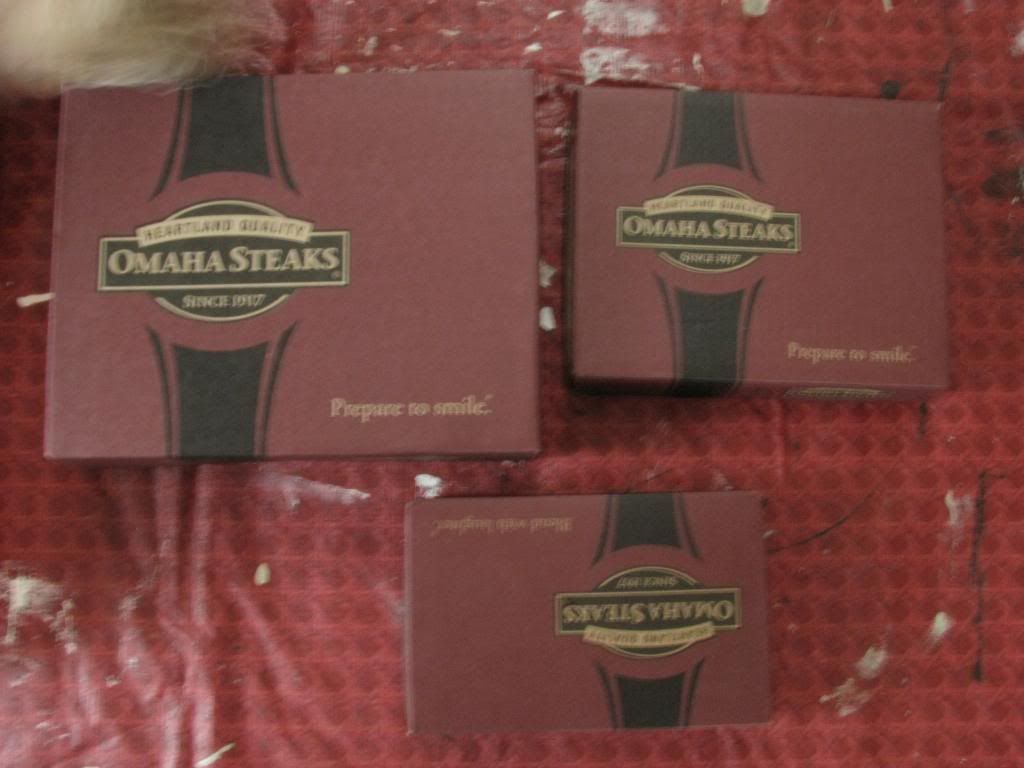
The little blur on the top left corner is this little guy.  My sidekick and helper extraordinaire. Isn't he cute.
Back to work~the boxes needed a little dressing up before I could put them to good use.
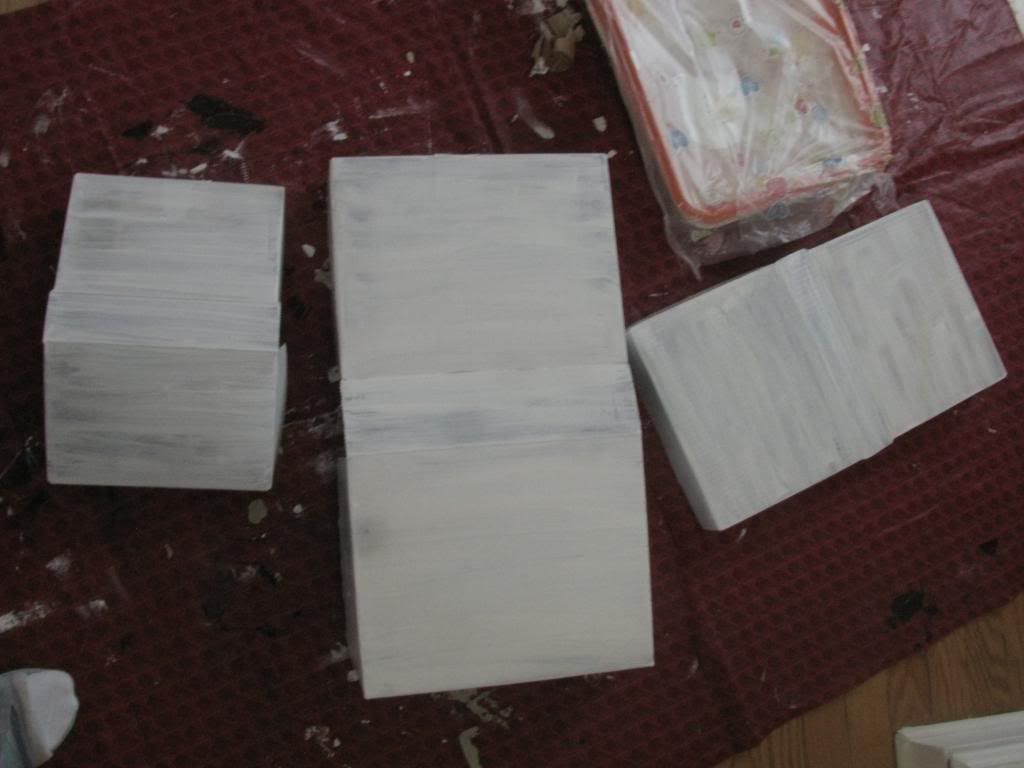
I decided to start with a coat of white paint just to cover up the dark colors.
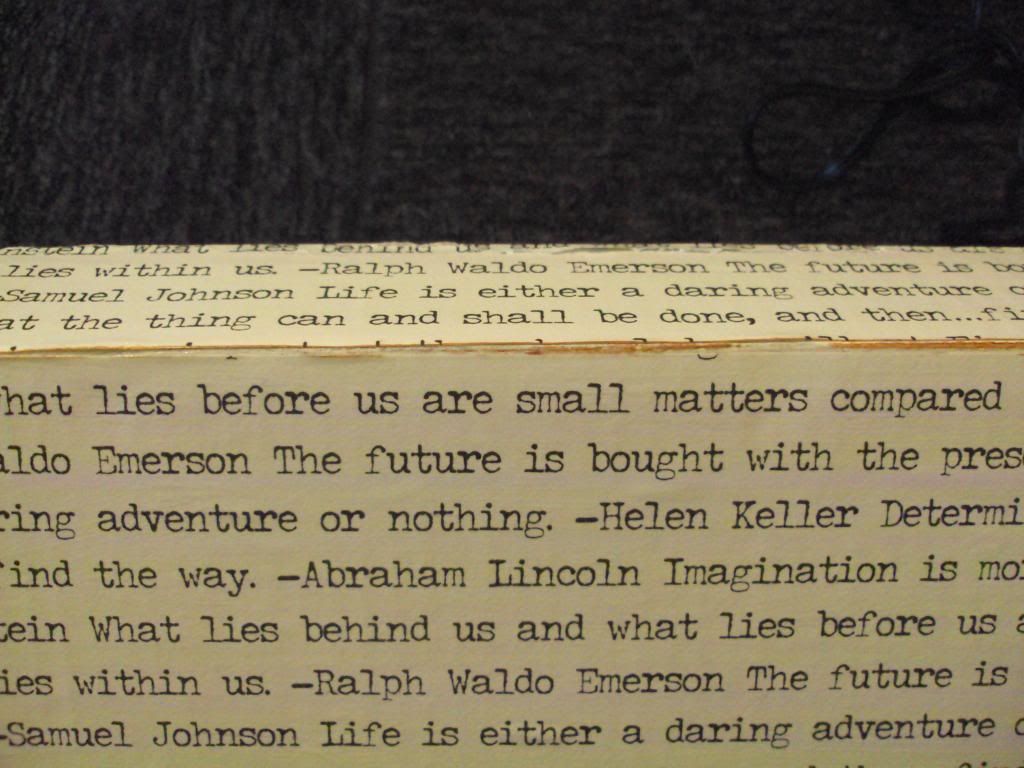
I found a scrap paper at Joanns that had quotes and I knew it would be perfect to cover 
the boxes.
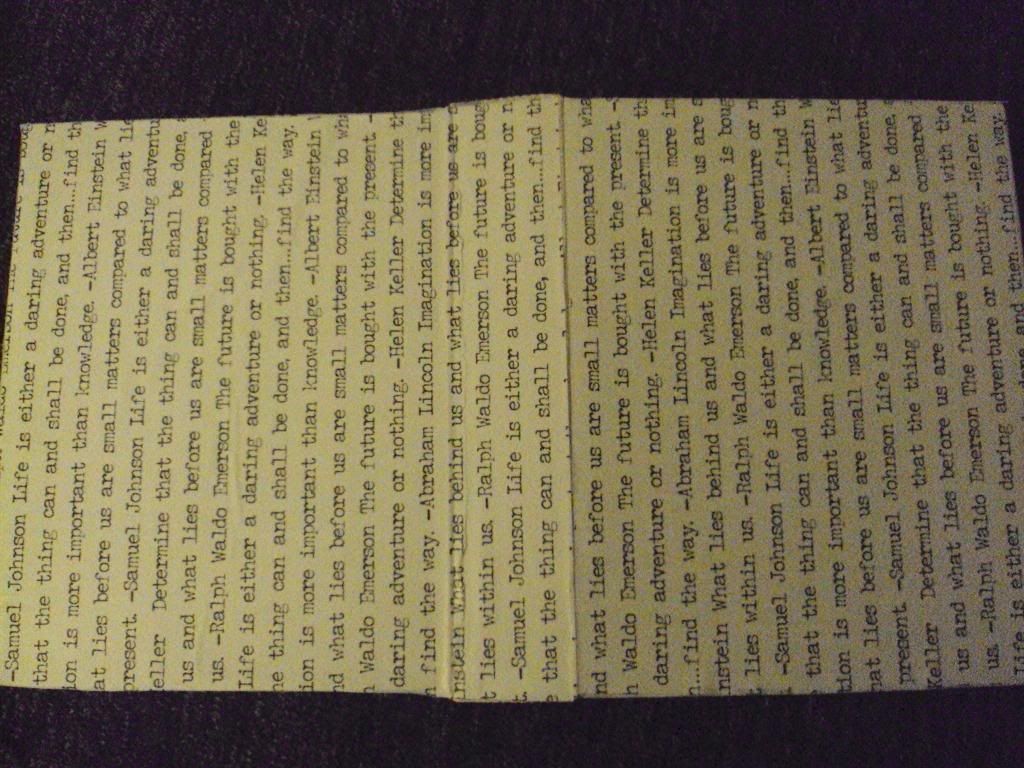
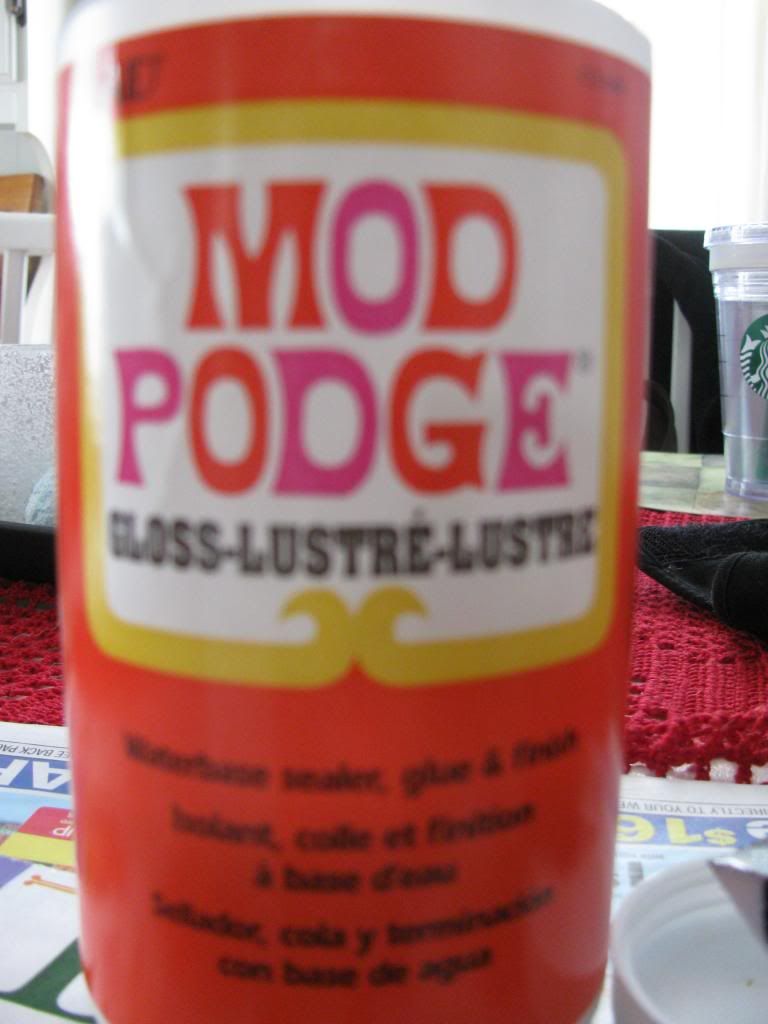
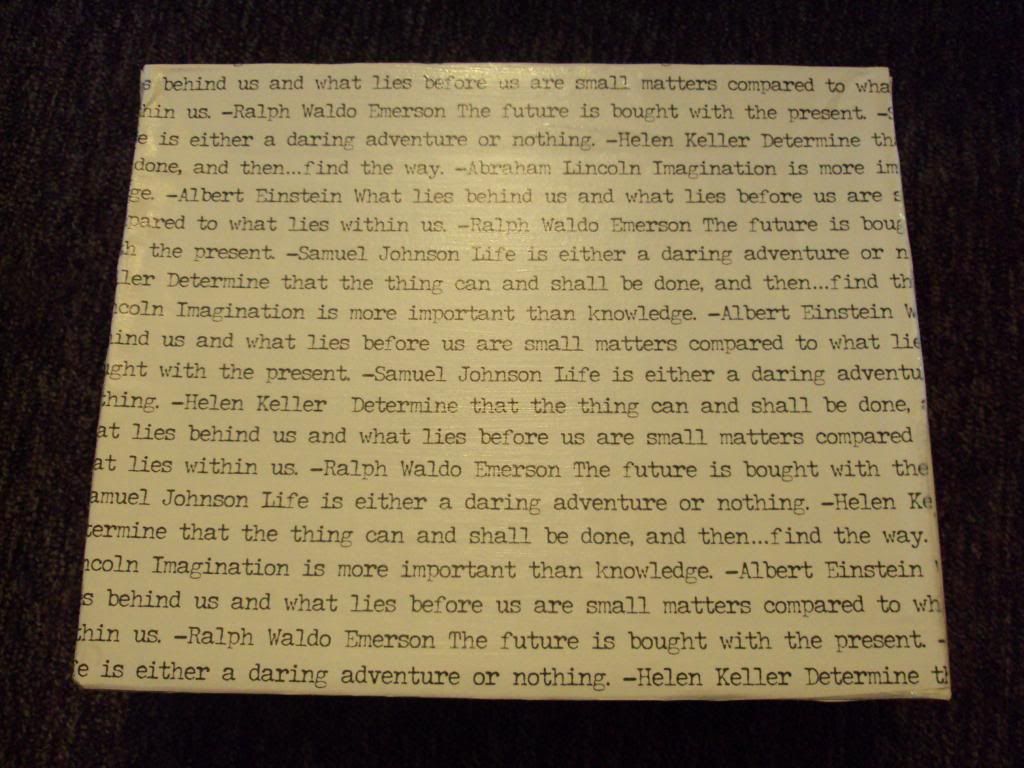
I got to work with a little Mod Podge 
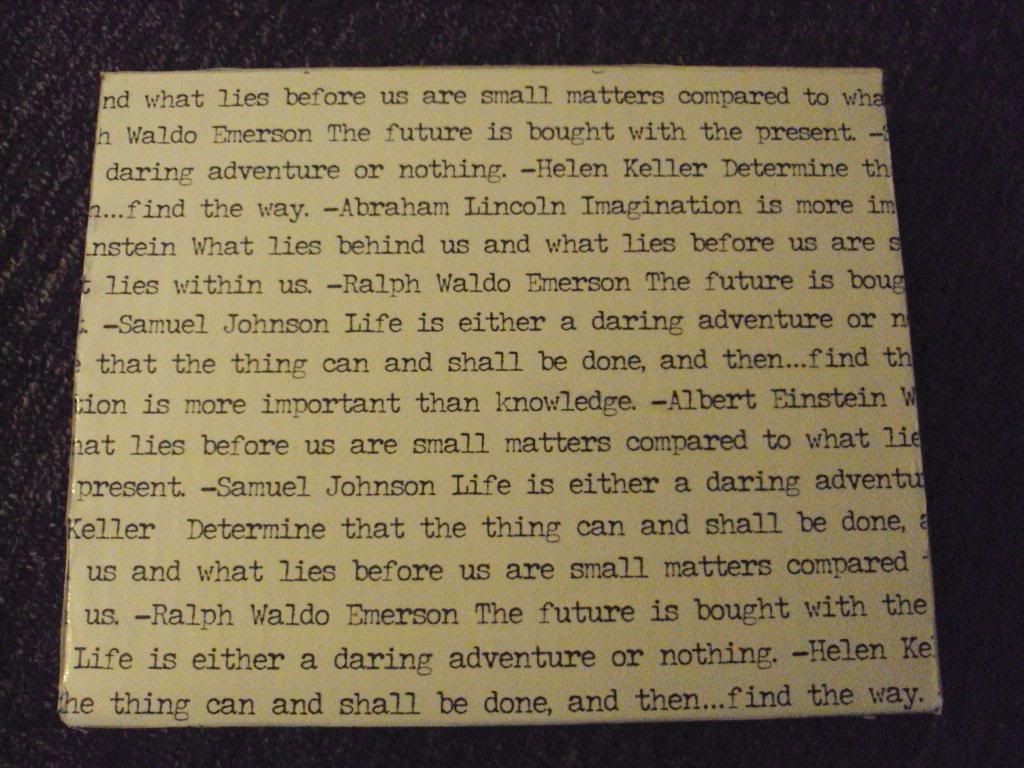
and soon enough they were looking much better

I distressed the edges with an ink pad and a little sanding
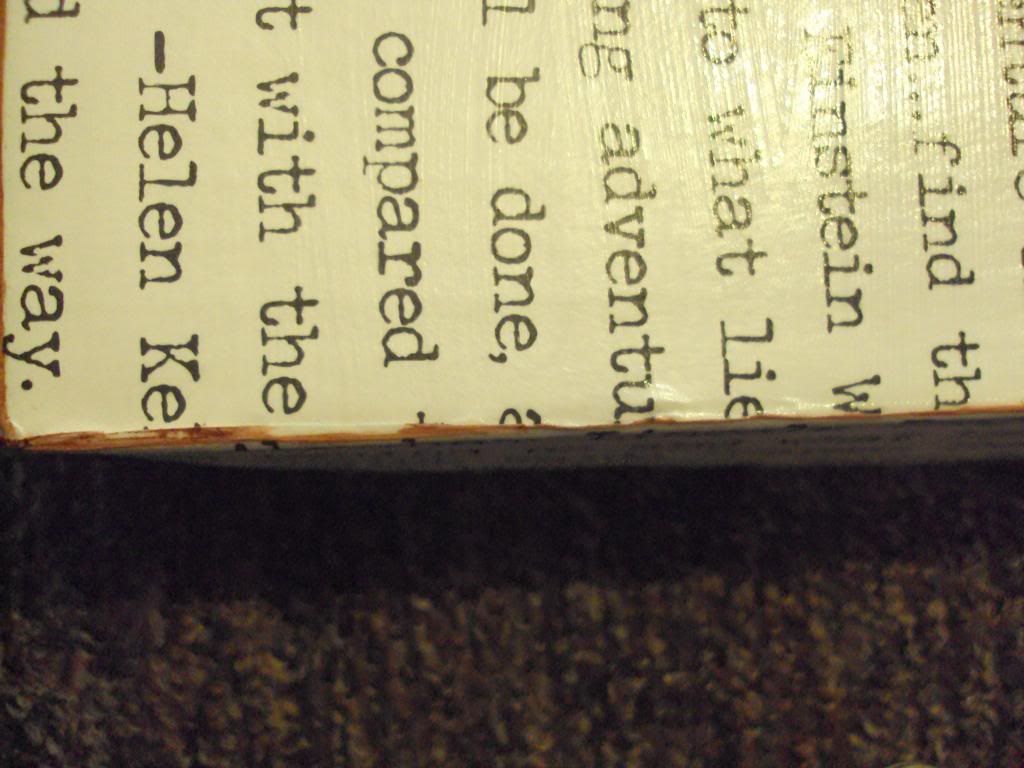
No need to be perfect 
just perfectly imperfect
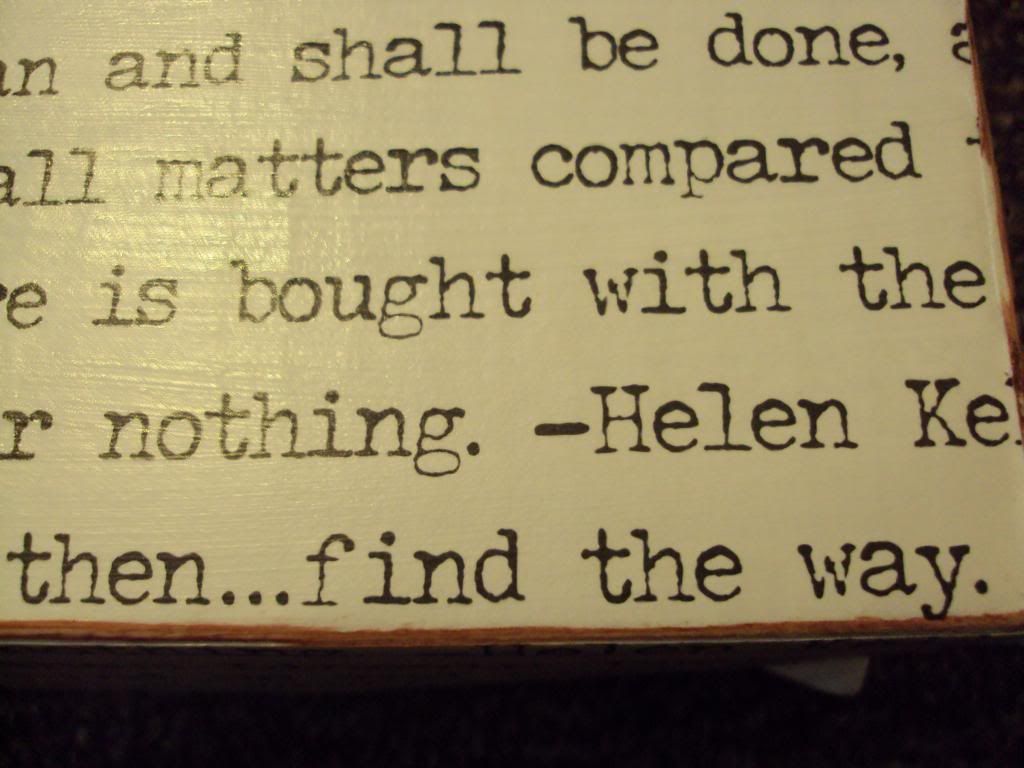
A little ink along each edge went a long way
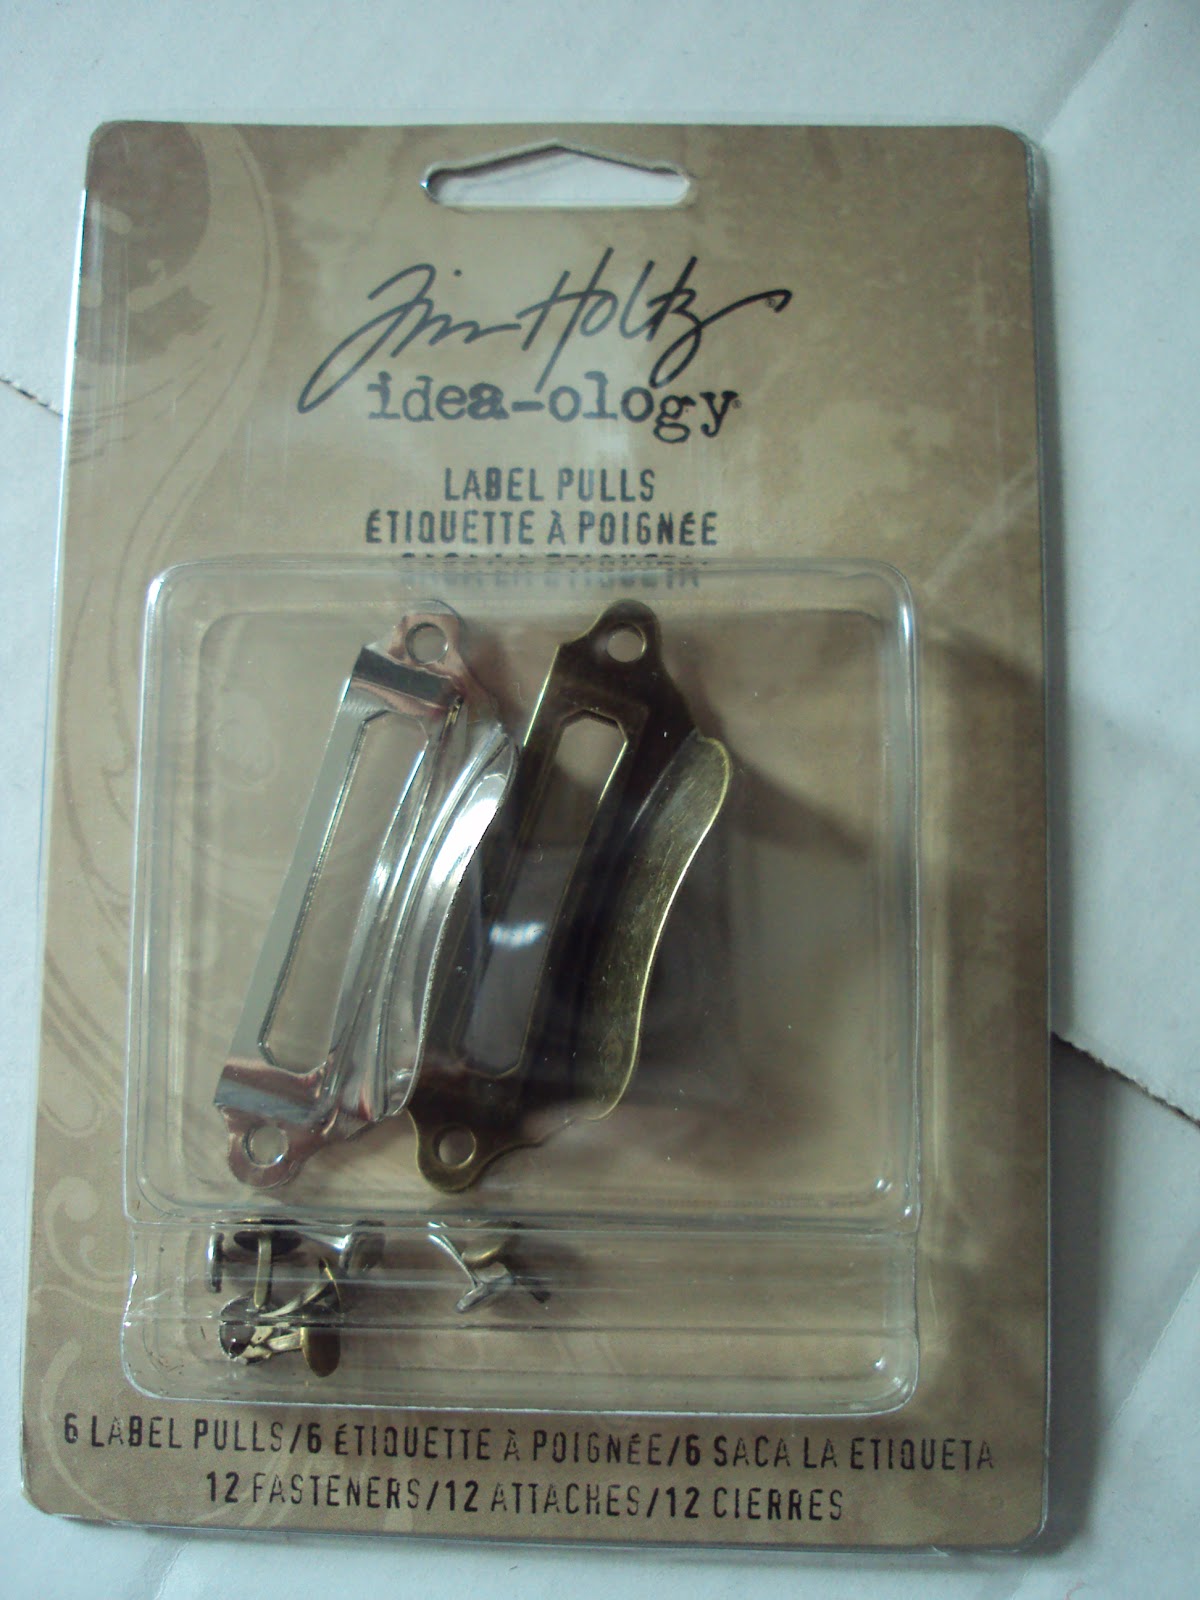
I used this handy tool to add
label pulls to the box.
 Here are two of the boxes completed and put to use.
 I found the inspiration for these from Country Living February issue where Thea Beasley covered boxes in French paper and maps.  I did not have French newspapers but I thought this paper would work quite well for the look.
I'm happy with how my little knock off turned out.


I will be joining these great link parties.

Thursday, February 21, 2013

Artwork Bragging...

This post has been in my drafts for quite some time.  My son is such a talented young artist.  He never ceases to amaze me with his artwork.  He works diligently on each piece and is his own worst critic.  I am always in awe of what he produces.  He is legally blind in his right eye.  He was diagnosed with amblyopia at eight years old.  By that time he was too old for the traditional treatments. The late diagnosis was from lack of symptoms, his eye did not fall into the corner as most do, and he had excellent depth perception.  His eye doctor is amazed at his lack of symptoms and what he can create.
He works on a variety of different art projects.
I know I am biased because he is my son but I think his artwork is amazing.  Although he has  taken some art classes, he is mostly self taught, which amazes me even more.
This is a portrait of Shia Labeouf
I believe he did this a year ago
He completed this rose recently
The shading in the petals makes it appear so realistic

This is one of his largest pieces.  It is a comic book character
He is farther along in this now and it is wonderfully rich in color and texture.  I look forward to sharing the finished piece.
This is Cair Paravel done a couple of years ago
Portrait done this summer if Noah Wyle from the show Falling Skies
The caricatures below are quick sketches of DC Comic characters.
All of the following pieces are for sale, $7 each, if you are interested.


We appreciate any feedback and support.  I would love to share your comments and encouragement with him.  Thank you for letting me brag on about my son's awesome talent.  It does this mama's heart some good to share his talent with you.

I'm linking to these fabulous parties.

Thursday, February 14, 2013

Surviving the Blizzard & Valentines

We survived the recent blizzard here with no problems.  We are so thankful to not have lost power during this storm.  Reminders of no power for eight days with Irene were no fun.  My heart went out to all those who lost power and were without heat.  Temps were down to single digits the night after the storm.
The snow can be such an inconvenience with travel and shoveling but it makes everything beautiful.
The blanket of white on our branches
from my window
so much snow
I did not venture out
picturesque
Our poor bush over loaded with the weight of this snow~not the light and fluffy kind
dense and heavy

Now my Valentine surprise for my love
I have seen this cute "gum ball" machines on Pinterest and around blog land.
Since hubby loves candy I knew I wanted to try one.
They are so simple.
I painted a 4 inch pot black, inside and out.
And because I do not have a vinyl cutting machine I used a font as a guide and 
wrote the message with a paint pen.
The cover consists of a 4 inch saucer, a 2 inch saucer, and a wooden ball
The smaller saucer keeps the bigger one from sliding off the glass jar.
My E6000 glue dried up so I had to use good old super glue.
I glued the inverted smaller saucer inside the larger saucer
then glued the wooden knob on top
The glass jar is from Dollar Tree
I glued it to the inverted pot.
TADA
Such a fun idea.

I am joining these great parties.


Friday, February 8, 2013

Burlap Votives

We are prepping here for Snowmaggedon here.  There is a blizzard watch for our area until 6 p.m. tomorrow.  We have plenty of food and water, wood for the wood stove to last us a bit, and we're charging up everything we can.  Praying for the best and preparing for the worst  case scenario.  We have been teased with snow all winter.  Minor accumulations one day, six inches a week later, several dustings and a few accumulations of less than three inches but this storm is going to be the big one, the mother of all storms. Rivaling the Blizzard of 1978, whose thirty-five year anniversary was February 6.  We may be snow in for quite some time.
In the midst of all this storm prep I decided I needed to work on something fun.  I made this a couple of years ago, it's wintry cuteness made me smile, but I am done with this winter and really wanted a change, so..
There are about 100 of these candle jars in my stash.  I can't help it.  Glade candles are great, I buy them on sale and with coupons, and they are such a great deal.  When they've burned out I simply clean out the jars and save them.  This is why I have so many.
I always have some burlap on hand 
I cut it into strips that will fit around the glass jars, it does not need to be perfect, simply make sure they will overlap in the back
Then using some Mod Podge

and a foam brush
I covered the jars 
then wrapped the burlap pieces around them.
I let them dry for a couple of hours. 
 I don't usually wait very patiently but I had to take my son to basketball.

Once they were dry I used a good old fashioned stencil and paint pen because
I do not own a Cricut or Silhouette.  Not that I wouldn't loooooovvee one but it's
not in the budget for now. I digress, back to the project 
I stenciled the numbers onto the burlap
Loving the simlicity
the ease
and fun that this little change made
an easy upcycle
Here they are all together on our table.  The lovely doily was made by my mom, who is so talented.
Isn't it beautiful???? 
 Disregard the hideously ugly heating unit in the background.  It has been waiting for a cover since the kitchen remodel.  I am going to have to bite the bullet and do it myself.
Their is so much work that goes into creating a beautiful doily/tablecloth like this.
The details~it was made with a pattern from Portugal that a friend recently brought back for my mom.
The completed set
Happy weekend!!

I am linking up to these great parties.