Pages

Saturday, December 22, 2012

Last Minute Projects & a ChristmasTour

It's been busy, busy here and no matter how often I have wanted to post I've always run out of time.  But I am finally here with a few last minute touches and projects.

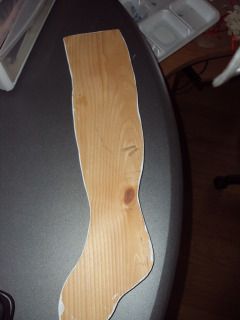
I started my first project with a wooden stocking shape my hubby had cut out.
Photobucket
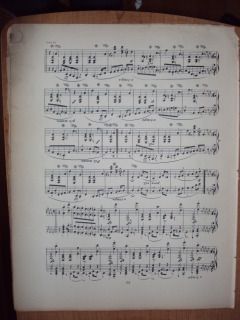
I have a book of vintage sheet music that is falling apart.
Photobucket
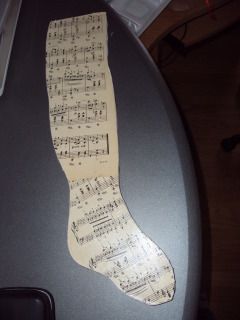
So I removed some pages and Mod Podged them onto the stocking.
Photobucket

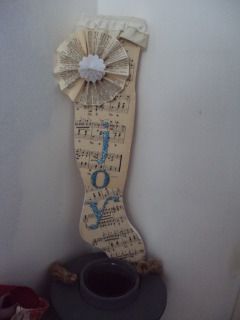
Then I embellished it with some lace, chip board letters, and a book page rosette.
Photobucket
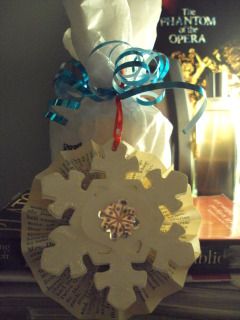
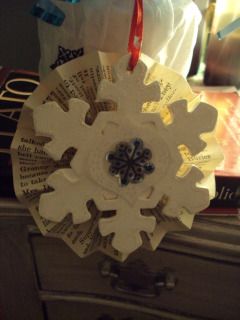
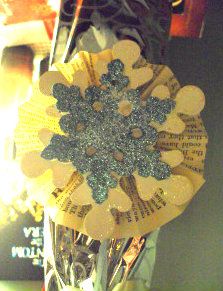
I also embellished some wooden snowflakes to add to packages for hubby's coworkers.
Photobucket

Photobucket

DSC00562
Now for the Christmas house tour.

Our tree

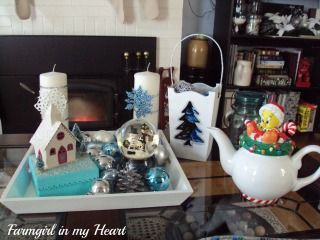
On the coffee table
Photobucket


A swag I embellished
Photobucket


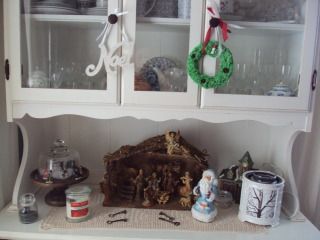
Our hutch
Photobucket
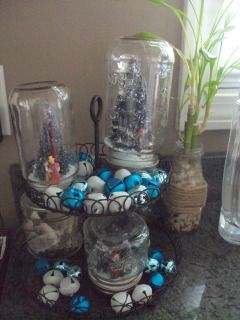
A little Christmas cheer in the kitchen
Photobucket
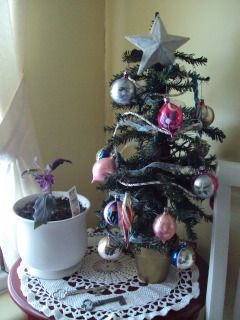
My mini tree with vintage ornaments in our little sitting area at the top of our stairs.
Photobucket


I hope you enjoyed the tour.  Wishing all of you and your families a very Merry Christmas filled with peace, love and joy!!


Thursday, December 13, 2012

Better Than New Stockings


For the last couple of years I have wanted new stockings.  Our old ones were almost twenty years old, grungy, and I was tired of looking at them.  I have looked for stockings before and after Christmas while they were on sale but there weren't many I liked, or we just didn't agree on what we wanted.  So we kept using what we had.  I had thought of sewing burlap stockings but then I wasn't sure of sewing burlap.  I was afraid the fuzz would clog by machine.  I did contemplate glue but our wood stove is always running and i was afraid they would come apart with the weight of the goodies that would fill them.  Besides, hubby is not a big fan of burlap.  So I kept thinking and waiting and wondering what I should do.  I found some stockings I liked but they were almost $30 each and I knew I would never spend that.
Well, while looking through Pinterest I found these, from this great blog.  They are burlap but I thought I could use a different fabric I already had in my stash.  They only trouble was there wasn't a pattern or tutorial for them.  I would have to try this all on my own.
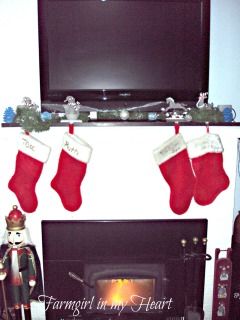
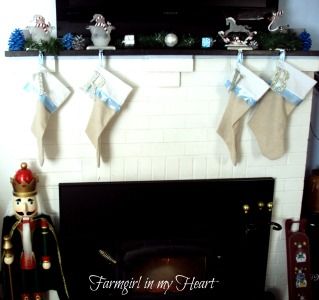
Here is the mantel before with the old stockings. Once again, instead of artwork or a lovely mirror a giant tv sits a top my mantel.  But I try to make the best of it.
Photobucket
Using the old stockings as templates I cut out shapes from osnaburg fabric which I purchased on clearance when Walmart was clearing out all of their fabric (which I can't understand because they brought it all back). I also cut some muslin for the top of the stockings.  Then I went to the sewing machine and sewed them together.  They are far from perfect and there are a few changes I would make if I tried it again but I am happy with them.
Photobucket
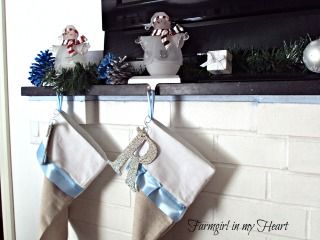
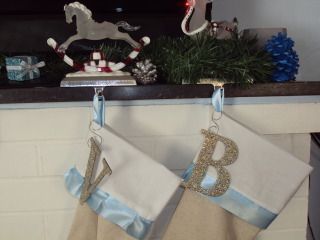
To me this small change has made a dramatic difference in the look of the fireplace.  It makes me happy each time I walk by. For the boys' stockings I sewed a straight ribbon around the bottom of the muslin and for the girls I ruffled it just a little.
Photobucket
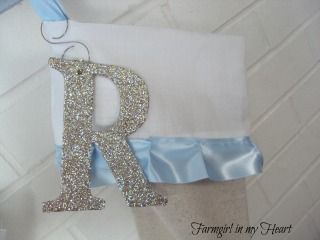
Then dear hubby found these initials at Walmart.  I was thrilled that they had them all.  We almost couldn't find a V, but he finally found one.  I simply attached them to the loops of the stocking with the hooks in their packages.
Photobucket
Not bad for someone who has never sewn anything without a pattern.  Now just don't peek inside my raw edges are a bit scary and the seams may not even be straight but they look pretty.  I don't think my family will care what my raw edges look like once I fill them with goodies.
Photobucket

So glad I finally just did it.  The difference is amazing.  In keeping with my stash busting, the only thing I purchased were the initials.  Everything else I already had here.  I am quite thrilled to create something so beautiful without spending much.  Thrilled to have found that fabric on clearance and swooping it up for less then 50% of the original price.

Linking to these great parties.

Thursday, December 6, 2012

Winter Tulle Wreath & a Gift

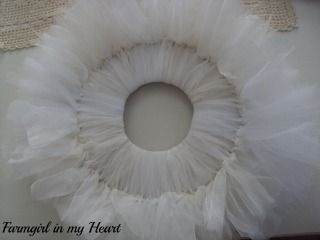
My craft stash is quite large and currently I am trying to clean out, organize, and use of as many supplies as I can before buying more.  This is never easy.  There are so many great supplies calling my name.  To help with this, I have not been to Joann's, Michaels, or Hobby Lobby in weeks.  But I did want a new wreath for our door.  I wanted one that could stay up through the winter.  Searching through my stash I found tons of white, sheer ribbon and tulle.  I did not have a wreath form so I improvised with cardboard.  Using a plate and bowl I cut out two circles of cardboard and the inside circles.  Then I glued them together for stability.  Then I cut all the tulle and ribbon to fairly even lengths.  Then I began wrapping them around the form and tying them all around.  I wanted the wreath to be very full and fluffy so I pushed each piece tightly together.
Here is the form filled with the tulle and ribbon.  Now the embellishment possibilities are endless. 
Photobucket
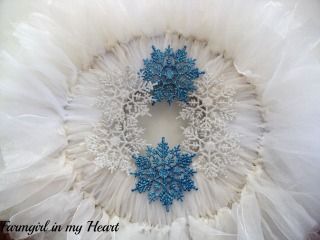
Because I was working with what I already had, I was limited in my embellishments.  These snowflakes were already in my stash so I hot glued them around the center of the wreath.  I really wish I had more blue to add to the wreath.  For now they are glued lightly and I can alter it whenever I find something I like more.
Photobucket
Here is the wreath on our door.  I am quite pleased with it. The best part was that everything was on hand.  The ribbon and tulle had been in my stash for a veeerrrryyy lllooonnnggg time and it makes me happy to see it put to good use.
Photobucket
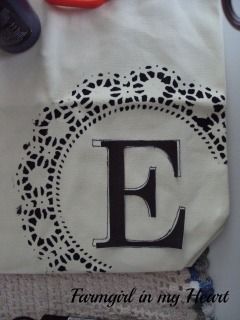
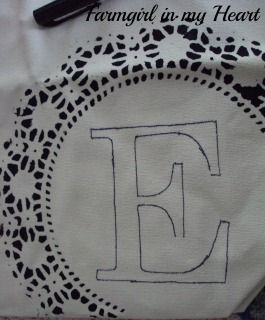
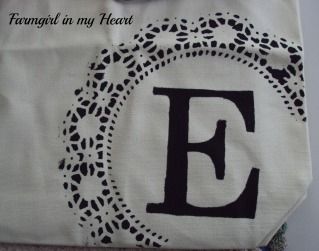
My next project was another Pinterest favorite.  It is originally found here.  When I tried this, I could not find the original pin and I was in a bit of a hurry so I winged it.  I had the basic idea in my head from seeing it previously.  First, I started with the paper doily and followed her directions for that part.  The next part is what I tried on my own. I printed up a large E and cut it out.
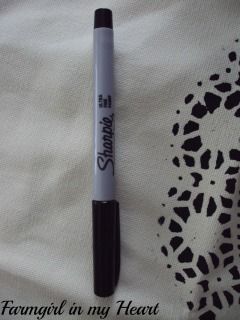
Then using a fine point Sharpie marker
Photobucket
I traced the letter
Photobucket
Here it is missing a few lines but that's ok.
Photobucket

Then I filled it in with paint and ironed the bag to make it washer safe (at least I hope so).  I sent this off as a gift to a friend and I hope she loves it.  She loves monograms and I do believe I saw this her on to do list one day. I hope I beat her to it.  
Photobucket

There are so many projects started and others still swirling around my head.  Hopefully, I can finish them and post them soon.

I will be linking up to the fabulous parties here.